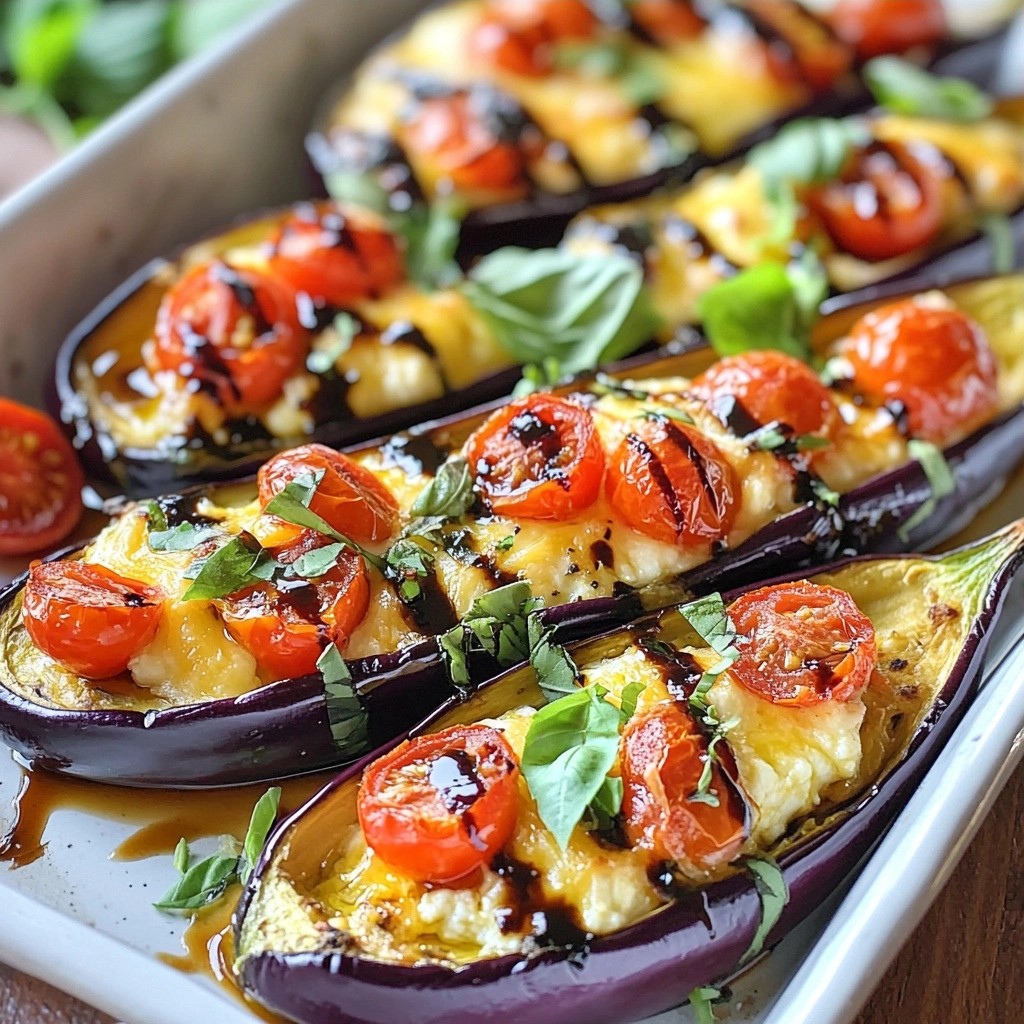
Are you ready to elevate your party snacks? This Roasted Garlic and Herb Cheese Dip is a flavorful delight that will wow your guests. Imagine creamy cheeses blended with rich roasted garlic and fresh herbs, perfect for dipping with veggies or crusty bread. In this post, I'll walk you through each step, from roasting garlic to serving ideas. Prepare to impress—let's dive into this delicious dip!
Why I Love This Recipe
- Comforting Flavor: This dip combines the rich, creamy textures of cream cheese and goat cheese with the sweet, mellow notes of roasted garlic, making it a comforting treat for any gathering.
- Fresh Herbs: The addition of fresh herbs like thyme, rosemary, and parsley elevates the dip, providing a burst of flavor that pairs beautifully with the cheeses.
- Versatile Serving Options: This dip can be served with a variety of dippers, from crunchy vegetable sticks to warm, crusty bread, making it perfect for any occasion.
- Easy to Prepare: With simple ingredients and straightforward steps, this recipe is quick to whip up, allowing you to enjoy more time with your guests.
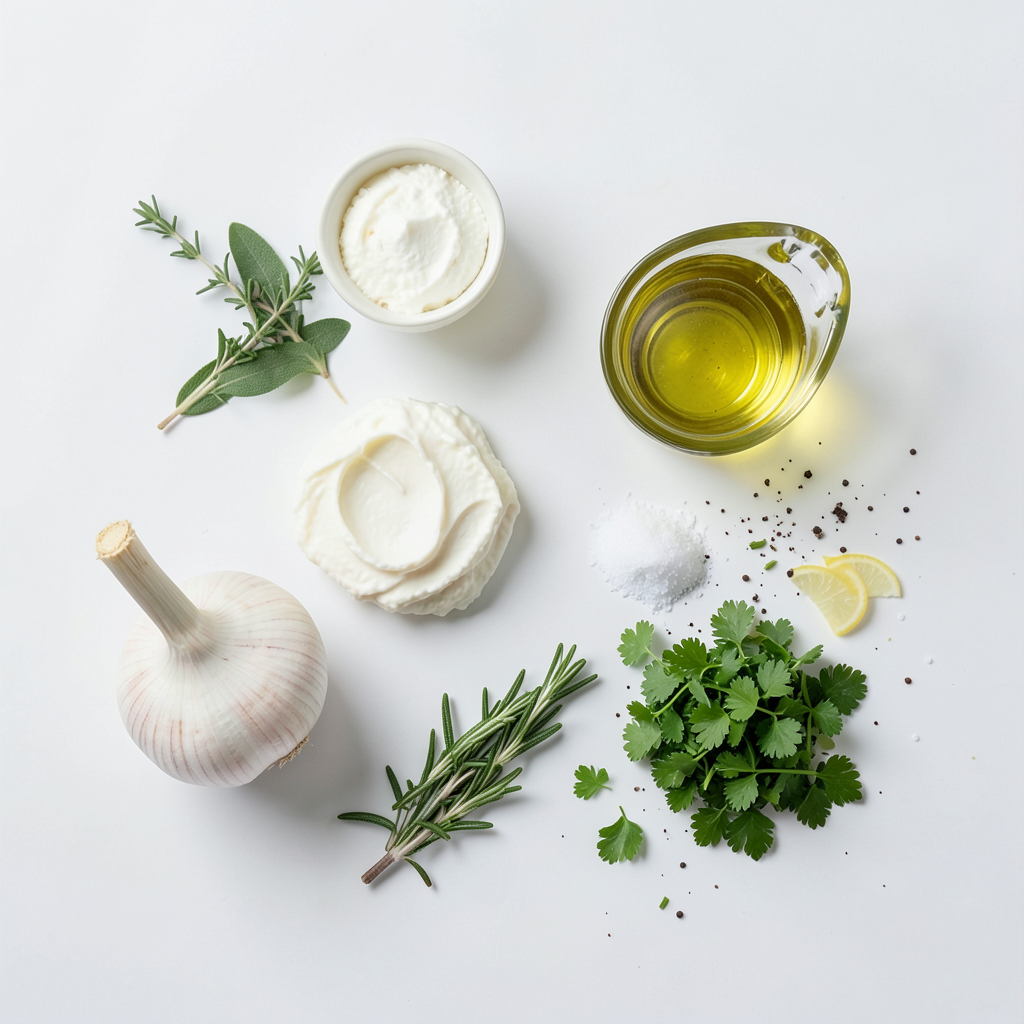
Ingredients
Main Ingredients
- 1 cup cream cheese, softened
- 1 cup goat cheese, softened
- 1 head of garlic
Additional Ingredients
- 2 tablespoons extra virgin olive oil
- Fresh herbs: thyme, rosemary, parsley
- Lemon zest, salt, and pepper
Serving Suggestions
- Assorted fresh vegetable sticks
- Toasted slices of crusty bread
Gather these ingredients to create a dip that bursts with flavor. Cream cheese and goat cheese serve as the base. They blend smoothly, creating a rich texture. The roasted garlic adds a sweet, mellow taste. Fresh herbs like thyme, rosemary, and parsley enhance the dish. They add freshness and depth. Lemon zest brings brightness. It balances the richness of the cheese. A sprinkle of salt and pepper rounds out the flavors.
For serving, I love using fresh veggie sticks. They add crunch and color. Toasted bread slices are another great choice. They soak up the dip perfectly. You can mix and match to suit your taste. Enjoy this dip warm for the best experience.
Step-by-Step Instructions
Preparing the Garlic
1. Preheat your oven to 400°F (200°C). This heat helps roast the garlic perfectly.
2. Get your head of garlic ready. Use a sharp knife to slice the top off. Make sure you expose the cloves.
3. Drizzle about a teaspoon of olive oil over the exposed cloves. This adds flavor as they roast.
4. Wrap the garlic tightly in aluminum foil. Place it on a baking sheet for easy handling.
5. Roast the garlic for 30-35 minutes. Look for soft, fragrant cloves that are lightly caramelized. The outer skin should brown slightly.
6. After roasting, carefully take off the foil. Let the garlic cool a bit before handling. Squeeze the base to pop out the cloves into a bowl. Discard the skins.
Making the Cheese Dip
1. In your mixing bowl with the roasted garlic, add 1 cup of softened cream cheese and 1 cup of softened goat cheese.
2. Use a fork or hand mixer to blend until smooth and creamy. Make sure everything is well mixed.
3. Fold in 1 tablespoon each of fresh thyme, rosemary, and parsley. Add 1 teaspoon of lemon zest for a fresh kick.
4. Season the mixture with salt and pepper to taste. Stir well to combine all flavors evenly.
Baking and Serving
1. Transfer the cheese mixture into an oven-safe baking dish. Smooth the top with a spatula.
2. Drizzle a little olive oil over the surface. Sprinkle some extra herbs on top for garnish.
3. Bake in the oven for 15-20 minutes. Look for bubbling and a lightly golden top. Keep an eye on it to avoid over-baking.
4. Once baked, remove the dip from the oven. Let it cool for a few minutes before serving.
Serve warm with fresh vegetable sticks or slices of crusty bread. Enjoy your tasty Roasted Garlic and Herb Cheese Dip!
Tips & Tricks
Perfecting the Roasting
To get the best roasted garlic, use whole heads. Cut the top off the garlic head to expose the cloves. This step helps the garlic cook evenly. Drizzle olive oil over the cloves. This adds flavor and helps with the roasting. Wrap the garlic tightly in foil. This traps steam and makes the garlic soft. Roast it at 400°F for 30-35 minutes. The garlic should be soft and fragrant. Keep an eye on it after 30 minutes to avoid burning.
Blending Techniques
For a smooth dip, mixing is key. You can use a fork or a hand mixer. A hand mixer will give you a creamier texture. If you use a fork, mash the garlic well before mixing. Make sure to blend until there are no lumps. This way, every bite will be creamy and delicious.
Presentation Ideas
Serve the dip in an oven-safe dish. This keeps it warm and bubbly. For a nice touch, drizzle some olive oil on top before baking. You can also sprinkle fresh herbs for color. Serve it with colorful veggie sticks or crusty bread. This adds a fun and rustic look to your dish.
Pro Tips
- Use Fresh Herbs: Fresh herbs bring vibrant flavors to your dip. Opt for organic, seasonal herbs if possible for the best taste.
- Roast Garlic Ahead of Time: Roasted garlic can be prepared in advance and stored in the refrigerator. It saves time and enhances the flavor of the dip.
- Experiment with Cheeses: Try mixing different cheeses such as feta or cream cheese with herbs to create unique flavor profiles.
- Serve with Variety: Pair the dip with not just vegetables and bread, but also with crackers, pita chips, or pretzels for added texture and flavor.
Variations
Flavor Additions
You can easily change the taste of this dip. Adding spices like smoked paprika or cayenne can give it a kick. You can also try mixing in different cheeses. Creamy feta or sharp cheddar can work wonders. Each cheese brings a unique flavor, making the dip more fun.
Try using other herbs too. Basil or dill can change the vibe. Each herb adds a new twist. Experiment to find your favorite mix!
Dietary Substitutions
If you want a lactose-free option, use lactose-free cream cheese. For a vegan version, replace both cheeses with cashew cheese or a store-bought vegan cream cheese. You can blend soaked cashews with lemon juice for a creamy texture. This way, everyone can enjoy the dip!
For gluten-free serving, pair the dip with fresh veggie sticks. Carrots, celery, and cucumber are great choices. You can also use gluten-free crackers or bread for dipping.
Seasonal Variations
Seasonal veggies can add color and taste. In the summer, try fresh cherry tomatoes or zucchini sticks. Fall brings great options like roasted sweet potatoes. Keep it fresh and bright!
For holidays, adapt the dip to fit the theme. Add cranberry for a festive twist at Thanksgiving. For Christmas, top with pomegranate seeds for a bright touch. These small changes make your dip unique and special for every occasion!
Storage Info
Storing Leftovers
To keep your Roasted Garlic and Herb Cheese Dip fresh, store it in an airtight container. This helps lock in moisture and flavor. Place it in the refrigerator right after serving. You can enjoy it for up to four days.
If you want to save it for longer, freezing is a great option. Just scoop the dip into a freezer-safe container. Leave some space at the top for expansion. It will last for about three months in the freezer. When you're ready to eat, let it thaw in the fridge overnight.
Reheating Tips
Reheating is easy. Start by preheating your oven to 350°F (175°C). Transfer the dip to an oven-safe dish if it isn’t already. Cover it lightly with foil to keep it moist. Heat it for about 15 minutes. Check if it’s warm all the way through.
Avoid the microwave if you can. The dip may become too hot and lose its creamy texture. If you must use a microwave, heat it in short bursts of 30 seconds. Stir in between to ensure even warming.
Shelf Life
In the fridge, your dip stays good for about four days. Look for any changes in color or smell to check for spoilage. If it smells sour or looks off, it's best to toss it.
If you freeze it, remember that the quality may change. After thawing, the dip might be a bit grainy. However, it will still taste great if you follow the storage tips. Enjoy your delicious dip!
FAQs
Can I make this dip ahead of time?
Yes, you can prepare this dip in advance. To do this, follow these tips:
- Roast the garlic and let it cool.
- Mix the cheeses and herbs, then store them in the fridge.
- You can bake it just before serving.
- This way, you save time and still enjoy fresh flavors.
What can I substitute for goat cheese?
If you need a substitute for goat cheese, here are some great options:
- Cream cheese works well for a milder taste.
- Feta cheese adds a tangy flavor.
- Ricotta offers a smooth texture.
- Use any soft cheese you like for a different twist.
Is this dip suitable for a party?
Absolutely! This dip is perfect for gatherings. Here are some serving suggestions:
- Serve it warm in an oven-safe dish.
- Add colorful vegetable sticks for dipping.
- Toasted bread slices also pair nicely.
- Make sure to drizzle some olive oil on top for a nice finish.
This dip is simple to make and full of flavor. You learned about the main and additional ingredients, plus how to roast garlic perfectly. I shared tips for blending and presenting your dip beautifully. You discovered ways to adapt the recipe for different diets and seasons. Lastly, we covered storage and reheating tips to keep your dip fresh. Try this dip at your next gathering, and enjoy the delicious results!