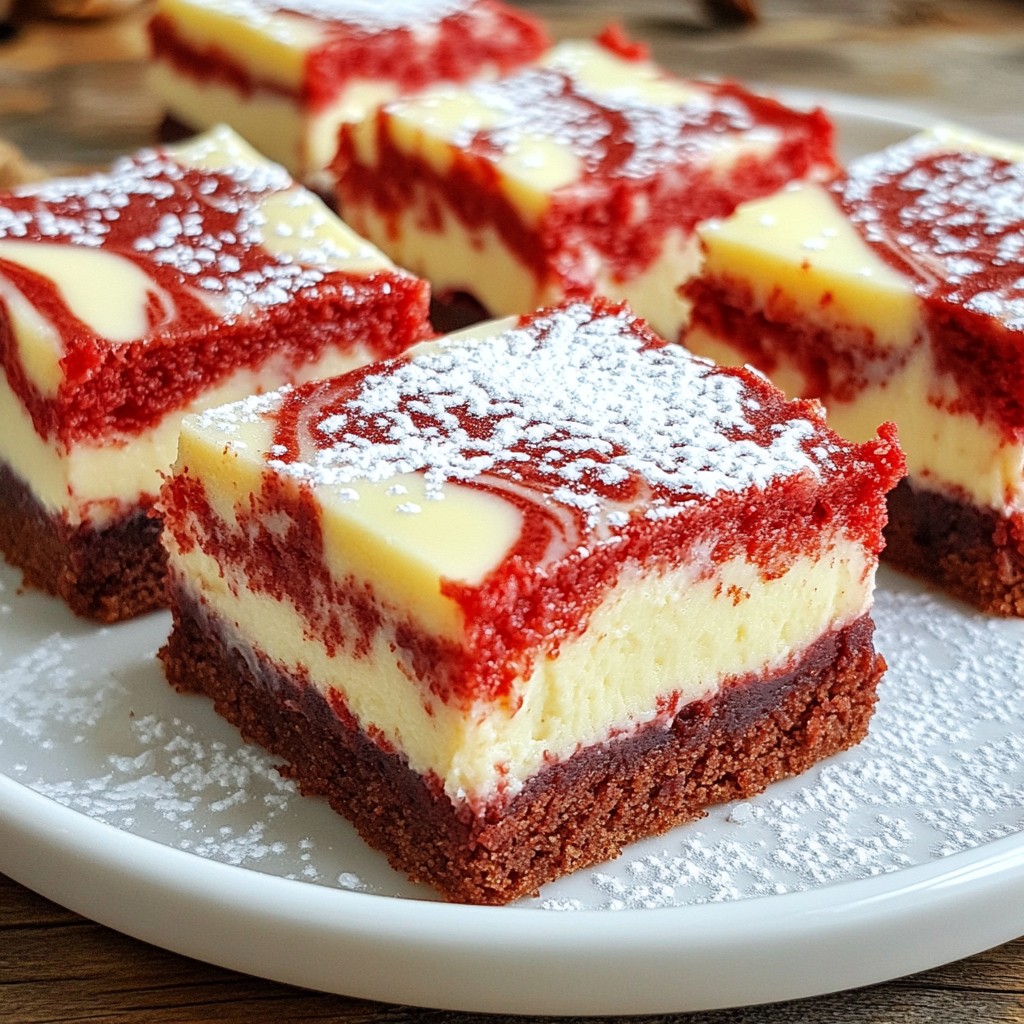
If you're ready to indulge in a sweet treat, you've come to the right place! These Red Velvet Cheesecake Brownies combine rich chocolate flavor with creamy cheesecake in every bite. I'll guide you through each simple step, from gathering ingredients to savoring the final result. Whether you want to impress guests or just enjoy a dessert at home, these brownies are a must-try. Let’s get baking together!
Why I Love This Recipe
- Decadent Flavor: The combination of rich red velvet and creamy cheesecake creates a dessert that is both indulgent and delightful, perfect for any occasion.
- Stunning Presentation: The vibrant red color contrasted with the white cheesecake swirl makes these brownies visually stunning, sure to impress your guests.
- Easy to Make: With straightforward steps and minimal ingredients, this recipe is accessible for bakers of all skill levels, ensuring success every time.
- Versatile Treat: These brownies are perfect for holidays, celebrations, or just a cozy night in, making them a versatile addition to any dessert table.
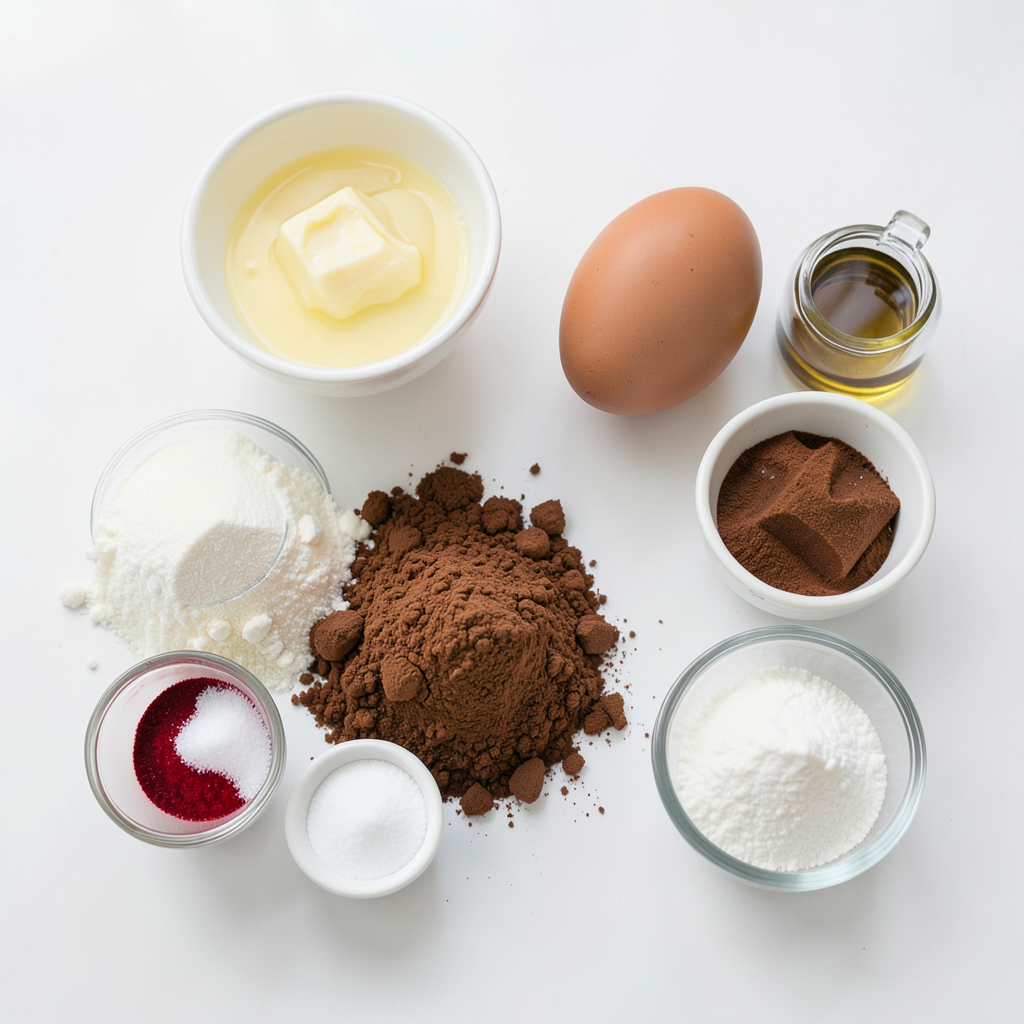
Ingredients
List of Ingredients for Brownie Base
- 1 cup unsalted butter, melted
- 1 cup granulated sugar
- 1 cup packed brown sugar
- 4 large eggs
- 1 tablespoon vanilla extract
- 2 cups all-purpose flour
- 1/2 cup unsweetened cocoa powder
- 1 tablespoon red food coloring
- 1/2 teaspoon salt
- 1/2 teaspoon baking powder
Ingredients for Cheesecake Swirl
- 8 oz cream cheese, softened
- 1/2 cup granulated sugar
- 1 large egg
- 1 teaspoon vanilla extract
Measurement Units and Substitutions
Use standard measurements for the best results. If you need a butter substitute, use margarine or coconut oil. For a vegan option, swap eggs with flaxseed meal mixed with water. You can replace cream cheese with a vegan option made from cashews or tofu. Always measure flour by spooning it into the cup, then leveling it off. This avoids packing too much flour, which can make your brownies dry.
Step-by-Step Instructions
Preheating the Oven and Preparing the Pan
Start by preheating your oven to 350°F (175°C). This step is key for even baking. Grab a 9x13 inch baking pan. Grease it well, then line it with parchment paper. Let some paper hang over the edges. This helps you lift the brownies out easily later.
Mixing the Brownie Base
In a large bowl, mix 1 cup of melted unsalted butter with 1 cup of granulated sugar and 1 cup of packed brown sugar. Use a whisk to blend them until smooth. Add 4 large eggs, one at a time. Mix well after each egg. Stir in 1 tablespoon of vanilla extract until it is fully combined. In another bowl, sift together 2 cups of all-purpose flour, 1/2 cup of unsweetened cocoa powder, 1/2 teaspoon of salt, and 1/2 teaspoon of baking powder. Make sure they are mixed well. Gradually add the dry mix to the wet mix. Stir gently until combined. Add 1 tablespoon of red food coloring and mix until the batter is a bright red.
Creating the Cheesecake Swirl and Layering
Pour half of the red velvet brownie batter into the prepared pan. Spread it evenly across the bottom. In a separate bowl, whisk together 8 oz of softened cream cheese and 1/2 cup of granulated sugar until smooth. Mix in 1 large egg and 1 teaspoon of vanilla extract. This creates a creamy cheesecake layer. Dollop the cheesecake mix over the brownie batter. With a knife or toothpick, gently swirl the two mixtures together for a marbled look. Carefully pour the remaining brownie batter over the cheesecake layer. Spread it to cover the swirl beneath. Now, bake in your preheated oven for 30 to 35 minutes. Check with a toothpick. It should come out with a few moist crumbs, not wet batter.
Tips & Tricks
How to Achieve the Perfect Red Velvet Color
To get a vibrant red hue in your brownies, use high-quality red food coloring. Start with one tablespoon, but don’t be afraid to add a little more. Mix it well into your batter until you see that bright red shade. The key is to balance the food coloring with the cocoa powder. This will keep the flavors rich and the color bold.
Baking Tips for Moist Brownies
Moist brownies are a must. To achieve this, watch your baking time closely. Bake them for 30 to 35 minutes. When you insert a toothpick, it should come out with a few moist crumbs, not dry. Also, be sure to use melted butter, as it adds richness. Mixing the batter just until combined helps keep them soft. Avoid overmixing, as that can make them tough.
Cooling and Slicing for Best Presentation
Allow the brownies to cool in the pan on a wire rack. This helps them set properly. Once cooled, lift them out using the parchment paper. Use a sharp knife to slice them into squares. For clean cuts, wipe the knife with a damp cloth between slices. Present them on a decorative platter, and consider adding a dusting of powdered sugar or a dollop of whipped cream for extra flair!
Pro Tips
- Use Room Temperature Ingredients: Ensure that your cream cheese and eggs are at room temperature before mixing. This helps create a smoother cheesecake layer without lumps.
- Don't Overmix the Batter: When combining the wet and dry ingredients, mix just until combined. Overmixing can lead to dense brownies rather than a light and fudgy texture.
- Check for Doneness: To avoid dry brownies, check them a few minutes before the suggested baking time. The toothpick should come out with a few moist crumbs but not wet batter.
- Cool Completely Before Slicing: Allow the brownies to cool completely in the pan before cutting. This helps them set properly and makes slicing easier without crumbling.
Variations
Chocolate Chip Red Velvet Cheesecake Brownies
Want to add some extra fun to your brownies? Toss in chocolate chips! Just fold in one cup of semi-sweet chocolate chips into the brownie batter. This addition adds a delightful burst of chocolate with every bite. The mix of red velvet and chocolate creates a rich flavor. You’ll love the gooey texture they bring.
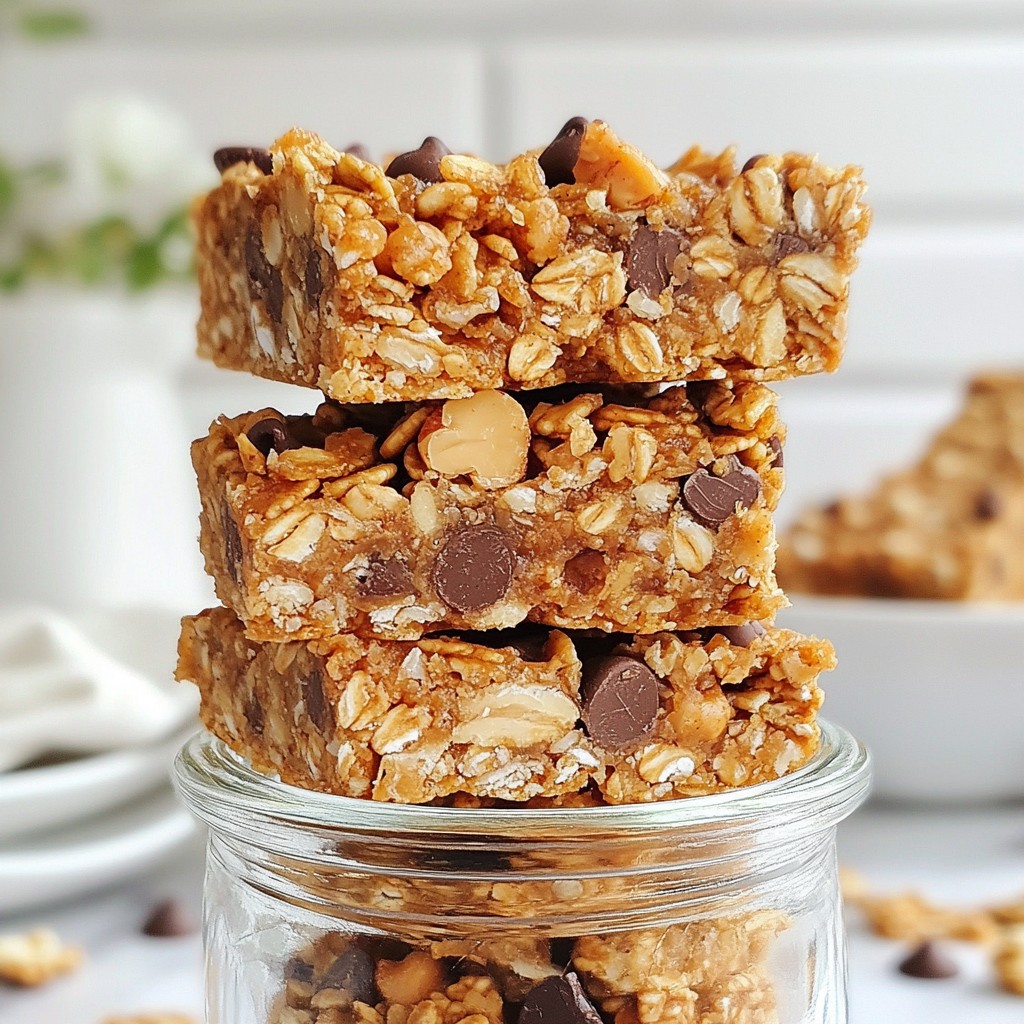
Nutty Red Velvet Cheesecake Brownies
If you enjoy a little crunch, consider adding nuts. Chopped walnuts or pecans work great! Add one cup of your favorite nuts to the brownie batter before baking. The nuts not only add texture but also enhance the flavor. The nutty taste pairs well with the creamy cheesecake layer. It creates a nice contrast that you will savor.
Flavor Infusions: Mint, Almond, or Orange
You can also experiment with flavors! For a minty twist, add one teaspoon of mint extract to the cheesecake swirl. If you prefer almond, swap the vanilla extract in the cheesecake for almond extract. For a zesty touch, mix in orange zest to the brownie batter. Each of these infusions gives a new life to your red velvet cheesecake brownies. Try them out and see which one you like best!
Storage Info
Best Practices for Storing Brownies
To keep your red velvet cheesecake brownies fresh, store them properly. First, let them cool completely. Then, place them in an airtight container. Line the bottom with parchment paper to avoid sticking. Keep the container at room temperature if you will eat them within three days. If not, refrigeration is best for longer storage.
How to Freeze Leftover Brownies
Freezing brownies is easy and keeps them tasty. Cut the brownies into squares before freezing. Wrap each square in plastic wrap, then place them in a freezer-safe bag. Remove as much air as possible to prevent freezer burn. They can last up to three months in the freezer. When ready to eat, just thaw them in the fridge overnight.
Tips for Reheating or Refreshing Brownies
To enjoy your brownies warm, preheat your oven to 350°F (175°C). Place the brownies on a baking sheet. Cover them with foil to prevent drying out. Heat for about 10 minutes. If using a microwave, heat each square for 10 to 15 seconds. This helps restore warmth and makes the cheesecake swirl creamy again. Enjoy your decadent treat!
FAQs
What is the difference between red velvet and regular brownies?
Red velvet brownies have a unique flavor and color. They use cocoa powder and red food coloring. Regular brownies mostly rely on chocolate flavor. The texture in red velvet brownies is often lighter and cake-like. They also have a slight tang from the cream cheese. This makes them special and different from regular brownies.
Can I make these brownies gluten-free?
Yes, you can make these brownies gluten-free. Replace all-purpose flour with a gluten-free blend. Many blends work well in baking. Ensure the blend contains xanthan gum or similar. This helps achieve the right texture. Just follow the same measurements in the recipe.
How can I make these brownies ahead of time?
You can make these brownies a day in advance. Allow them to cool completely before storing. Place them in an airtight container at room temperature. This keeps them fresh. You can also freeze them for longer storage. Wrap each brownie in plastic wrap, then place in a container. This way, you can enjoy them later without losing flavor.
This blog covered how to make red velvet cheesecake brownies. We explored the ingredients for both the brownie base and the cheesecake swirl. I shared step-by-step instructions for mixing and layering. You also learned some tips for perfect color and moistness. I offered variations to try, from chocolate chip to nutty options. Lastly, we discussed best storage practices and answered common questions.
These brownies are not just a treat; they’re fun to make and share. Enjoy your baking!