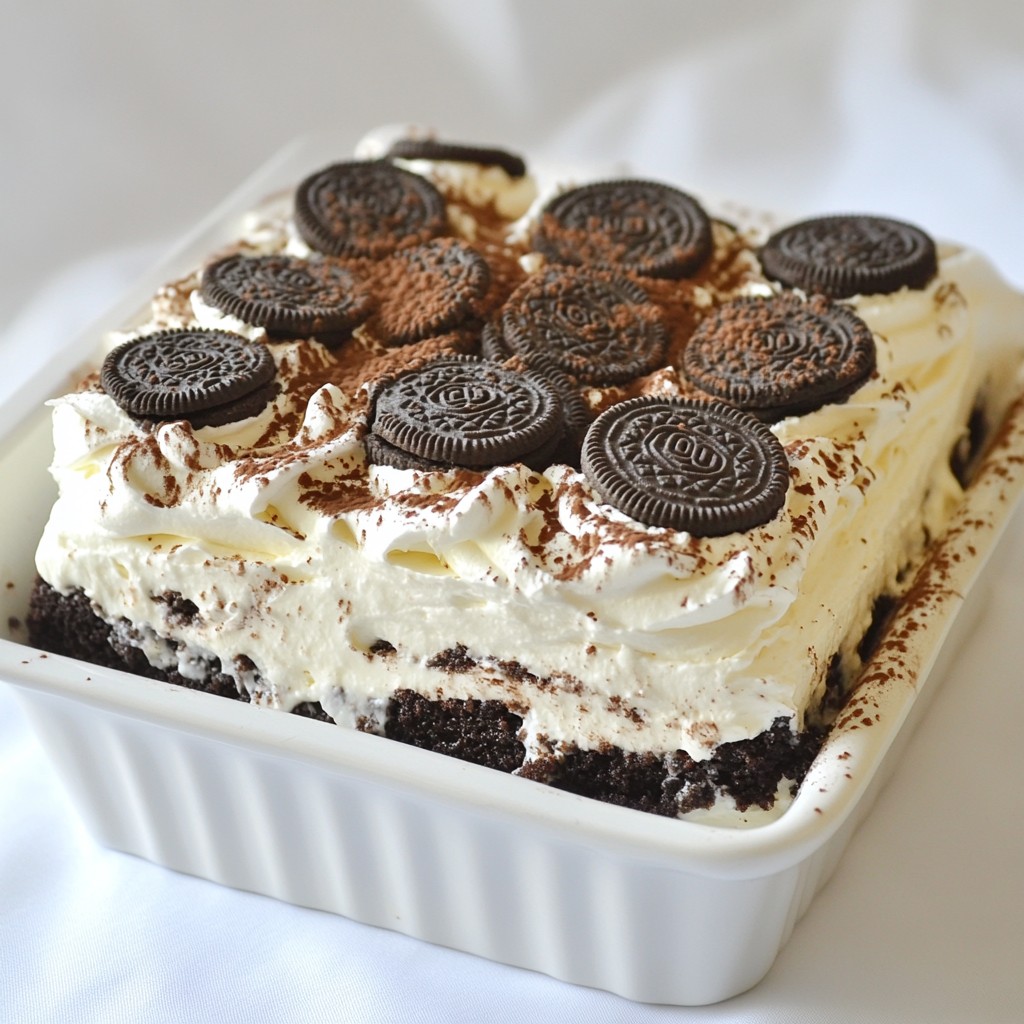
Craving a treat that’s easy to make and sure to impress? Look no further! This Oreo Icebox Cake is a delightful dessert perfect for any occasion. With layers of creamy goodness and crunchy Oreos, it will satisfy your sweet tooth without any fuss. Join me as we dive into this simple recipe that combines few ingredients and minimal effort to create a show-stopping dessert. Your friends and family will be begging for seconds!
Why I Love This Recipe
- Decadent Flavor: This icebox cake combines the rich chocolate flavor of Oreos with a creamy whipped cream and cream cheese filling, creating a dessert that is utterly indulgent.
- No-Bake Convenience: Perfect for warm days, this recipe requires no baking, making it an easy and stress-free dessert option that anyone can whip up.
- Versatile Layers: The layering process allows for creativity; you can add extra ingredients like nuts or fruits to customize it to your taste.
- Perfect for Gatherings: With its generous portion size, this cake is ideal for parties and gatherings, ensuring there’s enough to satisfy everyone’s sweet tooth.
Ingredients
Main Ingredients
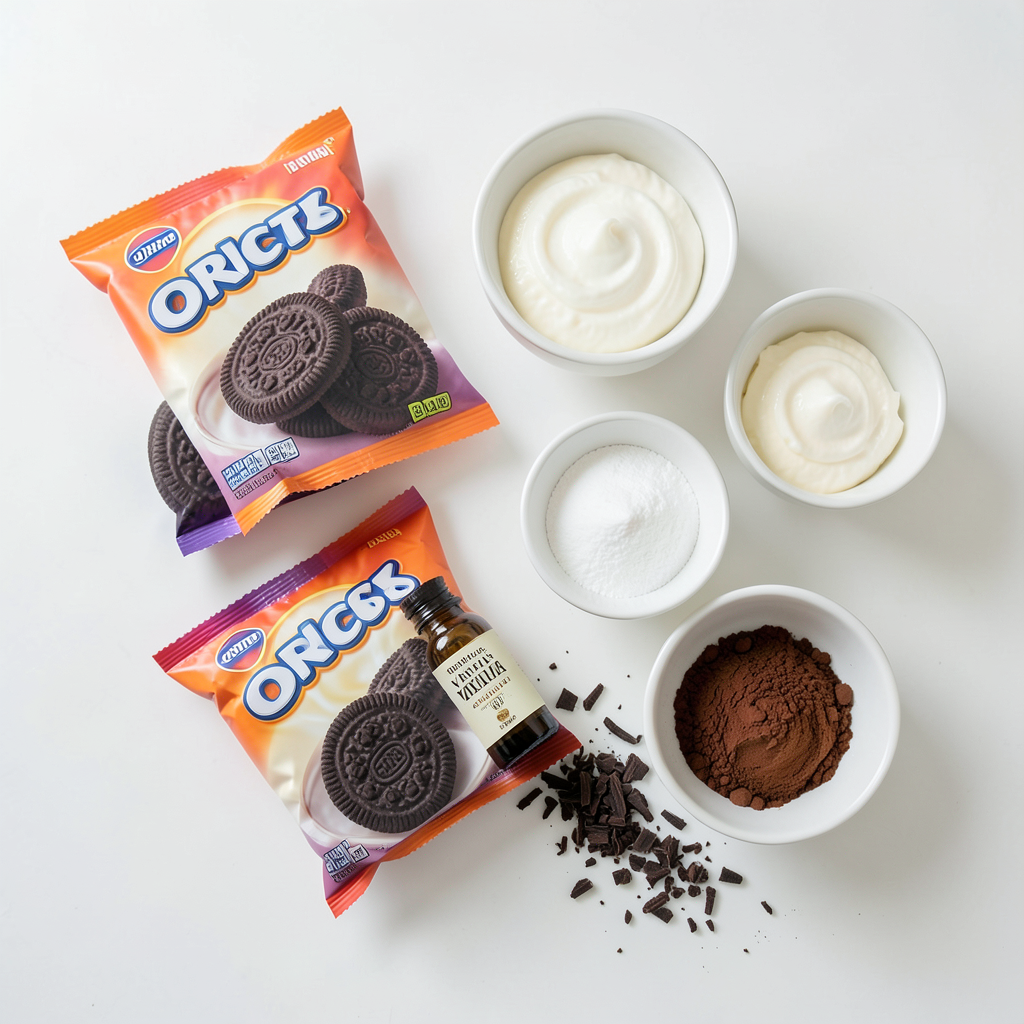
- 2 packages (15.25 oz each) Oreo cookies
- 2 cups heavy whipping cream
- ½ cup powdered sugar
- 1 teaspoon vanilla extract
- 1 cup cream cheese, softened at room temperature
- 1 tablespoon cocoa powder
When I make Oreo icebox cake, I always start with the main ingredients. The Oreo cookies bring a rich flavor and crunch. Heavy whipping cream makes the filling light and fluffy. Powdered sugar adds just the right sweetness. I use vanilla extract for that extra touch of flavor. Cream cheese is key for creaminess. Lastly, cocoa powder gives a nice hint of chocolate.
Optional Garnishes
- Chocolate shavings
- Crushed Oreos
I love to add optional garnishes to my cake. Chocolate shavings look fancy and taste great. Crushed Oreos give a fun texture and boost the Oreo flavor. These toppings make the dessert even more appealing.
Equipment Needed
- Electric mixer
- Mixing bowls
- 8-inch square baking dish
Having the right tools makes cooking easier. I always use an electric mixer to whip the cream and mix the cheese. Mixing bowls are essential for combining ingredients. An 8-inch square baking dish is perfect for layering my cake. With these tools, I can create a delicious dessert with ease.
Step-by-Step Instructions
Preparing the Cream Mixture
To start, you need to make the cream mixture. First, take a large mixing bowl. Use an electric mixer to beat the heavy whipping cream on medium-high speed. Beat it for about 2-3 minutes. You want soft peaks to form. Then, slowly add the powdered sugar and vanilla extract. Keep mixing until you see stiff peaks, which should take another 2-3 minutes. Once done, set the whipped cream aside for later.
Mixing the Cream Cheese
Next, you will mix the cream cheese. In a separate bowl, beat the softened cream cheese with the electric mixer. Do this for about 1-2 minutes. You want it to be creamy and smooth. After that, gently fold in the whipped cream mixture using a rubber spatula. Make sure to keep the whipped cream light and fluffy as you mix.
Layering the Cake
Now, it’s time to layer your cake. Grab an 8-inch square baking dish. Start by spreading a thin, even layer of the cream mixture on the bottom. This will be your base layer.
Continuing the Layering Process
Next, you will add the Oreos. Dip each Oreo cookie briefly in milk. Do this one at a time, then layer them evenly over the cream mixture. After that, spread another layer of the cream mixture on top. Repeat the process: dip more Oreos, layer them, and then add more cream. Keep going until you fill the dish, finishing with a nice layer of cream on top.
Chilling the Cake
Cover the baking dish with plastic wrap or a lid. This step is very important. You need to refrigerate the icebox cake for at least 4 hours. For the best taste, chill it overnight. This will let all the flavors blend together.
Garnishing and Serving
Right before serving, dust the top of the cake with cocoa powder. This adds a rich flavor. You can also sprinkle with chocolate shavings or crushed Oreos for a nice touch. Slice the cake into squares and serve it chilled. Enjoy this sweet treat!
Tips & Tricks
Perfecting Whipped Cream
To make the best whipped cream, you want to achieve stiff peaks. Start with cold heavy whipping cream. Beat it on medium-high speed. After about 2-3 minutes, you will see soft peaks. Gradually add powdered sugar and vanilla. Keep beating for another 2-3 minutes. You will know it's ready when it holds its shape.
Avoiding overmixing is key. If you mix too much, the cream can turn grainy. Stop mixing once you reach stiff peaks. This way, your whipped cream stays light and fluffy.
Enhancing Flavor
Adding flavored cream cheese can give your cake a tasty twist. Try chocolate or strawberry cream cheese for a fun change. You can also use vanilla or even coffee-flavored cream cheese.
If you want more flavor options, consider adding extracts. A little mint or almond extract can add a nice touch. Just be careful not to overpower the Oreo flavor.
Making Ahead
This cake is great for making in advance. You can prepare it the night before serving. This saves you time and lets the flavors meld.
For the best taste, chill the cake overnight. Cover it tightly with plastic wrap. This keeps it fresh and ready for you to enjoy when it’s time to serve.
Pro Tips
- Use Cold Ingredients: Ensure your heavy cream and cream cheese are well-chilled before starting. Cold ingredients whip better and help the cream mixture hold its shape.
- Don't Overmix: When folding the whipped cream into the cream cheese, be gentle. Overmixing can deflate the whipped cream, resulting in a denser texture.
- Milk Dipping Tip: Use a shallow dish for the milk when dipping the Oreos. This allows for quick dipping without over-soaking the cookies, keeping them crisp yet moist.
- Chill Time Matters: For the best flavor and texture, let the icebox cake chill overnight. This allows the layers to meld together beautifully for a more delicious dessert.
Variations
Different Cookie Options
You can switch out Oreo cookies for other sandwich cookies. Try using chocolate mint cookies for a fresh twist. Vanilla sandwich cookies also add a different flavor. Just remember to adjust the cream mixture if needed.
For a gluten-free option, use gluten-free sandwich cookies. Many brands make great gluten-free cookies. They will taste just as good in the icebox cake.
Flavor Combinations
Add fruits or nuts to give your cake a fun twist. Sliced strawberries or bananas work well. You can also add chopped nuts like pecans or walnuts. These add great texture and flavor.
Incorporating flavored extracts can also change things up. Try almond or hazelnut extract for a unique taste. Just use a small amount so it does not overpower the cake.
Layering Techniques
Creating mini versions of the icebox cake can be a fun idea. Use small cups or jars for individual servings. This makes for a great presentation at parties or events.
You can also try different serving dishes. A trifle dish adds height and looks lovely. A large platter can make it easy to serve at gatherings.
Storage Info
Storing Leftovers
To keep your Oreo icebox cake fresh, store it in the fridge. Use an airtight container or cover it tightly with plastic wrap. This helps prevent the cake from absorbing other smells. The cake stays good for about 3 to 5 days.
Freezing Options
You can freeze your icebox cake if you want to save some for later. Just slice it first and wrap each piece in plastic wrap. Then, place the wrapped pieces in a freezer bag. This keeps the cake fresh for about 2 to 3 months. To enjoy, take out a slice and place it in the fridge to thaw overnight.
Signs of Spoilage
Check for signs that your cake might not be good anymore. If you see any mold or weird smells, it's time to toss it. The texture might change too. If it feels dry or crumbly, it’s best not to eat it. To keep the flavor and texture nice, always store your cake properly in the fridge or freezer.
FAQs
What is an icebox cake?
An icebox cake is a no-bake dessert. It layers cookies and cream, creating a rich, creamy treat. This cake is easy to prepare and great for hot days. The name comes from the fact that it needs to chill in the fridge or icebox. Icebox cakes date back to the early 20th century. They became popular during the 1920s when home refrigerators were common.
Can I use low-fat cream cheese?
Yes, you can use low-fat cream cheese. However, it may change the texture and flavor. Low-fat cream cheese might be less creamy and rich. This can make your icebox cake less fluffy. If you prefer a lighter option, it is okay to use it. Just keep in mind that the taste may be different.
How long can I store my Oreo icebox cake?
You can store your Oreo icebox cake for up to 5 days in the fridge. Make sure to cover it well. Use plastic wrap or a lid to keep it fresh. After 5 days, the cake may lose its texture and taste. Always check for any signs of spoilage before serving.
Can I make this recipe vegan?
Yes, you can make this recipe vegan! For the cream cheese, use a plant-based alternative. Instead of heavy cream, use coconut cream or a vegan whipped topping. You can also use dairy-free cookies. Just ensure all your ingredients are vegan to keep it true to the recipe.
Is it necessary to chill the cake for 4 hours?
Yes, it is very important to chill the cake for at least 4 hours. Chilling allows the flavors to blend. It helps the cake set and become firm. If you have time, chilling it overnight gives the best results. It makes every bite creamy and delicious.
You’ve learned how to make a delicious Oreo icebox cake, from ingredients to garnishes. We covered how to prepare the cream mixture, layer the cake, and chill it properly. Remember, this dessert is easy to customize, whether you use different cookies or flavors. Store it correctly for the best taste. Enjoy every bite of this sweet treat. It’s simple, fun, and sure to impress! Now, go make your cake, and have fun sharing it!