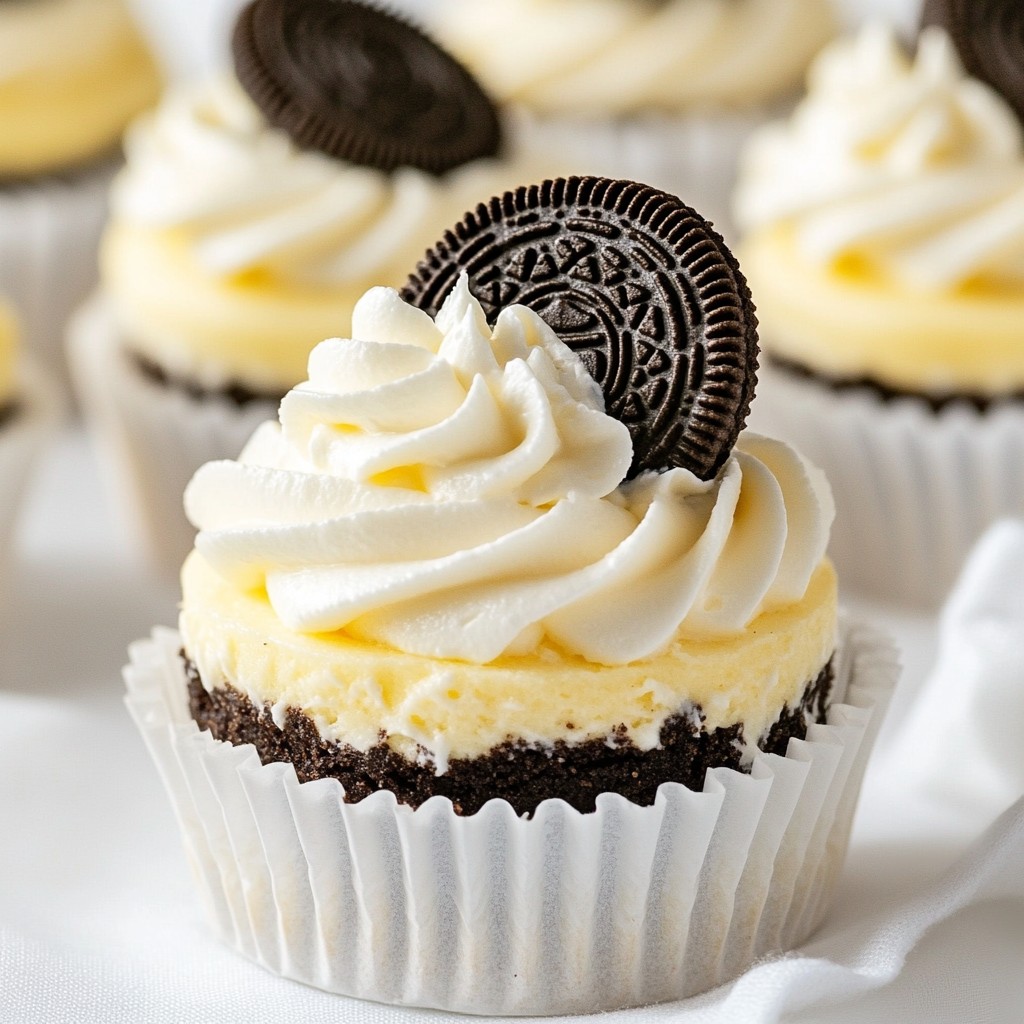
Are you ready to whip up a delicious treat that will impress everyone? In this blog post, I’ll guide you through making Mini Oreo Cheesecakes that are both delightful and easy. With just a few simple ingredients, you can create rich, creamy bites of bliss. Whether it's for a party or a cozy night in, these cheesecakes are sure to be a hit. Let’s get started on this sweet adventure!
Why I Love This Recipe
- Decadent Flavor: These mini cheesecakes are rich and creamy, with the perfect balance of sweetness from the Oreos and the cheesecake filling.
- Easy to Make: This recipe is straightforward and requires minimal baking skills, making it accessible for bakers of all levels.
- Perfect for Any Occasion: These treats are great for parties, gatherings, or just a sweet indulgence at home — they’re always a crowd-pleaser!
- Customizable: You can easily modify the recipe by adding different toppings or flavors, such as chocolate drizzle or fresh berries.
Ingredients
Main Ingredients
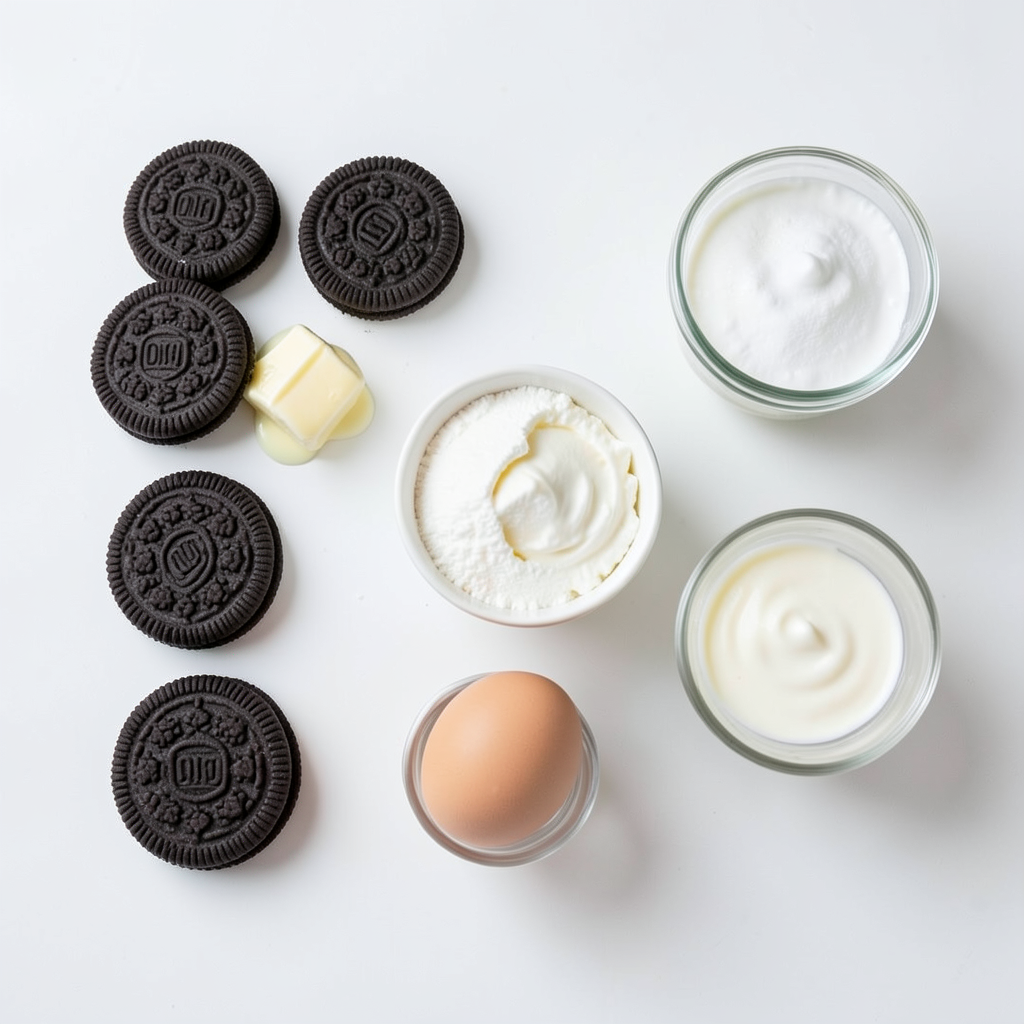
- 12 Oreo cookies
- 2 tablespoons unsalted butter, melted
- 8 oz cream cheese, softened
- 1/2 cup granulated sugar
- 1 teaspoon pure vanilla extract
- 1/2 cup sour cream
- 1 large egg, at room temperature
- 1/4 cup heavy whipping cream
- 1 tablespoon powdered sugar
To make your mini Oreo cheesecakes, you will need simple ingredients. Start with Oreo cookies. They give the perfect chocolate flavor. You will also need unsalted butter for the crust. Cream cheese is key for a smooth filling. Granulated sugar adds sweetness. Don't forget pure vanilla extract for extra taste. Sour cream makes the filling rich and creamy. You will need one large egg to bind the mixture. Heavy whipping cream is for the fluffy topping. Finally, powdered sugar sweetens the whipped cream to perfection.
Necessary Equipment
- Muffin tin
- Cupcake liners or non-stick cooking spray
- Food processor
- Mixing bowls
- Electric mixer
- Whisk
For this recipe, you will need some basic kitchen tools. A muffin tin is a must for shaping your cheesecakes. Use cupcake liners or non-stick cooking spray to help with easy removal. A food processor crushes the Oreo cookies into crumbs. Mixing bowls are great for combining the ingredients. An electric mixer helps beat the cream cheese smoothly. A whisk is useful for whipping the cream to soft peaks. With these tools, you can create a delightful dessert with ease!
Step-by-Step Instructions
Preheat the Oven
- Set temperature to 325°F (160°C)
- Prepare muffin tin
First, I preheat my oven to 325°F (160°C). This step is key to getting the right texture for your mini cheesecakes. Next, I prepare a standard muffin tin. You can line each cup with cupcake liners or spray them with non-stick cooking spray. This will help you remove the cheesecakes later with ease.
Prepare the Crust
- Crush Oreo cookies
- Mix with melted butter
- Spoon and press into muffin cups
To make the crust, I crush 12 Oreo cookies in a food processor. I want fine crumbs, which will hold together well. Then, I mix these crumbs with 2 tablespoons of melted butter. I stir until all the crumbs are coated. I spoon about 1 tablespoon of this mixture into each muffin cup and press it down firmly. This creates a solid base for the cheesecake. I bake the crust for 10 minutes and let it cool while I make the filling.
Make the Cheesecake Filling
- Beat cream cheese and sugar
- Add vanilla, sour cream, egg
- Avoid over-mixing
Now, I focus on the filling. In a mixing bowl, I beat 8 ounces of softened cream cheese with 1/2 cup of granulated sugar until it's smooth and creamy. Next, I add 1 teaspoon of pure vanilla extract, 1/2 cup of sour cream, and 1 large egg. I mix on low speed just until everything is blended. I avoid over-mixing to keep the texture light and fluffy.
Fill the Cups
- Pour cheesecake mixture into cups
- Leave room for rising
Once my filling is ready, I carefully pour it into the muffin cups. I fill each cup about 3/4 full. This leaves room for the cheesecake to rise while baking.
Bake the Cheesecakes
- Bake for 18-20 minutes
- Cool gradually in the oven
I bake the filled muffin cups for 18 to 20 minutes. They should be set in the center but still have a slight jiggle. After baking, I turn off the oven and leave the door slightly open. This helps the cheesecakes cool gradually, which prevents cracks.
Cool and Chill
- Room temperature cooling
- Refrigerate for at least 3 hours
After 15 minutes, I take the cheesecakes out of the oven. I let them cool at room temperature for about 30 minutes. Then, I transfer them to the refrigerator for at least 3 hours. This chilling time helps the cheesecakes firm up nicely.
Whip the Cream
- Prepare whipped cream topping
- Achieve soft peaks
While waiting, I prepare the whipped cream. I pour 1/4 cup of heavy whipping cream into a mixing bowl. I add 1 tablespoon of powdered sugar and whip the mixture until I achieve soft peaks. This will be the perfect topping for my cheesecakes.
Assemble and Serve
- Top with whipped cream
- Garnish with Oreo
When the cheesecakes are chilled and firm, I remove them from their liners. I top each mini cheesecake with a generous dollop of whipped cream. For a finishing touch, I garnish with half an Oreo cookie. Now they are ready to enjoy!
Tips & Tricks
Common Mistakes to Avoid
- Over-mixing the filling: When making the filling, mix just until smooth. Over-mixing adds too much air, which can lead to cracks. Focus on combining the ingredients for a creamy texture.
- Not cooling properly in the oven: After baking, let the cheesecakes cool in the oven with the door ajar. This helps them set without cracking. A slow cool is key to a smooth top.
Perfecting the Whipping Cream
- Achieving the right texture: Start with cold heavy whipping cream. Whip until soft peaks form, which gives a light and fluffy topping. Check often so you don’t over-whip it.
- Sweetness balance: Add powdered sugar gradually to the whipped cream. Taste as you go to find the perfect sweetness. You want it sweet, but not overpowering.
Serving Suggestions
- Pair with fresh fruit: Fresh berries, like strawberries or raspberries, add a nice tartness. They brighten the flavors and make each bite special.
- Drizzle with chocolate sauce: A chocolate sauce adds richness. It also provides a beautiful finish. Just warm the sauce slightly for an easy drizzle.
Pro Tips
- Use Room Temperature Ingredients: Ensuring that your cream cheese and egg are at room temperature helps create a smooth and creamy cheesecake filling without lumps.
- Don’t Overmix: When combining the ingredients for the filling, mix until just combined to maintain a light and fluffy texture. Overmixing can lead to dense cheesecakes.
- Cool Gradually: Allowing the cheesecakes to cool slowly in the oven with the door ajar helps prevent cracks on the surface, resulting in a more visually appealing dessert.
- Add More Oreo Flavor: For an extra Oreo kick, try mixing some crushed Oreo crumbs into the cheesecake filling before baking.
Variations
Flavor Variations
You can easily change the flavor of your mini Oreo cheesecakes. Here are two fun ideas:
- Mint Oreo cheesecakes: Swap regular Oreos for mint-flavored ones. This gives a fresh twist to the classic recipe. The mint adds a cool taste that pairs well with the creamy cheesecake.
- Peanut butter Oreo cheesecakes: Mix in a bit of peanut butter into your filling. This creates a rich, nutty flavor. It’s a great way to add depth and creaminess.
Dietary Adjustments
You can modify these cheesecakes to fit different diets. Here’s how:
- Gluten-free options: Use gluten-free Oreos instead of regular ones. This allows those with gluten sensitivities to enjoy the treat without worry.
- Dairy-free alternatives: Try using dairy-free cream cheese and sour cream. This makes the recipe suitable for those avoiding dairy. You can also use coconut cream for a rich texture.
Topping Ideas
Toppings can make your mini Oreo cheesecakes even more special. Here are some ideas:
- Chocolate ganache: Melt chocolate with cream to make a smooth ganache. Pour it on top for a rich finish. This adds a nice shine and extra chocolate flavor.
- Fruit compote: Cook berries with sugar for a fruit compote. Spoon it over the cheesecakes for a bright and fresh taste. This can balance the richness of the cheesecake nicely.
Storage Info
Storing Cheesecakes
To keep your mini Oreo cheesecakes fresh, store them in the fridge. Place them in an airtight container. This helps keep them cold and moist. If you want to freeze them, wrap each cheesecake tightly in plastic wrap. Then, place them in a freezer-safe bag. This prevents freezer burn.
Shelf Life
In the fridge, mini Oreo cheesecakes last about 5 days. If you freeze them, they can last up to 3 months. Check for signs of spoilage. If you see mold or a strange smell, it’s time to toss them. Always trust your senses to keep your treats safe.
FAQs
How long do Mini Oreo Cheesecakes need to chill?
Mini Oreo Cheesecakes need to chill for at least 3 hours. This time helps them set well. If you have time, chilling them overnight makes them even better.
Can I make these Mini Oreo Cheesecakes ahead of time?
Yes, you can make these cheesecakes a day in advance. Just follow the recipe and chill them as usual. Keep them covered in the fridge. This way, they stay fresh and ready to serve.
What can I use instead of cream cheese?
If you want a different option, use Greek yogurt or tofu. Both work well for a lighter version. They give a nice taste while being lighter on calories. Just make sure to adjust the sweetness as needed.
Are Mini Oreo Cheesecakes suitable for freezing?
Yes, you can freeze Mini Oreo Cheesecakes. Wrap each cheesecake in plastic wrap. Then, place them in a freezer bag. To thaw, put them in the fridge overnight before serving. This keeps them fresh and tasty.
Making Mini Oreo Cheesecakes is a fun process with delicious results. You learned about the key ingredients, like Oreo cookies and cream cheese. I shared step-by-step instructions to guide you through baking. Remember to avoid over-mixing and cool the cheesecakes properly. Explore variations and storage tips to make these treats last. With these insights, you can impress friends and family with tasty desserts. Enjoy your baking adventure and the sweet rewards that follow. Sharing these treats will bring smiles all around.