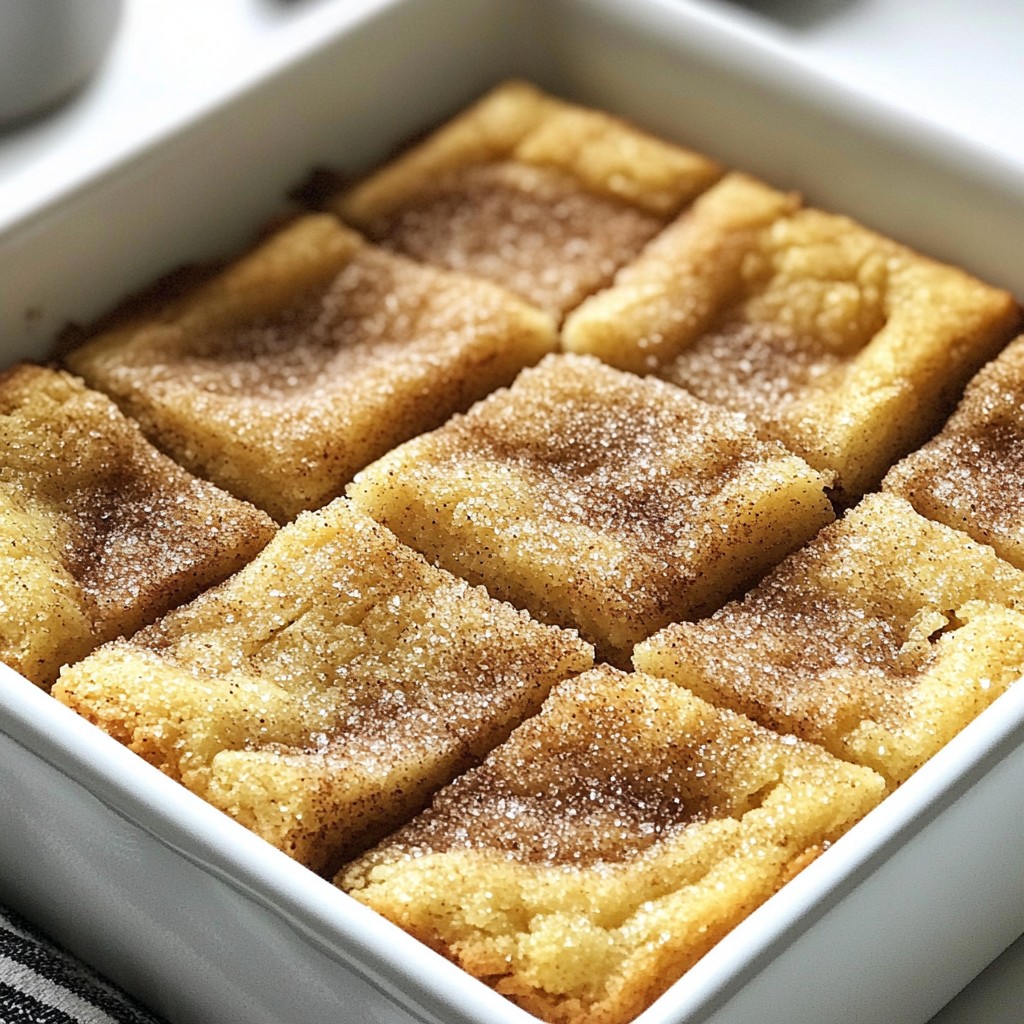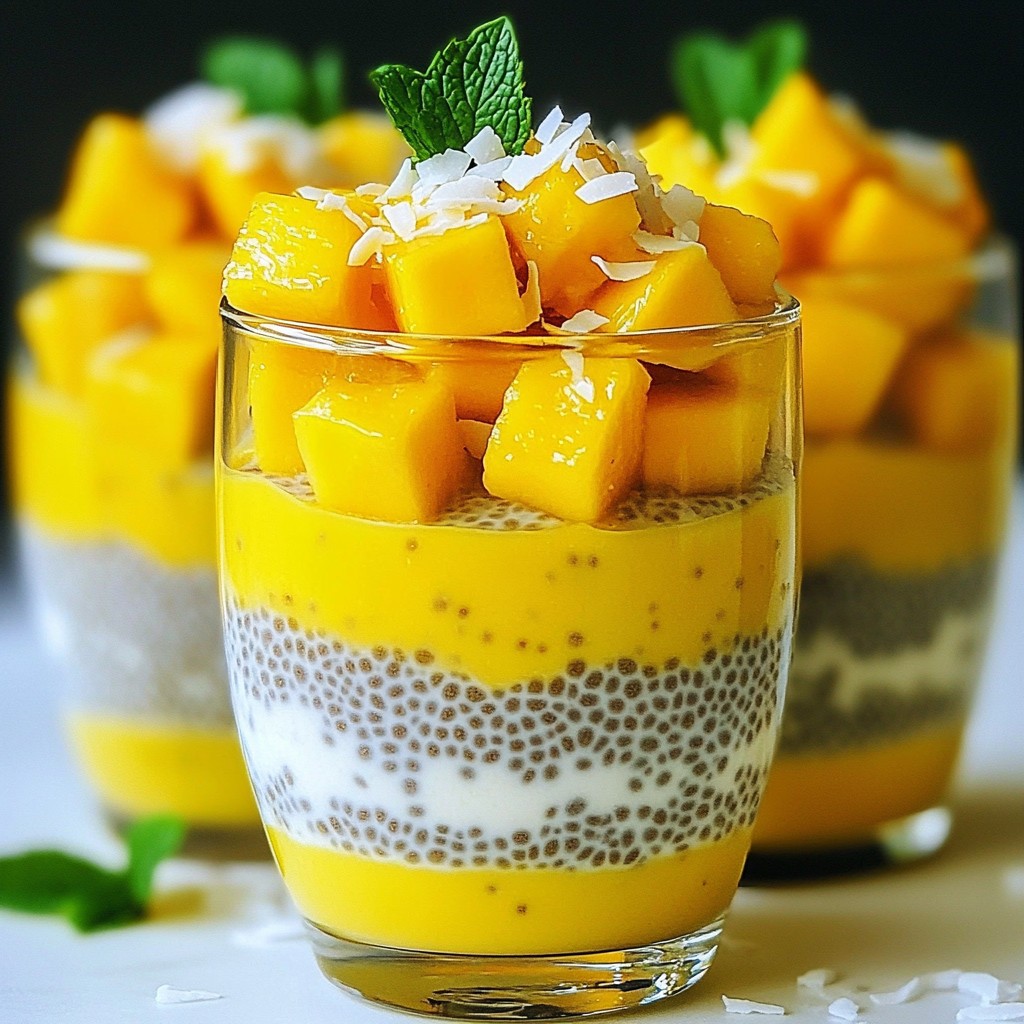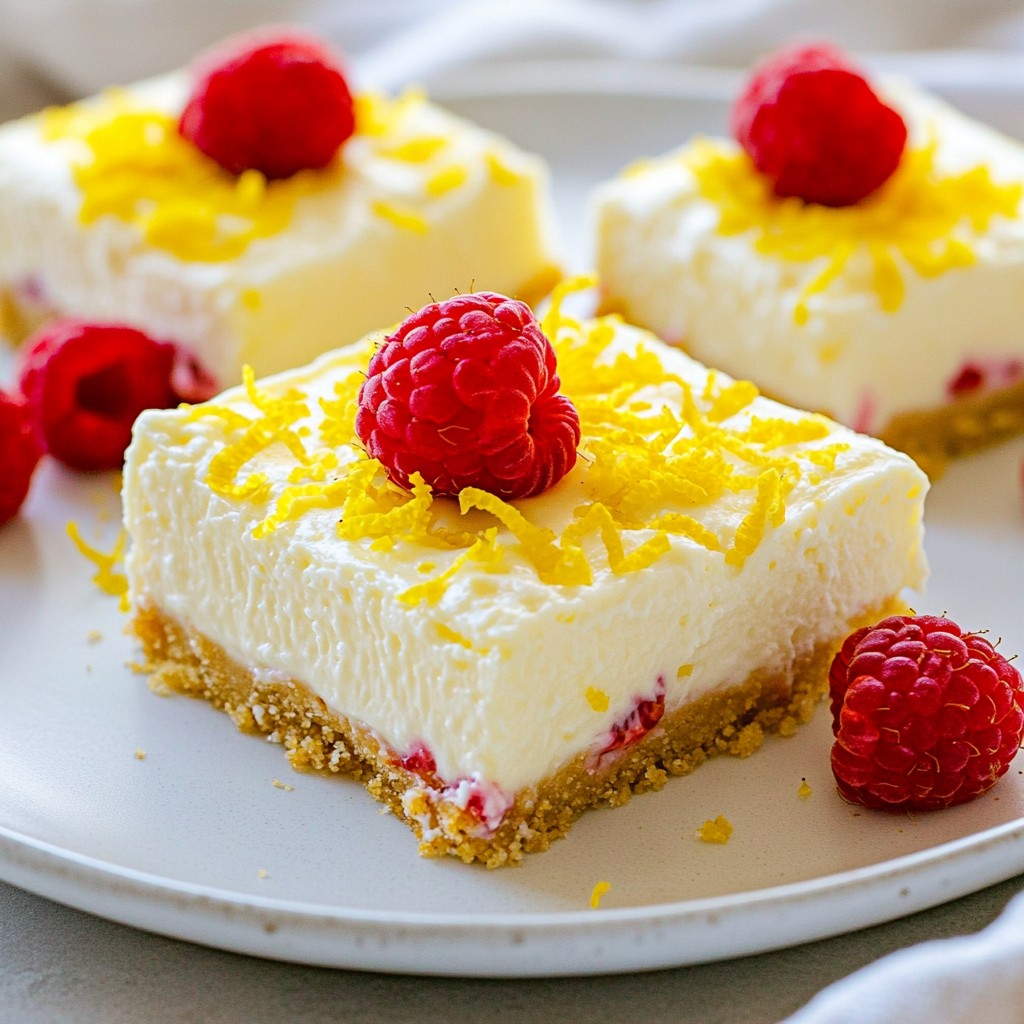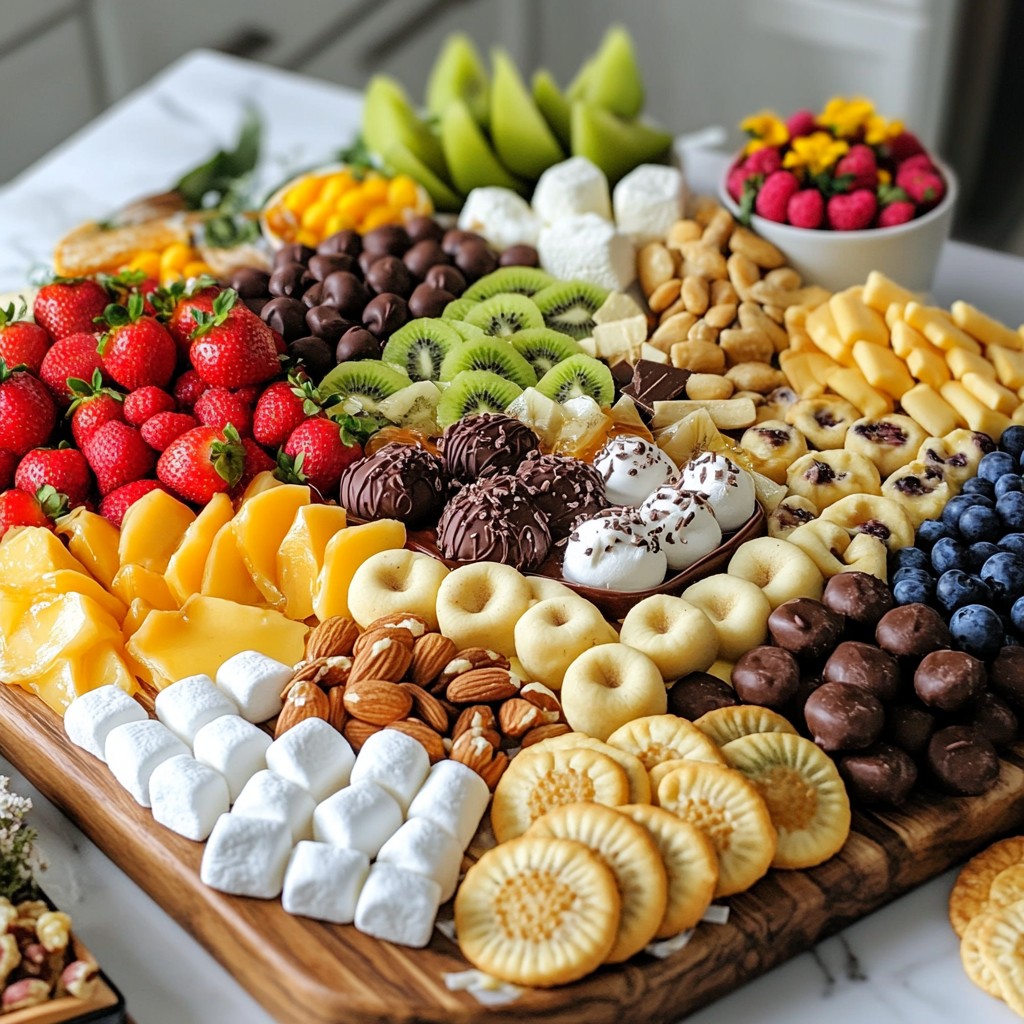
Do you love sweet treats and creative presentations? If so, dessert charcuterie boards are for you! This article will share tasty ideas and easy steps to craft your own stunning board. From assorted cookies to fresh fruits, you'll find perfect pairings and tips to impress your guests. Let's dive into the delicious world of dessert charcuterie and make every gathering more special. Get ready for a fun and flavorful experience!
Why I Love This Recipe
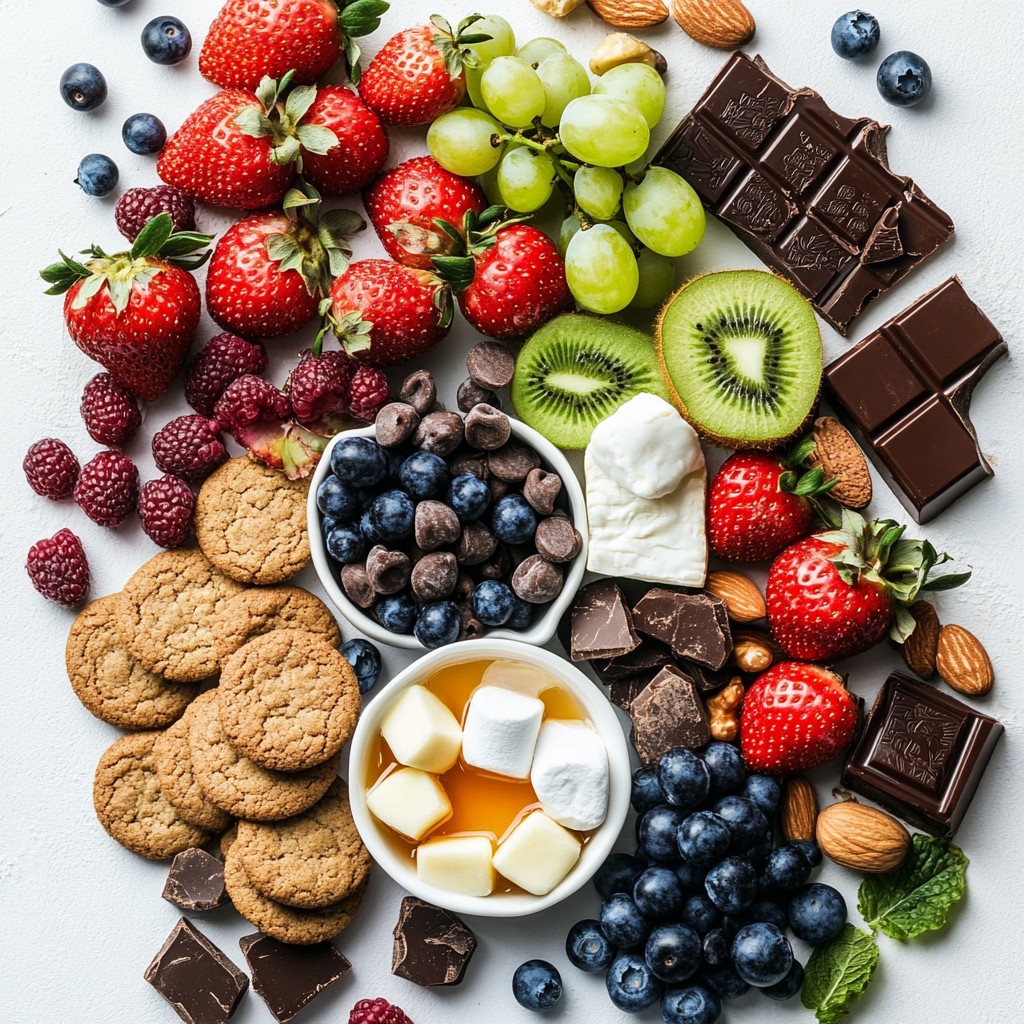
- Visually Stunning: This dessert charcuterie board is a feast for the eyes, featuring a colorful array of fruits, cookies, and sweets that are sure to impress any guest.
- Interactive Experience: Guests can create their own unique combinations, making dessert a fun and engaging experience for everyone.
- Versatile Options: With a variety of cookies, cheeses, and fruits, there's something for everyone, catering to different tastes and dietary preferences.
- Quick and Easy: This recipe comes together in just 20 minutes, allowing you to whip up an impressive dessert without spending hours in the kitchen.
Ingredients
Assorted Cookies: Suggestions for Variety
For your dessert charcuterie board, choose a mix of cookies. I love using:
- Decadent chocolate chip
- Buttery shortbread
- Spiced gingerbread
This variety adds flavor and texture. Each cookie brings its unique taste. Try to include at least three different kinds.
Fresh Fruits: Best Choices for Presentation
Fresh fruits brighten your board. I suggest using:
- Juicy strawberries
- Sweet grapes
- Vibrant kiwi
- Plump blueberries
These fruits add color and freshness. Slice larger fruits for easy serving. Make sure they are ripe and ready to eat.
Mixed Nuts: Options and Their Benefits
Nuts add crunch and healthy fats. I recommend:
- Crunchy almonds
- Rich walnuts
- Buttery pecans
Place them in a small bowl or scatter them around. This way, they invite guests to snack.
Artisanal Dark Chocolate Truffles: What to Look For
Choose high-quality dark chocolate truffles. Look for ones with rich flavor. They should have smooth textures. I enjoy truffles that melt in your mouth.
Marshmallows: Types and Uses
You can use mini or standard marshmallows. Mini marshmallows are cute and easy to grab. Standard ones give a nice fluffy bite. Use them in a pile or a dish.
Assorted Cheeses: Pairing Options
Include a mix of cheeses for variety. Try:
- Creamy cream cheese
- Luscious mascarpone
- Soft brie
Cut cheeses into bite-sized pieces. Spread them across the board for easy access.
Honey or Chocolate Sauce: Making a Choice
Choose between honey or rich chocolate sauce for drizzling. Honey adds a nice floral note. Chocolate sauce brings sweetness and richness. Both will enhance your dessert.
Optional Garnishes: Edible Flowers and Other Ideas
For a lovely touch, consider edible flowers. They add color and charm. You could also use fresh mint leaves. This simple addition makes your board really pop!
Step-by-Step Instructions
Preparation: Selecting the Right Board
Start with a large wooden board or platter. This will be your blank canvas. Look for something that fits your space and style. A round board adds warmth, while a rectangle offers more space.
Organizing Cookies for Visual Appeal
Gather your assorted cookies. Use a mix of textures and colors. Place them in clusters on the board. Keep chocolate chip near shortbread and gingerbread for a fun look. This mix makes it inviting and colorful.
Arranging Fresh Fruits: Techniques and Tips
Choose fresh fruits that pop. Use strawberries, grapes, kiwi, and blueberries. Cut larger fruits into slices or wedges. Aim for a rainbow of colors. This makes the board eye-catching and fresh.
Adding Nuts for Texture
Take mixed nuts like almonds, walnuts, and pecans. Place them in a small bowl on the board. Scatter a few nuts around for extra crunch. This adds texture and invites guests to grab a handful.
Positioning Chocolate Truffles
Nestle the dark chocolate truffles in a designated spot. They should be easy to grab. Arrange them in a neat row or small cluster. This makes them look tempting and ready to enjoy.
Creative Display of Marshmallows
Display the marshmallows in a fun way. You can pile them in a dish or make a little mound. Use mini marshmallows for a playful touch. This adds charm and makes the board more inviting.
Crafting the Cheese Section
For the cheese, use cream cheese, mascarpone, and brie. Place small dollops of cream cheese and slices of brie. Spread them in different areas on the board. This invites guests to try various flavors.
Drizzling Honey or Chocolate Sauce
Drizzle honey or chocolate sauce over certain spots. This adds sweetness and makes the board look lush. Use a spoon or squeeze bottle for control. It helps create an artistic touch.
Garnishing with Edible Flowers
Sprinkle edible flowers around your board. Choose vibrant colors for a fresh pop. This adds a lovely touch and makes the board feel special. Flowers can elevate the overall look.
Presenting the Board: Tips for Interaction
When ready, present your board proudly. Place it as a centerpiece on your table. Encourage guests to mix and match flavors. This makes it fun and interactive. Guests will love creating their own dessert combinations.
Tips & Tricks
Choosing the Right Size Board
Pick a board that fits your table. A larger board allows for more treats. If you have many guests, go big! For smaller groups, a medium board works well. Remember, balance is key.
Balancing Colors and Textures
Mix colors and textures to make your board pop! Use bright fruits alongside rich chocolates. Add crunchy nuts with creamy cheeses. This variety keeps the eye engaged and makes each bite exciting.
Creating a Cohesive Theme
Decide on a theme for your board. You might choose a color scheme or a flavor profile. For example, a tropical theme could include pineapple, coconut, and mango. This adds fun and helps guide your ingredient choices.
Timing for Maximum Freshness
Make your board close to serving time. Fresh fruits and cheeses taste best when they’re just prepared. If you need to prep early, keep items in the fridge until you're ready to serve. This ensures everything stays fresh and tasty.
Budget-Friendly Alternatives
You don’t need to spend a lot to create a great board. Use store-brand items or seasonal fruits for savings. Look for sales on ingredients like nuts and chocolates. You can also use homemade cookies instead of fancy store-bought options.
Pro Tips
- Use Seasonal Fruits: Choose fruits that are in season for the best flavor and freshness. This enhances the overall taste and visual appeal of your board.
- Mix Textures: Incorporate a variety of textures by balancing crunchy items like nuts and cookies with softer items like cheeses and fruits. This will make each bite interesting.
- Color Coordination: Aim for a colorful arrangement by selecting ingredients that complement each other visually. This not only looks appealing but also invites guests to indulge.
- Interactive Presentation: Encourage guests to customize their own dessert combinations by providing small serving utensils. This makes the experience more engaging and fun.
Variations
Seasonal Dessert Board Ideas
Seasonal dessert boards bring fun and flavor to any gathering. For spring, use bright fruits like strawberries and kiwis. In summer, add juicy peaches and cherries. For autumn, think about rich caramel apples and pumpkin spice cookies. Winter calls for peppermint treats and cozy hot cocoa options. Each season offers a chance to play with flavors and colors.
Themed Boards: Holidays and Celebrations
Themed dessert boards make your events more memorable. For holidays, use festive colors and shapes. Think red and green candies for Christmas or pastel treats for Easter. For birthdays, include favorite sweets of the guest of honor. You can even match the board to your party theme, like a beachy board with tropical fruits and coconut.
Dietary Considerations: Vegan and Gluten-Free Options
When catering to special diets, creativity shines through. For vegan boards, use dairy-free cheeses, fruits, and nut-based treats. Gluten-free options include rice-based cookies and gluten-free cakes. Make sure to check labels on all products. This way, everyone can enjoy the sweet delights.
Mini Dessert Charcuterie Boards for Individual Servings
Mini boards offer a personal touch. They are perfect for parties or one-on-one gatherings. Use small boards or plates to create personal servings. Fill them with a mix of cookies, fruits, and a tiny bowl of chocolate sauce. This allows guests to enjoy their own unique combination. It’s a fun twist on the classic dessert board.
Storage Info
Best Practices for Storing Leftovers
To store your leftover dessert charcuterie board, use airtight containers. Place cookies in one container to keep them crisp. Use another for fruits, but avoid stacking them to prevent bruising. Keep cheeses in their original packaging or wrap them in plastic. Store nuts in a cool, dry place to maintain crunchiness.
How to Keep Fresh Ingredients Fresh
Fresh fruits can spoil quickly. Keep strawberries, grapes, and blueberries in the fridge. Wash them just before serving to keep them fresh longer. For sliced fruits like kiwi, store them in a sealed container with a paper towel. This absorbs moisture and keeps them from getting mushy.
Reassembling for Later Enjoyment
When you are ready to enjoy leftovers, reassemble your board. Make it visually appealing again by arranging cookies and fruits in clusters. Add fresh cheese and nuts back to the mix. Drizzle honey or chocolate sauce once more for that fresh look. A little creativity can make the second serving just as fun!
FAQs
What is a dessert charcuterie board?
A dessert charcuterie board is a feast of sweet treats. It includes cookies, fruits, nuts, and chocolates. This board invites guests to mix and match. It’s perfect for parties or cozy nights at home.
How do I choose ingredients for a dessert charcuterie board?
Start with a mix of textures and flavors. Choose:
- Assorted cookies like chocolate chip, shortbread, and gingerbread.
- Fresh fruits such as strawberries, kiwi, and blueberries.
- Mixed nuts like almonds, walnuts, and pecans.
- Artisanal dark chocolate truffles.
- Fluffy marshmallows, either mini or standard.
- A selection of cheeses like cream cheese, mascarpone, or brie.
- Honey or chocolate sauce for drizzling.
This variety makes the board fun and tasty.
Can I make a dessert charcuterie board ahead of time?
Yes, you can prepare the board ahead of time. Assemble the board a few hours before serving. Keep it covered in the fridge to stay fresh. Add delicate items, like fruits, just before serving to avoid sogginess.
How long can a dessert charcuterie board last?
A dessert charcuterie board lasts about two hours at room temperature. If you keep it cool, it can stay fresh for longer. Just remember to check for any wilting fruit or melting chocolate.
What are some unique additions I can consider?
Get creative with your board! Try adding:
- Gourmet popcorn with fun flavors.
- Sweet dips like caramel or peanut butter.
- Unique cookies, such as macaroons or biscotti.
- Seasonal fruits like figs or pomegranates.
- Edible flowers for a splash of color.
These extras will wow your guests.
Can kids help with assembling the dessert board?
Absolutely! Kids love to help in the kitchen. They can pick fruits, arrange cookies, and sprinkle nuts. It’s a fun activity that sparks their creativity and makes them proud.
How to personalize a dessert charcuterie board for events?
Tailor your board to match the event. Consider themes, colors, or favorite flavors of guests. For a birthday, add a cake or cupcakes. For holidays, use festive fruits or colored candies. Personal touches make it special.
What drinks pair well with dessert charcuterie boards?
Pair your board with drinks that complement the sweets. Good options include:
- Sparkling water with fruit slices.
- Sweet wines, like Riesling or Moscato.
- Milk or chocolate milk for a classic touch.
- Herbal teas, such as chamomile or mint.
These drinks enhance the dessert experience.
Creating a dessert charcuterie board is fun and easy. We explored ingredients like cookies, fruits, nuts, and sweets. Each choice adds flavor and visual appeal. I shared tips on arranging and displaying your treats beautifully. Remember to consider themes and dietary needs. With the right board and planning, you can impress your guests. Enjoy the process and let your creativity shine. This board can be a centerpiece for any occasion. Now, go create your delightful masterpiece!