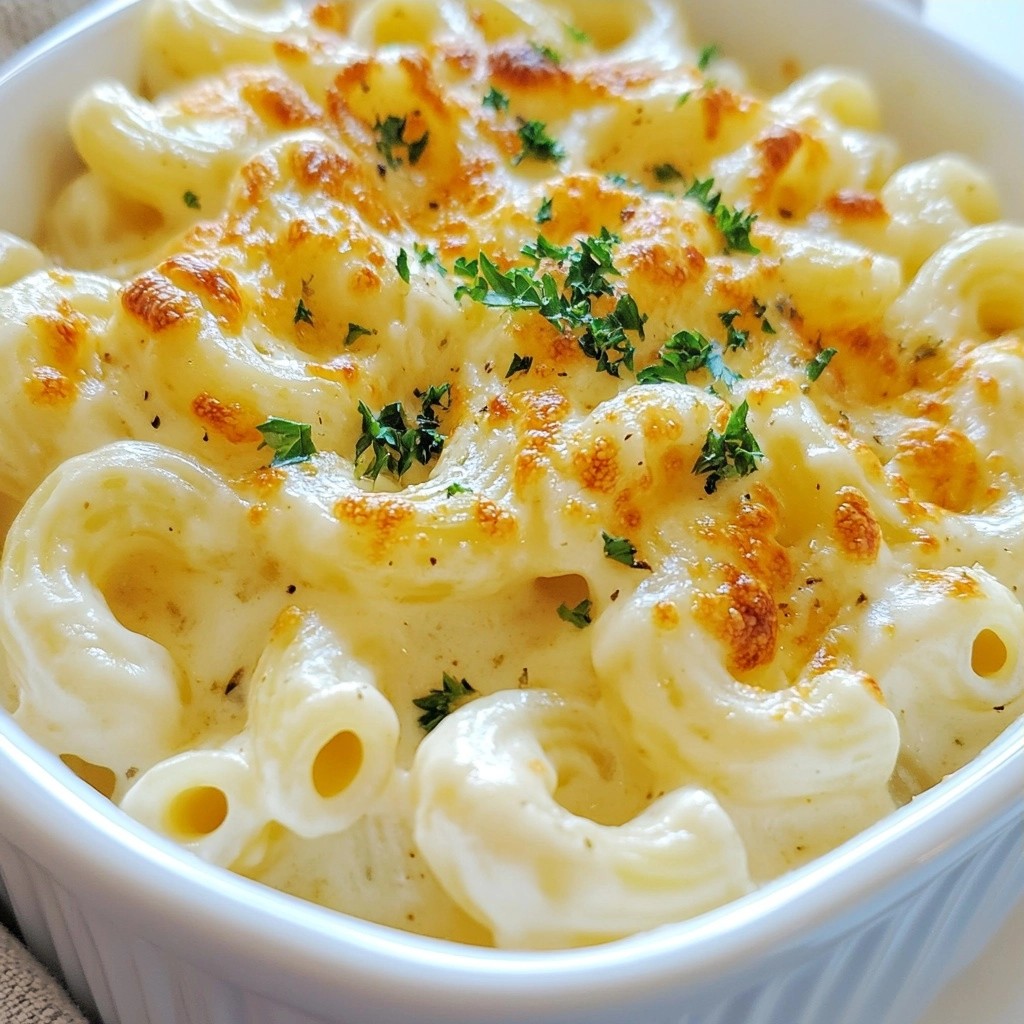
Get ready for a dish that combines rich flavors and comfort! My Creamy Three-Cheese Chicken Baked Ziti is a cheesy dream come true. In this post, I’ll share the easy steps to create this comforting meal. You'll find tips on ingredient swaps, cooking methods, and ways to customize it for any crowd. Let's dive into this cheesy goodness and make your dinner unforgettable!
Why I Love This Recipe
- Comforting Flavor: This dish combines three types of cheese for a rich and creamy profile that is comforting and indulgent.
- Easy to Make: With minimal prep and straightforward steps, this recipe is perfect for weeknight dinners or casual gatherings.
- Great for Leftovers: This baked ziti keeps well in the fridge and tastes even better the next day, making it ideal for meal prep.
- Customizable: You can easily modify this recipe by adding vegetables or different proteins to suit your taste preferences.
Ingredients
Complete List of Ingredients
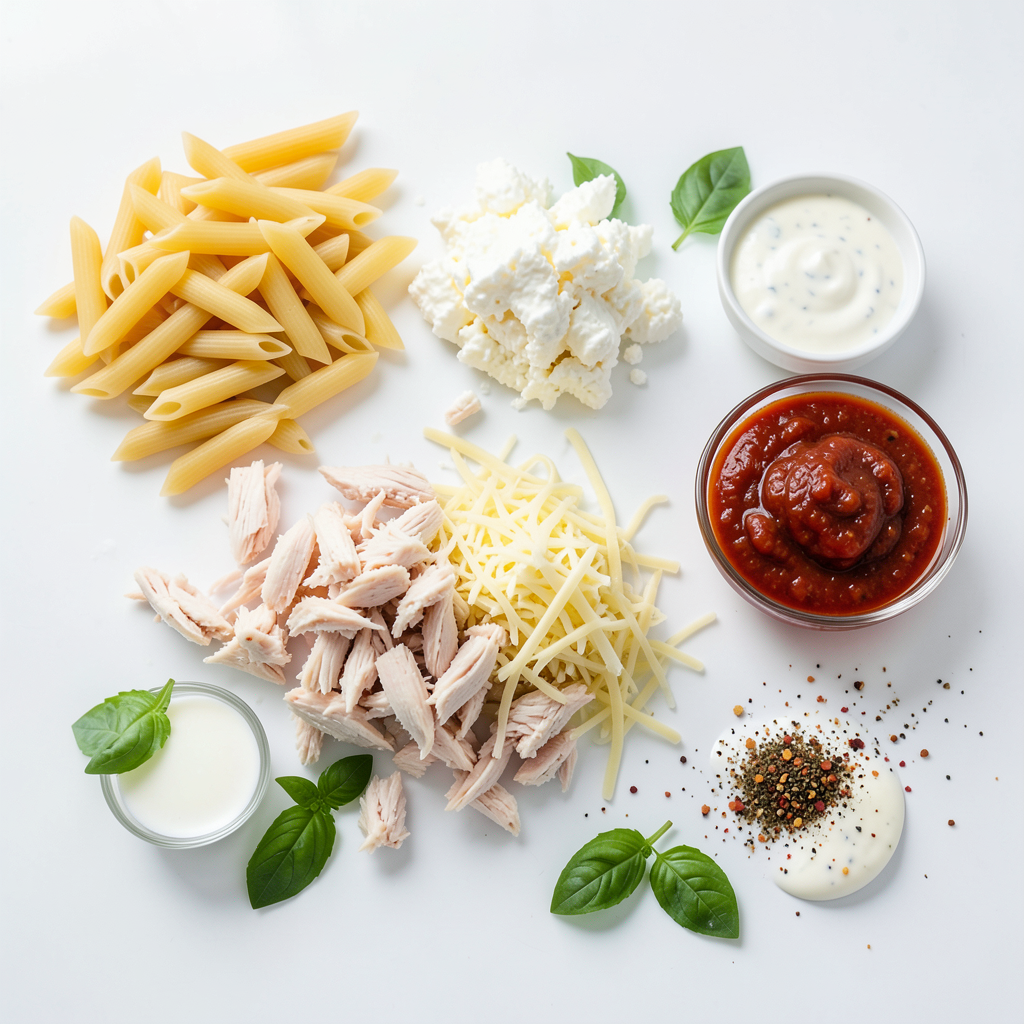
For this creamy delight, gather these simple ingredients:
- 12 oz ziti pasta
- 2 cups cooked chicken, shredded
- 1 cup ricotta cheese
- 1 cup mozzarella cheese, shredded
- ½ cup parmesan cheese, grated
- 2 cups marinara sauce
- 1 cup heavy cream
- 2 cloves garlic, minced
- 1 teaspoon Italian seasoning
- ½ teaspoon red pepper flakes (optional)
- Salt and pepper to taste
- Fresh basil leaves for garnish
Ingredient Substitutions and Tips
You can make this dish your own with easy swaps:
- Pasta: Use penne or rigatoni instead of ziti.
- Cheese: Swap ricotta for cottage cheese for a lighter option.
- Chicken: Use rotisserie chicken for quick prep.
- Cream: For a lighter sauce, use half-and-half instead of heavy cream.
- Herbs: Fresh herbs like thyme or oregano can replace Italian seasoning.
Recommended Kitchen Tools
Having the right tools makes cooking easier:
- Large pot for boiling pasta
- Mixing bowls for combining cheese
- Large skillet for the sauce
- Baking dish for layering
- Aluminum foil to cover the dish while baking
- Measuring cups and spoons for accuracy
These tools and ingredients set you up for a tasty and creamy three-cheese chicken baked ziti. Enjoy the cooking process, and trust me, the end result will be worth it!
Step-by-Step Instructions
Preparation Steps
1. Preheat your oven to 375°F (190°C). This helps get the dish hot quickly.
2. Cook the ziti pasta. Boil salted water and add the ziti. Cook it for 8-10 minutes until al dente. Drain the pasta well and set it aside.
3. Mix the cheeses. In a bowl, combine ricotta, half of the mozzarella, and half of the parmesan. Add a pinch of salt and pepper, then mix until smooth.
4. Sauté the garlic. Heat a skillet over medium heat, add olive oil, and sauté minced garlic for 1 minute. Watch it closely to avoid burning.
Cooking Method
5. Prepare the chicken mixture. Add cooked chicken to the skillet. Stir in marinara sauce, heavy cream, Italian seasoning, and optional red pepper flakes. Let it simmer for 5 minutes.
6. Combine with pasta. Gently fold the cooked ziti into the skillet. Make sure each piece is well-coated in the creamy sauce.
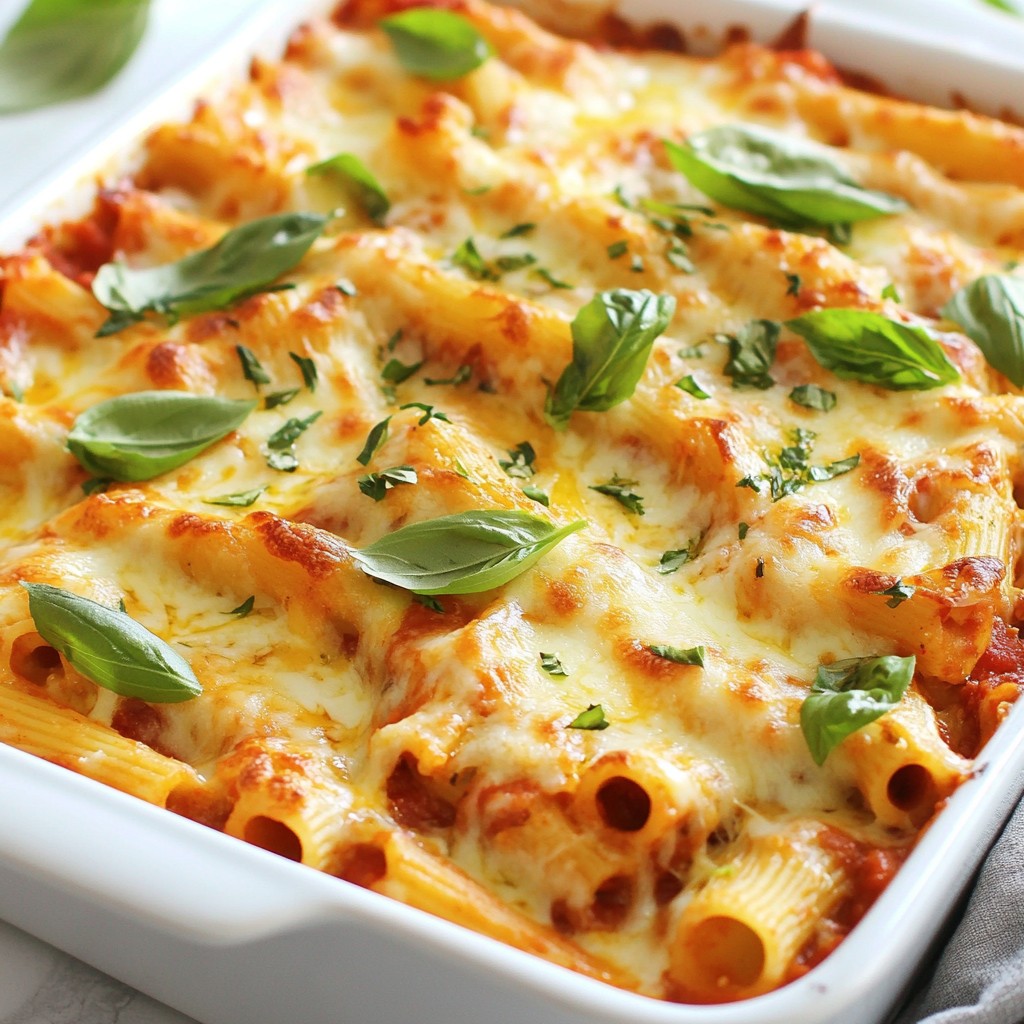
7. Layer in a baking dish. Grease a large baking dish. Spread half of the ziti mixture on the bottom. Spoon half of the cheese mixture over it. Repeat with the remaining ziti and cheese. Top with the rest of the mozzarella and parmesan.
8. Bake the dish. Cover with foil and place it in the oven. Bake for 20 minutes. Then, remove the foil and bake uncovered for another 10-15 minutes until bubbly and golden.
Serving Suggestions
9. Cool before serving. Once baked, take the dish out and let it cool for a few minutes.
10. Garnish and serve. Add fresh basil leaves on top for a pop of color and flavor. Serve directly from the dish or plate individual servings. For extra flavor, drizzle olive oil over the top. Enjoy your meal!
Tips & Tricks
How to Achieve the Perfect Creamy Texture
To get that creamy texture, use heavy cream. It blends perfectly with the cheeses. Mix it well with the marinara sauce before adding the chicken. This step makes every bite rich and smooth. If you want even more creaminess, add a bit more ricotta cheese.
Common Mistakes to Avoid
One common mistake is overcooking the ziti. Cook it until it's al dente, so it holds up in the oven. Another mistake is skimping on salt. It enhances all the flavors in the dish. Lastly, don’t rush the baking time. Let it bake long enough for everything to meld together.
Enhancing Flavor Profiles
For added flavor, use fresh herbs like basil or parsley. They brighten the dish and add freshness. You can also try adding a splash of white wine to the sauce. This gives it a nice depth. If you like heat, include more red pepper flakes. Adjust these flavors to fit your taste.
Pro Tips
- Use Fresh Ingredients: Opt for fresh herbs and high-quality cheeses for the best flavor in your baked ziti.
- Customize Your Cheese: Feel free to mix in different cheeses like gouda or fontina for a unique twist on the classic recipe.
- Make It Ahead: Prepare your baked ziti a day in advance and refrigerate. Just bake it before serving for a hassle-free meal.
- Serve with a Side: Pair your baked ziti with a simple green salad or garlic bread for a complete and satisfying meal.
Variations
Vegetarian Options
You can easily make this dish meat-free. Swap the chicken for cooked lentils or chickpeas. These options add protein and texture. You can also use a plant-based cream to keep the dish creamy.
Adding Extra Vegetables
Want to boost nutrition? Add vegetables! Spinach, zucchini, or bell peppers work well. Chop them small and sauté with the garlic. This will give nice flavor and color to your baked ziti.
Different Cheese Blends
Try mixing different cheeses for new flavors. Gouda or fontina cheese can add a rich taste. You can also use vegan cheese for a dairy-free version. Just ensure it melts well for that creamy texture.
Storage Info
How to Store Leftovers
After you enjoy your Creamy Three-Cheese Chicken Baked Ziti, let it cool. Transfer leftovers to an airtight container. Store in the fridge for up to four days. Make sure to cover it well to keep it fresh. If you want to enjoy it later, freezing is a great option.
Freezing Instructions
To freeze, place the baked ziti in a freezer-safe container. You can also use aluminum foil to wrap it tightly. Be sure to label the container with the date. The ziti can last in the freezer for up to three months. When you are ready to eat it, thaw it in the fridge overnight.
Reheating Tips
When it’s time to reheat, preheat your oven to 350°F (175°C). Place the ziti in an oven-safe dish and cover it with foil. Bake for about 25 to 30 minutes. This keeps the dish moist. You can also microwave individual servings. Just heat for about 2-3 minutes, checking to avoid overheating. Enjoy your creamy, cheesy goodness!
FAQs
How can I make this recipe gluten-free?
To make this dish gluten-free, use gluten-free ziti pasta. Many brands offer options that taste great. Check the pasta section at your local store. Always check labels to ensure no gluten ingredients are present in sauces or other components.
Can I prepare this dish ahead of time?
Yes, you can prep this dish ahead of time. Prepare the ziti and sauce, then layer them in the baking dish. Cover and store it in the fridge for up to 24 hours. When ready to bake, add a few extra minutes to the cooking time as it will be cold.
What sides pair well with Creamy Three-Cheese Chicken Baked Ziti?
Several sides pair nicely with this baked ziti. Consider a simple green salad with a light dressing. Garlic bread is another favorite, adding a nice crunch. Roasted vegetables also complement the creamy dish perfectly. These sides enhance the meal and add color to your table.
This article covers everything you need for a delicious Creamy Three-Cheese Chicken Baked Ziti. You learned about key ingredients, helpful cooking tips, and ideal kitchen tools. I provided step-by-step instructions to make your cooking easier. We also explored variations and storage tips to enjoy your dish later.
Remember, the secret lies in perfecting that creamy texture and avoiding common mistakes. Follow the tips, and you’ll impress everyone at the table. Now, enjoy your time cooking and savoring this tasty dish!