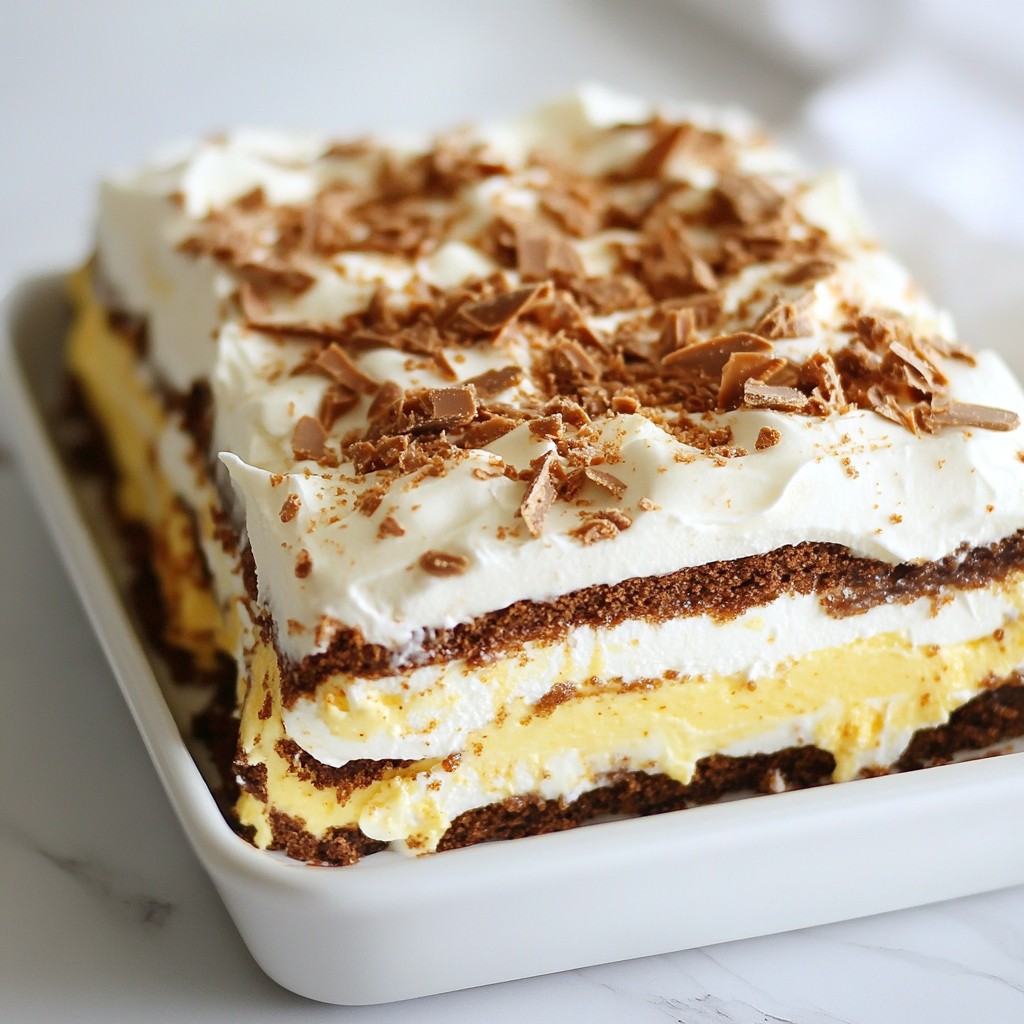
Are you ready to treat yourself to a sweet delight? The Butterfinger Icebox Cake is simple and oh-so-tasty! This no-bake dessert is perfect for any occasion. With layers of creamy goodness and crunchy Butterfinger bits, it’s a crowd-pleaser. I’ll guide you through each step, from picking the right ingredients to perfecting the chilling time. Let’s make this delicious cake together and impress your friends and family!
Why I Love This Recipe
- Decadent Flavor: This cake combines the rich creaminess of cream cheese with the crunch and sweetness of Butterfinger, making every bite a delightful experience.
- No-Bake Convenience: With no baking required, this icebox cake is perfect for warm days or when you want a hassle-free dessert that still impresses.
- Customizable Layers: You can easily modify the layers by adding more candy or different cookies, allowing you to get creative with each preparation.
- Make-Ahead Delight: This recipe tastes even better after resting in the fridge, making it a fantastic option for parties or gatherings.
Ingredients
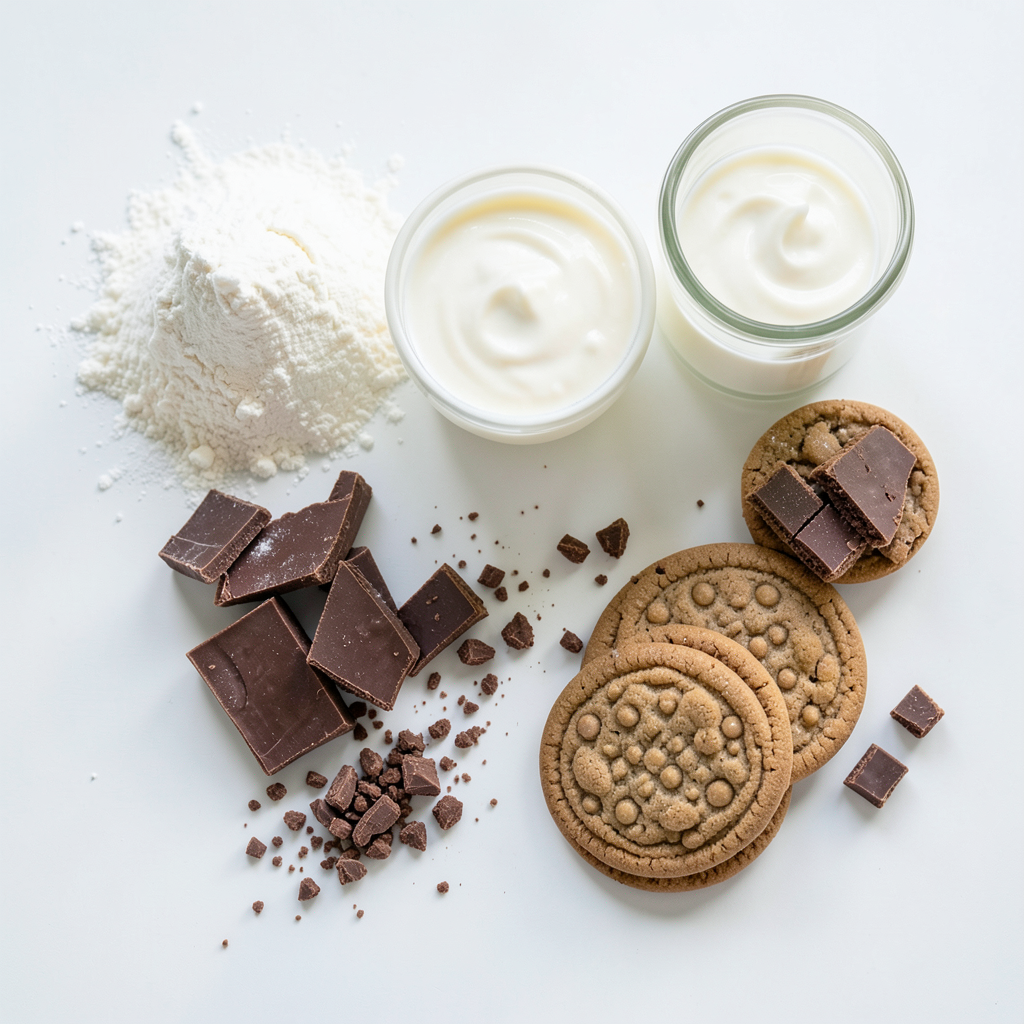
Detailed Ingredient List
To make a Butterfinger Icebox Cake, you will need:
- 1 (8 oz) package cream cheese, softened
- 1 cup powdered sugar, sifted
- 2 cups heavy whipping cream, chilled
- 1 teaspoon pure vanilla extract
- 20 Butterfinger candy bars, crushed
- 30-40 chocolate wafer cookies
- Additional crushed Butterfinger for garnish
These ingredients create a rich and creamy dessert. The cream cheese adds a tangy flavor. The heavy cream gives the cake its light texture. The Butterfinger bars bring a sweet crunch.
Optional Ingredients for Customization
You can change this recipe to suit your taste. Here are some ideas:
- Add chopped nuts for extra crunch.
- Use different candy bars like Snickers or Reese's.
- Swap chocolate wafer cookies for graham crackers.
- Mix in peanut butter for a richer flavor.
Feel free to experiment! Each choice can create a new twist on this dessert.
Substitutions for Dietary Restrictions
If you have dietary needs, you can still enjoy this cake. Here are some substitutions:
- Use vegan cream cheese and whipped coconut cream for a dairy-free option.
- Opt for sugar-free powdered sugar if you want to cut sugar.
- Choose gluten-free cookies if you need a gluten-free version.
These swaps keep the cake tasty while fitting your diet. Always check labels for hidden ingredients to stay safe.
Step-by-Step Instructions
Preparation and Whipping Techniques
To start, gather your ingredients. You need softened cream cheese and sifted powdered sugar. In a large bowl, beat these together with an electric mixer. Mix until you get a smooth and creamy texture. This step is key for a tasty cake. In another bowl, whip the chilled heavy cream. Add pure vanilla extract for flavor. Whip until you see stiff peaks. This will give your cake a light and airy feel. Now, gently fold the whipped cream into the cream cheese mixture using a spatula. Be careful here. You want it mixed well but not deflated.
Layering Process for Optimal Texture
Next, grab a rectangular dish, about 9x13 inches. Start by laying a single layer of chocolate wafer cookies at the bottom. Make sure they cover the base without overlapping. Then, spread a layer of the cream mixture over the cookies. Sprinkle a generous amount of crushed Butterfinger on top. Repeat this process. Add another layer of cookies, then cream, and more Butterfinger. Keep going until you use all your ingredients. The last layer should be the cream mixture. This layering is vital for great texture and flavor.
Chilling and Setting Time Guidelines
Once your layers are done, cover the dish tightly with plastic wrap. Place it in the refrigerator. Let it chill for at least 4 hours. If you have time, let it sit overnight. This helps the flavors mix and the cake to set properly. Just before serving, sprinkle more crushed Butterfinger on top. This adds a nice finish and extra crunch. Now your Butterfinger Icebox Cake is ready to be enjoyed!
Tips & Tricks
Achieving the Perfect Whipped Cream
To make great whipped cream, start with chilled heavy cream. Cold cream whips better. Use a large bowl and a strong mixer. Beat it until you see stiff peaks form. This means the cream holds its shape well. The key is not to overbeat. If you beat too long, it turns into butter.
Time-Saving Tips for Quick Preparation
I love shortcuts in the kitchen. To save time, you can prep the cream cheese a day ahead. Soften it in the fridge overnight. You can also crush the Butterfinger bars early. Just store them in a sealed bag. You can layer the cake faster when you have everything ready.
Troubleshooting Common Issues
Sometimes, things don’t go as planned. If your whipped cream is too soft, it won’t hold layers. You can fix this by chilling it and re-whipping. If the layers slide apart, make sure to chill the cake long enough. A few hours in the fridge helps it set. If you’re worried about the texture, try adding more crushed cookies between layers. This helps hold everything together.
Pro Tips
- Chill Your Bowl: Place your mixing bowl and beaters in the freezer for about 10 minutes before whipping the cream. This helps achieve better volume and stability in the whipped cream.
- Layering Technique: When layering, ensure each layer of cookies is completely covered with the cream mixture to prevent dryness in the final cake.
- Let it Set: For the best texture and flavor, allow the cake to chill overnight. This gives the layers time to meld and the cake to firm up properly.
- Garnish for Impact: Use a mix of crushed Butterfinger and chocolate shavings for garnishing to enhance visual appeal and add extra crunch to each serving.
Variations
Flavor Variations and Mix-Ins
You can change the flavor of your Butterfinger Icebox Cake easily. Try adding crushed Oreos for a cookies-and-cream twist. You could also use peanut butter chips for extra flavor. Another option is to mix in some mini marshmallows. They add a fun texture. You can even layer in caramel sauce for a sweet surprise. Each of these options makes the cake fun and new!
Alternative Garnishes and Toppings
Garnishes can change how your cake looks and tastes. Instead of just crushed Butterfinger on top, try drizzling chocolate syrup for a rich touch. You can also use whipped cream for a light and fluffy finish. Fresh berries, like strawberries or raspberries, add color and freshness. Chopped nuts, like peanuts or almonds, give a nice crunch. You can get creative with these choices!
Gluten-Free and Dairy-Free Adjustments
Making this cake gluten-free is simple. Just use gluten-free chocolate wafer cookies instead of regular ones. For a dairy-free version, use coconut cream instead of heavy cream. You can also swap out cream cheese for a dairy-free cream cheese. These swaps keep the taste good while meeting dietary needs. Enjoy the cake without worry!
Storage Info
Best Practices for Refrigeration
To keep your Butterfinger Icebox Cake fresh, store it in the fridge. Use plastic wrap to cover the dish tightly. This helps keep flavors fresh and prevents drying out. Make sure the cake is fully chilled before wrapping it. This keeps the texture nice and creamy.
Freezing Instructions and Tips
You can freeze Butterfinger Icebox Cake if needed. Slice the cake into portions for easy thawing. Wrap each piece in plastic wrap, then place them in an airtight container. Make sure to label the container with the date. When ready to eat, thaw the cake in the fridge overnight. This keeps it from getting too soft.
Shelf Life of Butterfinger Icebox Cake
When stored properly, your Butterfinger Icebox Cake lasts about 4 to 5 days in the fridge. If you freeze it, it can stay good for up to a month. However, the texture may change slightly after thawing. Enjoy it fresh for the best taste and texture!
FAQs
Can I make Butterfinger Icebox Cake in advance?
Yes, you can make Butterfinger Icebox Cake ahead of time. In fact, chilling it overnight improves the taste. The longer it sits, the more the flavors blend. Just cover it tightly with plastic wrap to keep it fresh in the fridge.
What is the best way to serve Butterfinger Icebox Cake?
The best way to serve this cake is chilled. Cut it into neat squares and place each on a dessert plate. You can add a drizzle of chocolate sauce for fun. The extra crushed Butterfinger on top makes it look great, too.
How can I make this cake healthier?
To make Butterfinger Icebox Cake healthier, consider these swaps:
- Use reduced-fat cream cheese instead of regular.
- Choose low-fat whipped cream or a dairy-free alternative.
- Swap out some powdered sugar for a sugar substitute.
These changes keep the taste while cutting calories.
Why is my Butterfinger Icebox Cake not setting properly?
If your cake is not setting, it might be due to a few reasons:
- The cream wasn’t whipped to stiff peaks.
- It didn’t chill long enough.
- The ratio of cream cheese to cream may be off.
To fix this, ensure you whip the cream well and chill it longer next time.
You now have all the tools to make a delicious Butterfinger Icebox Cake. We covered the key ingredients and how to customize them, plus step-by-step instructions to whip it up perfectly. Remember the tips to avoid common pitfalls and make the most of your variations. Store it right, and your cake will stay fresh and tasty. With a bit of practice, you'll create a treat everyone loves. Enjoy your baking adventure and share your results!