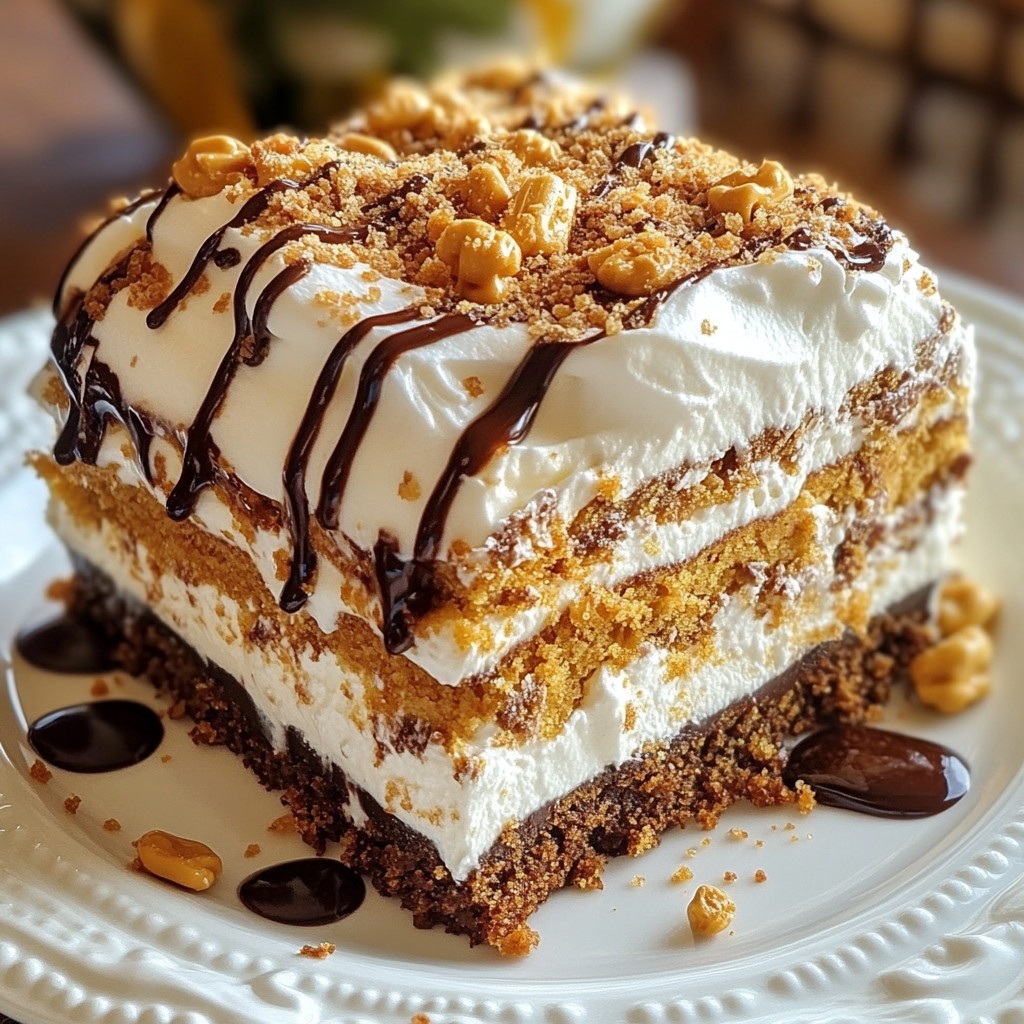
Do you love easy, no-bake desserts? Then you’re in for a treat! This Butterfinger Icebox Cake combines creamy whipped goodness, crunchy layers of Butterfinger candy bars, and smooth peanut butter for a delight like no other. I’ll guide you step-by-step through this simple process to make a show-stopping dessert that’ll impress everyone. Let’s dig in and create a sweet masterpiece!
Why I Love This Recipe
- Decadent Flavor: This cake combines the rich flavors of Butterfinger candy and creamy peanut butter, creating a delightful treat that satisfies any sweet tooth.
- No-Bake Convenience: Perfect for hot days, this icebox cake requires no baking, making it easy to prepare and serve without heating up the kitchen.
- Layered Delight: The combination of layers of creamy whipped topping, crunchy graham crackers, and the sweetness of candy adds texture and visual appeal.
- Perfect for Gatherings: This recipe yields 12 servings, making it an ideal dessert for parties, potlucks, or family gatherings, ensuring everyone gets a taste!
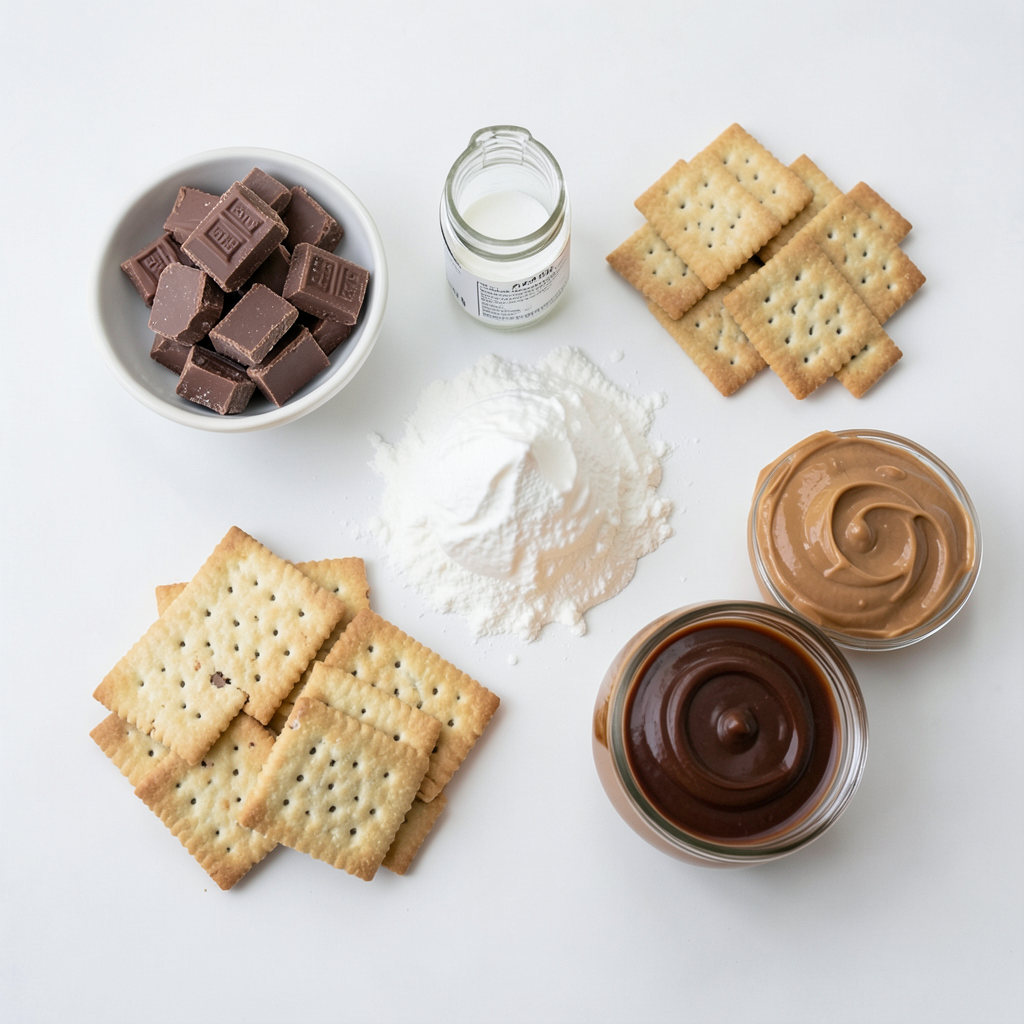
Ingredients
Main Ingredients List
- Butterfinger candy bars
- Heavy whipping cream
- Powdered sugar
- Vanilla extract
- Graham crackers
- Creamy peanut butter
- Chocolate syrup
Measurement Details
- Butterfinger candy bars: 1 package (about 8 bars), crushed
*I recommend using fun-sized bars for easy crushing.*
- Heavy whipping cream: 2 cups
*Look for brands with at least 36% fat for best results.*
- Powdered sugar: 1/2 cup
*Use a high-quality brand for a smooth taste.*
- Vanilla extract: 1 teaspoon
*Pure vanilla extract enhances flavor more than imitation.*
- Graham crackers: 1 package (about 14 crackers)
*Honey-flavored graham crackers add extra sweetness.*
- Creamy peanut butter: 1 cup
*Choose a natural brand without added sugars or oils.*
- Chocolate syrup: 1/2 cup (for drizzling)
*Use a rich chocolate syrup for a decadent touch.*
These ingredients come together to create a delightful no-bake cake. The combination of crunchy Butterfinger, creamy peanut butter, and fluffy whipped cream will surely satisfy your sweet tooth.
Step-by-Step Instructions
Preparation of Whipped Cream
Start by pouring 2 cups of heavy whipping cream into a large bowl. Use a hand mixer or stand mixer. Begin at low speed to avoid splatter. Gradually increase to high speed. This helps the cream whip evenly. Whip until you see soft peaks form. Soft peaks mean the cream holds some shape but is still soft.
Next, add 1/2 cup of powdered sugar and 1 teaspoon of vanilla extract. Keep whipping until you reach stiff peaks. Stiff peaks stand straight up and the cream looks fluffy. This texture is key for a rich, light cake.
Mixing Butterfinger and Peanut Butter
In a separate bowl, take your crushed Butterfinger candy bars. Use about 8 bars, but save some for garnish. Mix these with 1 cup of creamy peanut butter. Stir well until the Butterfinger is evenly spread throughout the peanut butter. The mix should be thick and creamy. Set aside the reserved Butterfinger for later use.
Layering Process
Now, let's build the cake. Start with a graham cracker. Spread a thin layer of whipped cream on one side. Place this whipped side down in a 9x13 inch baking dish. This is your first layer.
Next, spread whipped cream on another graham cracker. Place it on top of the first cracker. Repeat this process. Keep layering graham crackers and whipped cream. Aim for a nice, even layer of whipped cream on top of the last cracker.
Once you finish this layer, spread the Butterfinger and peanut butter mix over the whipped cream. Use a spatula to smooth it out. Add another layer of graham crackers on top.
Continue this layering until all ingredients are used. Make sure the final layer is a generous amount of whipped cream.
To finish, cover the dish tightly with plastic wrap. Chill it in the fridge for at least 4 hours. If you can, let it chill overnight. This allows the flavors to meld and the cake to firm up nicely.
Tips & Tricks
Perfecting the Whipped Cream
To make the best whipped cream, start slow. Begin on low speed to avoid splatter. Gradually increase to high speed until soft peaks form. At this point, add powdered sugar and vanilla extract. Keep mixing until you reach stiff peaks. This means your cream is airy and fluffy.
If you want different flavors, try using flavored extracts. Almond or mint work well. You can also fold in cocoa powder for a chocolate twist. For a lighter option, use whipped topping instead of heavy cream.
Layering Techniques
When you layer the cake, spread each mixture evenly. Use a spatula for smooth layers. Make sure the whipped cream covers every graham cracker. This helps hold everything together.
For stability, let the cake chill properly. A minimum of four hours is needed. Overnight is even better! This time allows the flavors to meld and the cake to firm up.
Serving Suggestions
Presentation is key for this dessert. Slice the cake into squares, then serve on plates. A fresh sprig of mint adds color and a nice touch.
Pair this treat with milk, coffee, or even a scoop of vanilla ice cream. Drizzling extra chocolate syrup on top makes it even richer. Enjoy this treat with friends or family for a fun dessert experience!
Pro Tips
- Chill Your Tools: Before whipping the cream, chill your mixing bowl and beaters in the freezer for about 15 minutes. This helps the cream whip up faster and achieve a better texture.
- Use Fresh Ingredients: Ensure your heavy cream is fresh and not close to its expiration date. Fresh cream whips up better and enhances the overall flavor of your cake.
- Layer Carefully: When layering the graham crackers, ensure each layer is evenly spread with whipped cream and the Butterfinger mixture to prevent any gaps and maintain a sturdy structure.
- Let It Rest: For the best flavor and texture, allow the cake to chill overnight. This resting period allows the flavors to meld beautifully and the cake to set perfectly.
Variations
Ingredient Substitutions
You can switch out heavy cream with coconut cream for a dairy-free option. This gives a rich texture. For peanut butter, try almond butter or sunflower seed butter. Both work well in this cake. If you want a different base, use vanilla wafers or chocolate cookies instead of graham crackers. These swaps keep the flavor fun and exciting.
Flavor Enhancements
Want to mix things up? Add different candy bars like Snickers or Reese's for a twist. Just chop them into small pieces and layer them with the Butterfinger. For the whipped cream, you can infuse flavors like mint or coffee. A drop of peppermint extract or espresso powder adds great depth. These tweaks make each bite even more delightful.
Miniature Versions
For single servings, use small cups or jars. Layer the ingredients just like in the big cake. Adjust the chilling time to about 2 hours for these mini treats. They’ll set faster and still taste amazing. This way, everyone can enjoy their own personal dessert, perfect for parties or gatherings!
Storage Info
Proper Storage Techniques
To keep your Butterfinger Icebox Cake fresh, refrigeration is key. First, make sure to cover the baking dish tightly with plastic wrap. This helps keep out air and moisture. You want to avoid any drying out or absorption of other fridge smells. Storing it in an airtight container works well too. Always place the cake on a flat shelf to maintain its shape.
Freezing Guidelines
Yes, you can freeze your Butterfinger Icebox Cake. Just slice the cake into individual portions. Wrap each piece in plastic wrap and place them in a freezer-safe bag. When you want to enjoy a slice, take it out and thaw it in the fridge overnight. This method keeps the texture nice. Never refreeze once it’s thawed, as it can change the taste.
Shelf Life
In the fridge, this cake lasts about 5 to 7 days. After that, it may start to lose its great taste. Check for signs of spoilage, like a sour smell or changes in color. If the whipped cream looks watery or has separated, it's time to toss it. Always trust your senses when it comes to food safety.
FAQs
Can I use other candy bars instead of Butterfinger?
Yes, you can! Some great options include Snickers, Reese’s, or Milky Way. Each candy gives a unique taste. You might want to try a mix, too. This way, you can create a fun flavor blend. Just chop the candy bars into small pieces before mixing them in.
How long can I leave the cake in the fridge?
The cake should chill for at least 4 hours. This time helps the layers set well. If you can, let it chill overnight. This allows the flavors to blend even better. The cake can stay in the fridge for up to 3 days. Make sure to cover it tightly to keep it fresh.
Can I make Butterfinger Icebox Cake in advance?
Absolutely! This cake is perfect for planning ahead. You can make it a day or two before your event. Just store it in the fridge until you’re ready to serve. This gives you more time to enjoy your party. Plus, it tastes even better after sitting a bit!
This blog post showed you how to create a delicious Butterfinger Icebox Cake. We explored key ingredients, precise measurements, and step-by-step instructions. You learned tips for perfecting the whipped cream and layering techniques. Variations give you creative choices while storage info ensures you keep it fresh.
Now you have the tools to make this treat your own. Enjoy creating a dessert that will impress everyone!