FREE DINNER EBOOK!
Get your copy!
Cookie Policy
GDPR Policy
Disclaimer
Terms Of Use
Visit my other site:
Fun Cookie Recipes
Home
Dinner
Desserts
Drinks
Appetizers
Contact
About
Privacy Policy
Home
Dinner
Desserts
Drinks
Appetizers
Contact
About
Privacy Policy
Cookie Policy
GDPR Policy
Disclaimer
Terms Of Use
Visit my other site:
Fun Cookie Recipes
HOME / CATEGORIES /
Latest
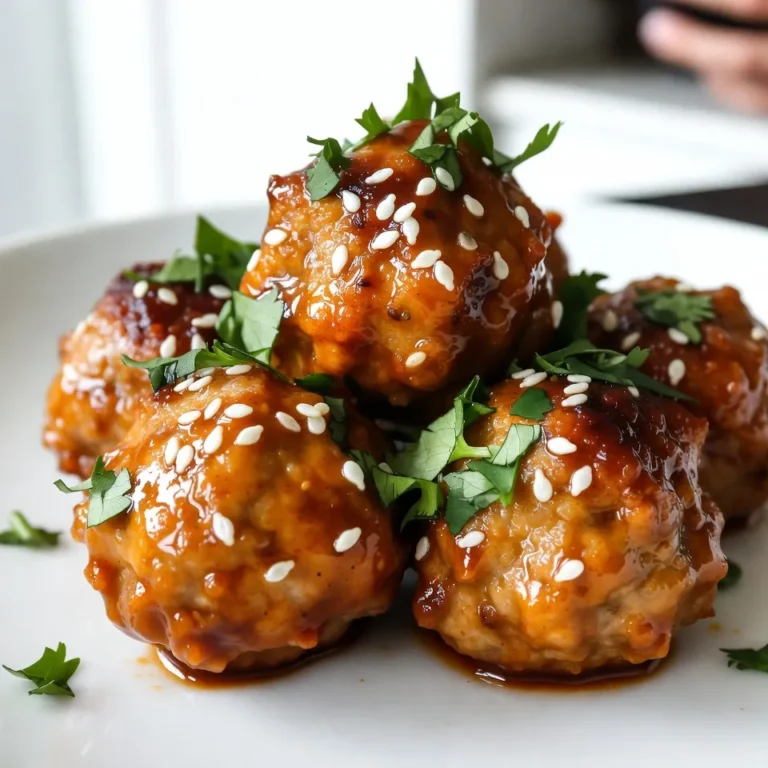
Firecracker Chicken Meatballs Tasty and Quick Recipe
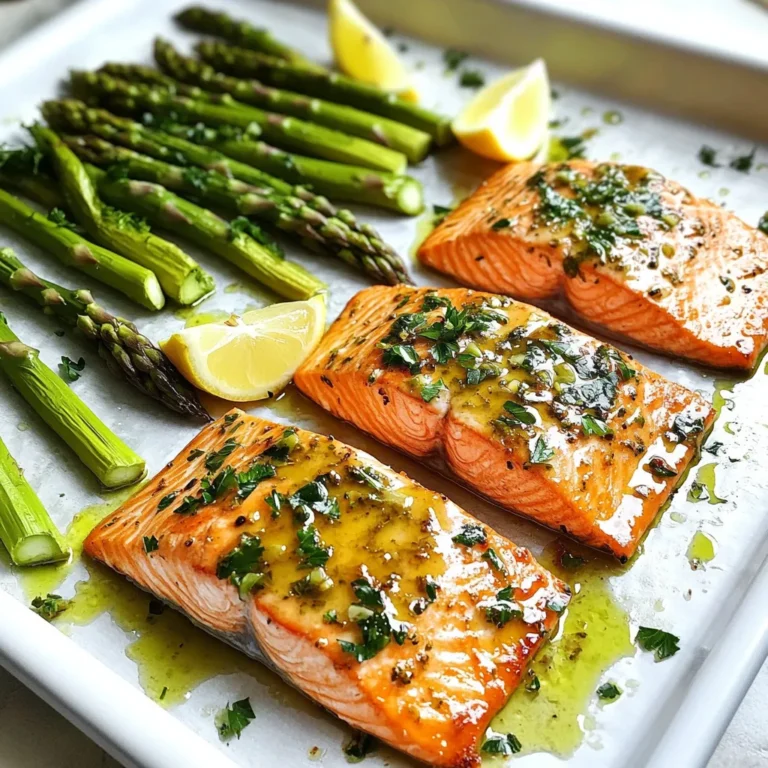
Garlic Herb Salmon & Asparagus Sheet Pan Delight
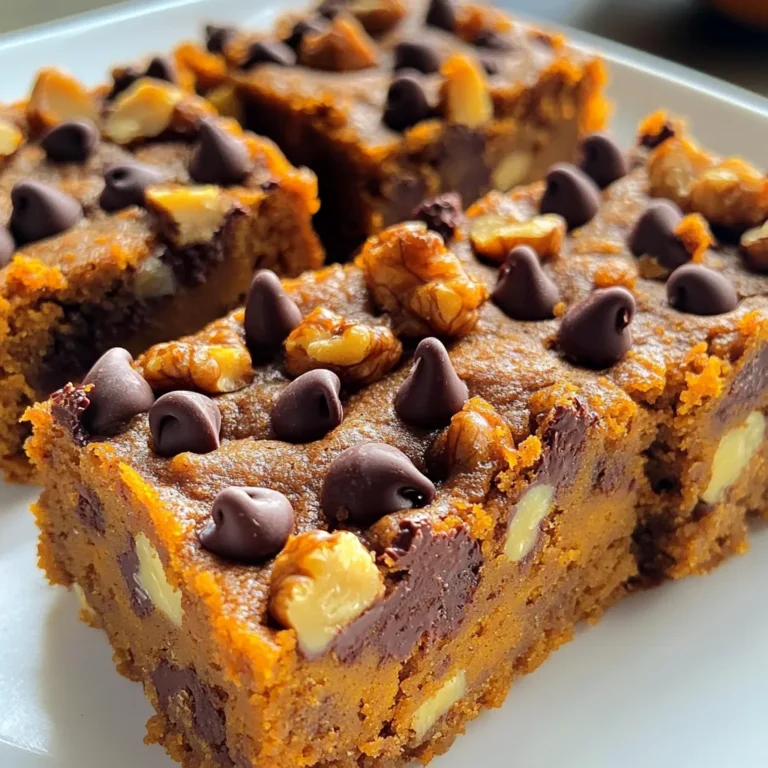
Pumpkin Chocolate Chip Bars Irresistibly Delicious Treat
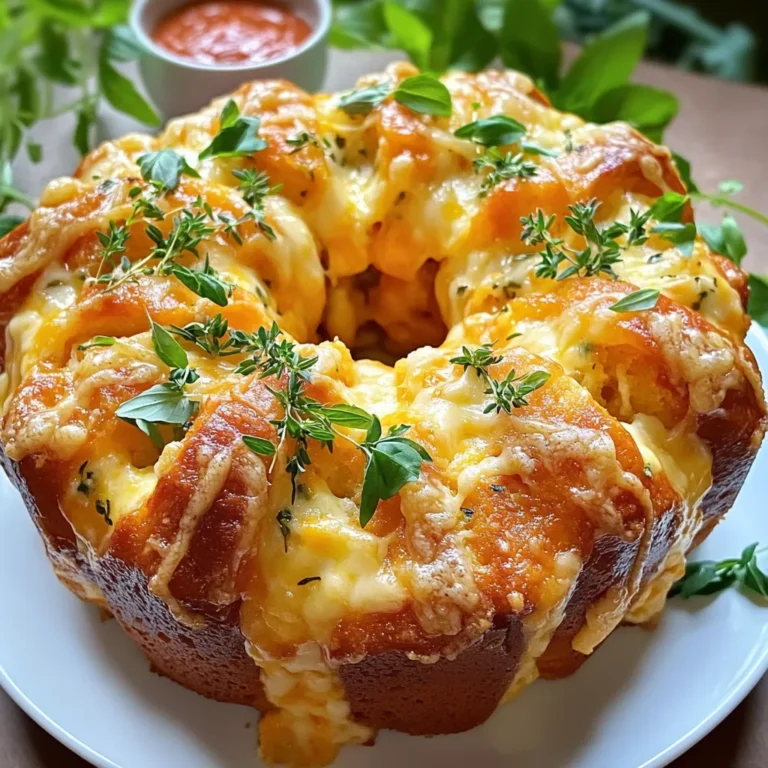
Herb Cheese Monkey Bread Simple and Delicious Recipe
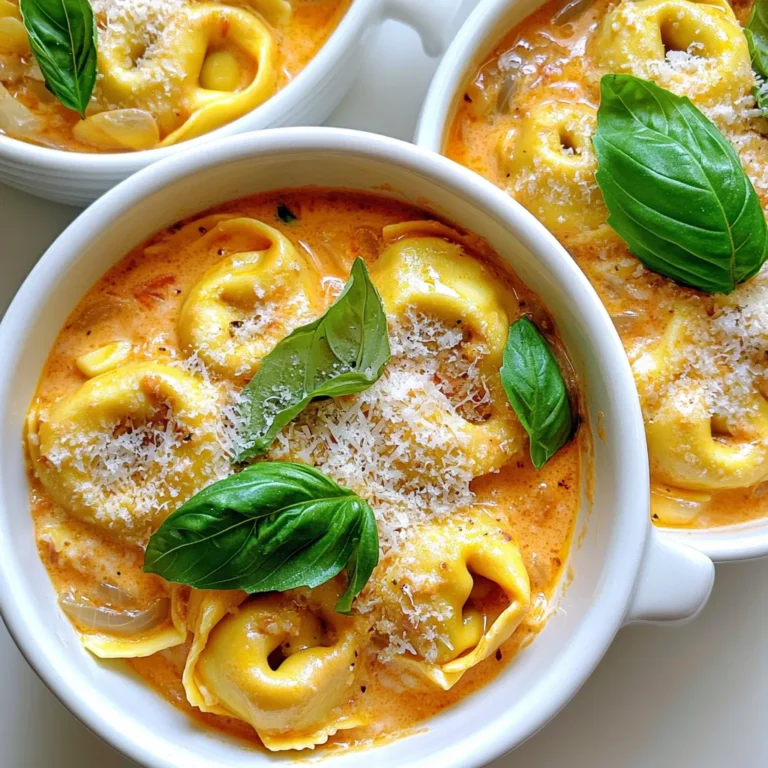
Creamy Tomato Basil Tortellini Rich and Flavorful Meal
Greek Lemon Chicken Soup Nutritious and Simple Recipe
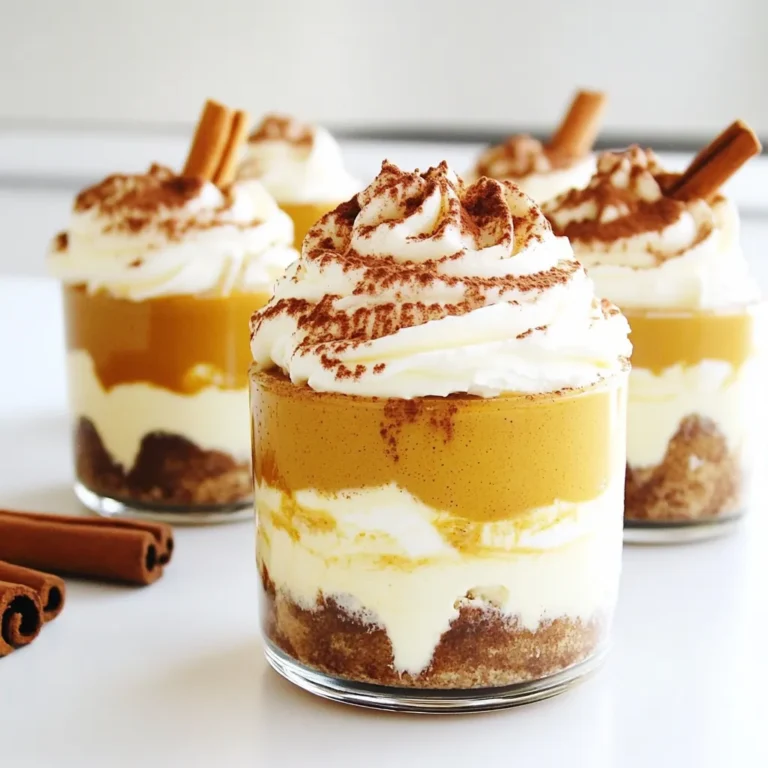
Pumpkin Latte Tiramisu Cups Simple and Delicious Treat
Creamy Lemon Chicken Orzo Soup Savory and Simple Recipe
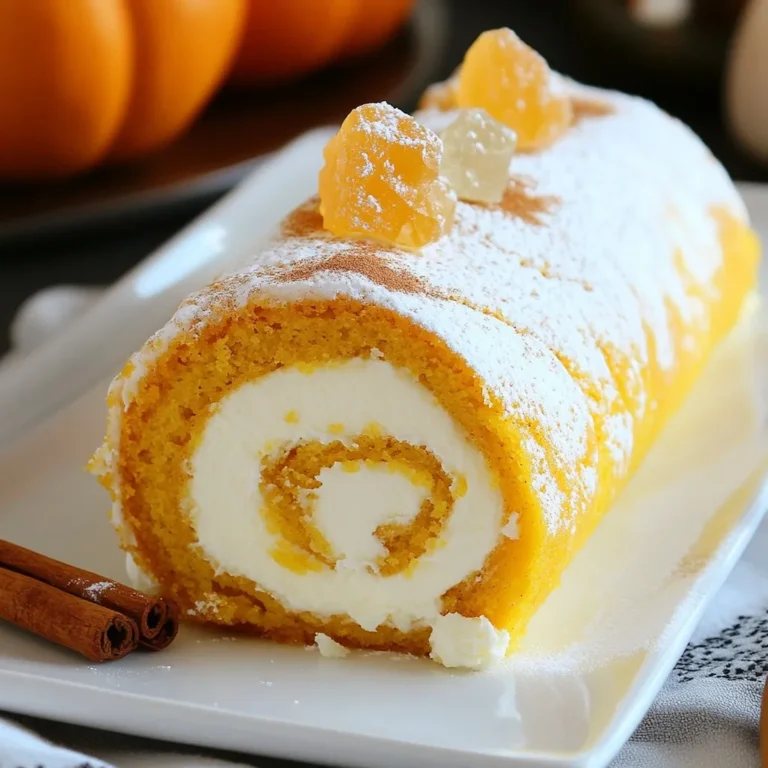
Pumpkin Cream Cheese Roll Delightful and Easy Recipe
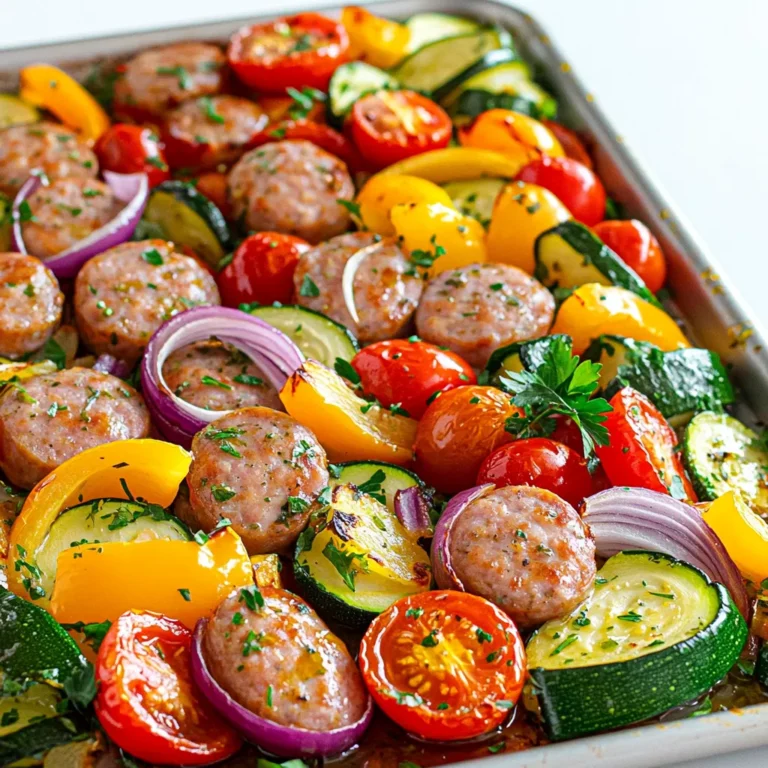
Savory Sheet-Pan Sausage & Veggies Easy Dinner Idea
PREV
1
…
6
7
8
…
47
NEXT