FREE DINNER EBOOK!
Get your copy!
Cookie Policy
GDPR Policy
Disclaimer
Terms Of Use
Visit my other site:
Fun Cookie Recipes
Home
Dinner
Desserts
Drinks
Appetizers
Contact
About
Privacy Policy
Home
Dinner
Desserts
Drinks
Appetizers
Contact
About
Privacy Policy
Cookie Policy
GDPR Policy
Disclaimer
Terms Of Use
Visit my other site:
Fun Cookie Recipes
HOME / CATEGORIES /
Latest
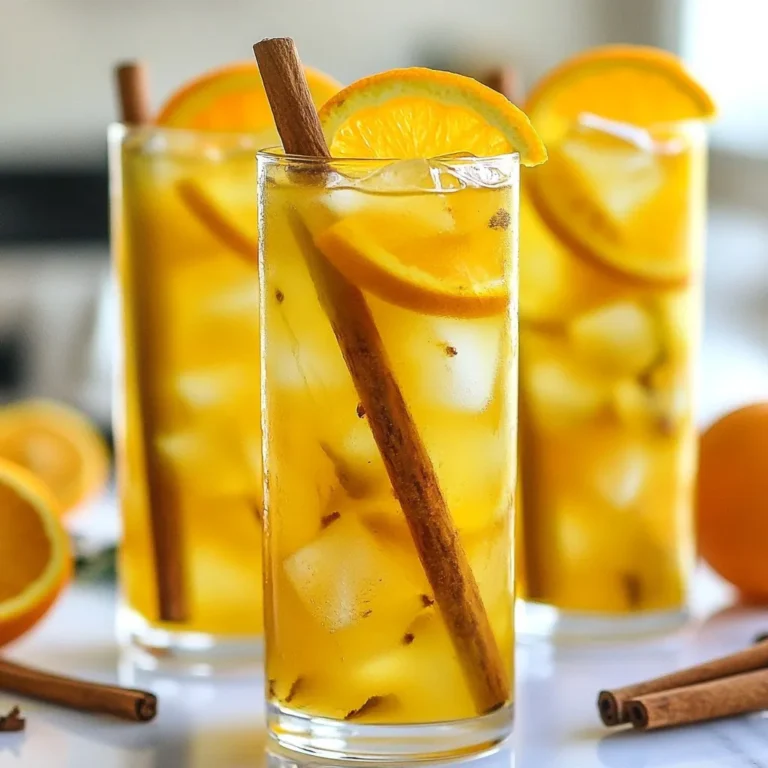
Orange Cinnamon Iced Tea Refreshing Summer Drink
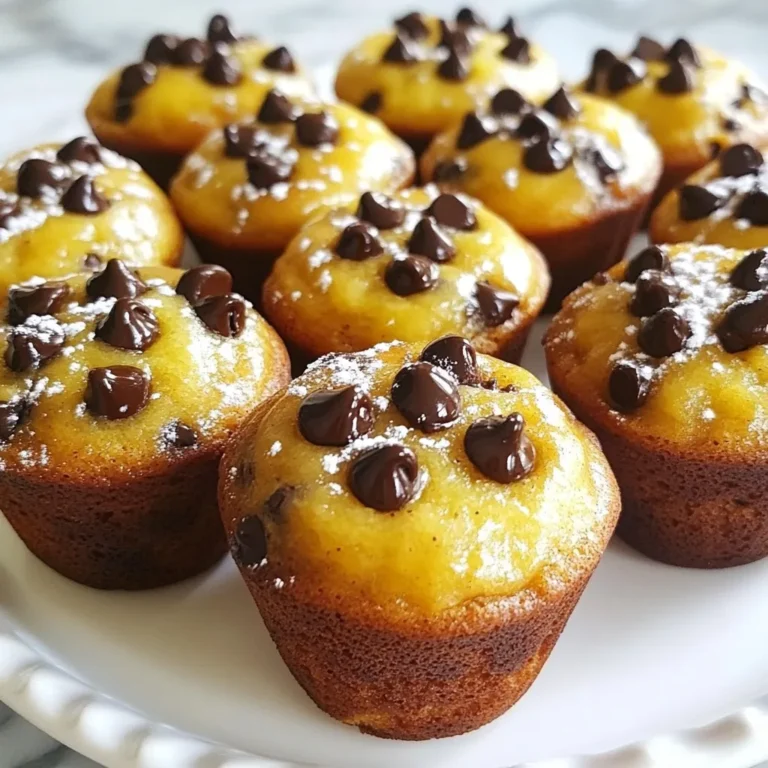
Chocolate Chip Banana Bread Muffins Simple Recipe
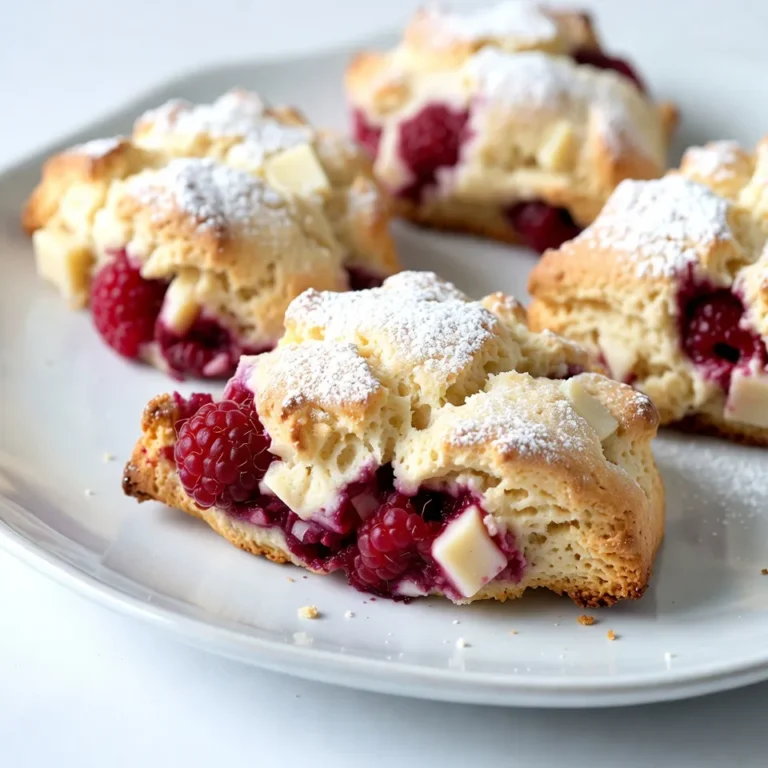
White Chocolate Raspberry Scones Tasty and Easy Recipe
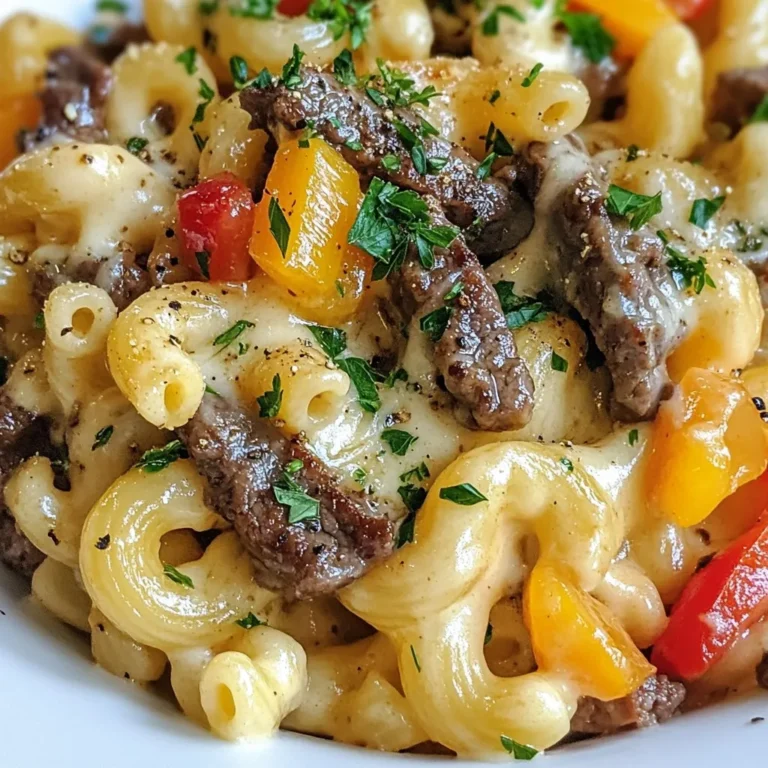
Protein Philly Cheesesteak Mac and Cheese Delight
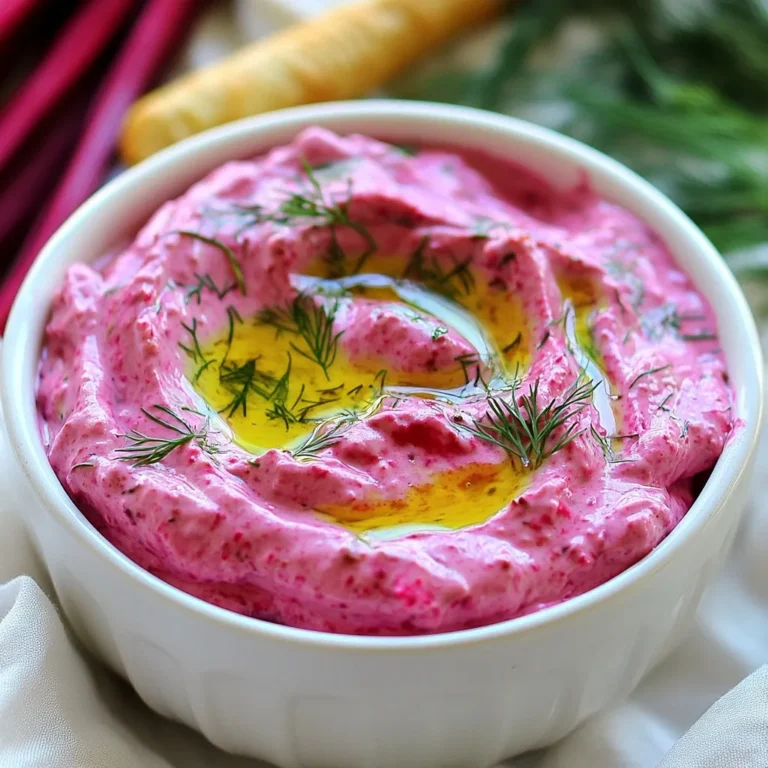
Greek Beetroot Yogurt Dip Delicious and Creamy Delight
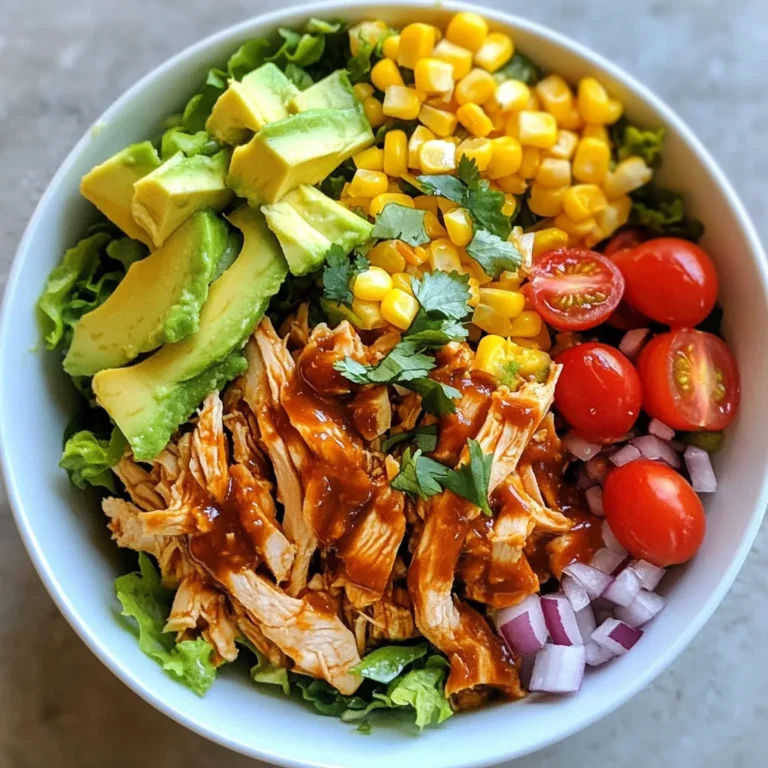
BBQ Chicken Chopped Salad Zesty and Flavorful Meal
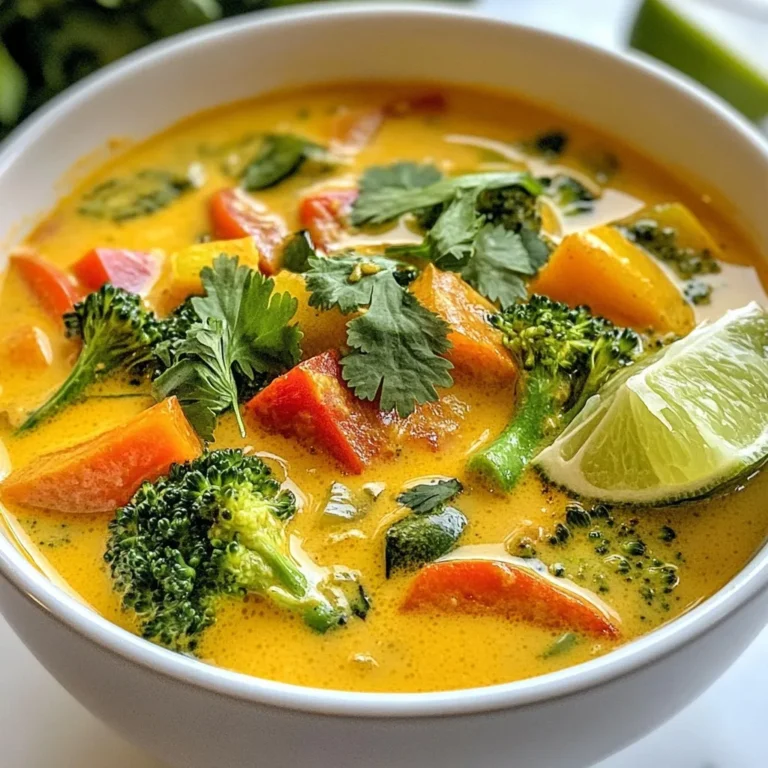
Vegan Thai Coconut Curry Soup Flavorful and Easy Recipe
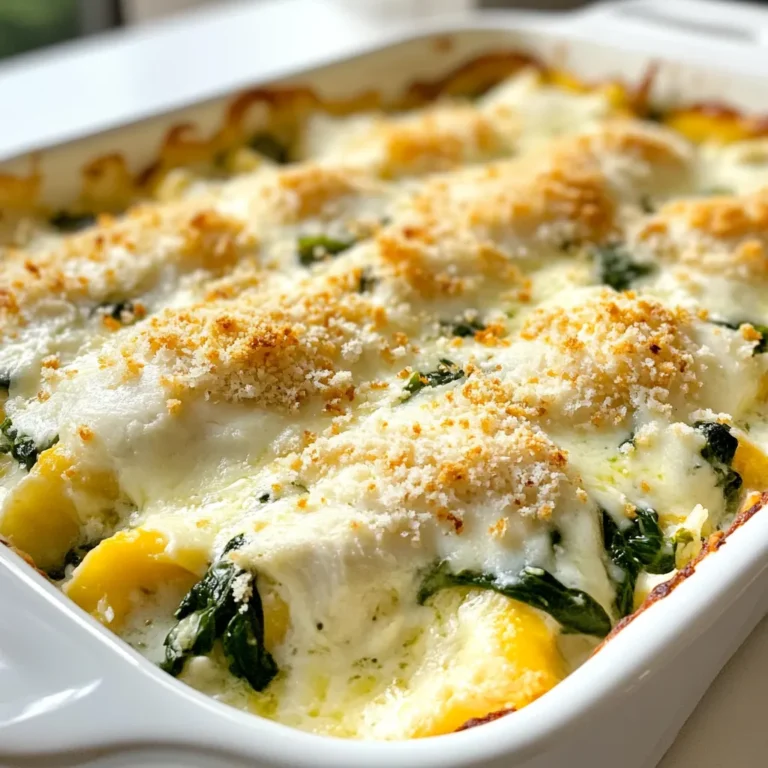
Chicken and Spinach Cream Cheese Casserole Delight
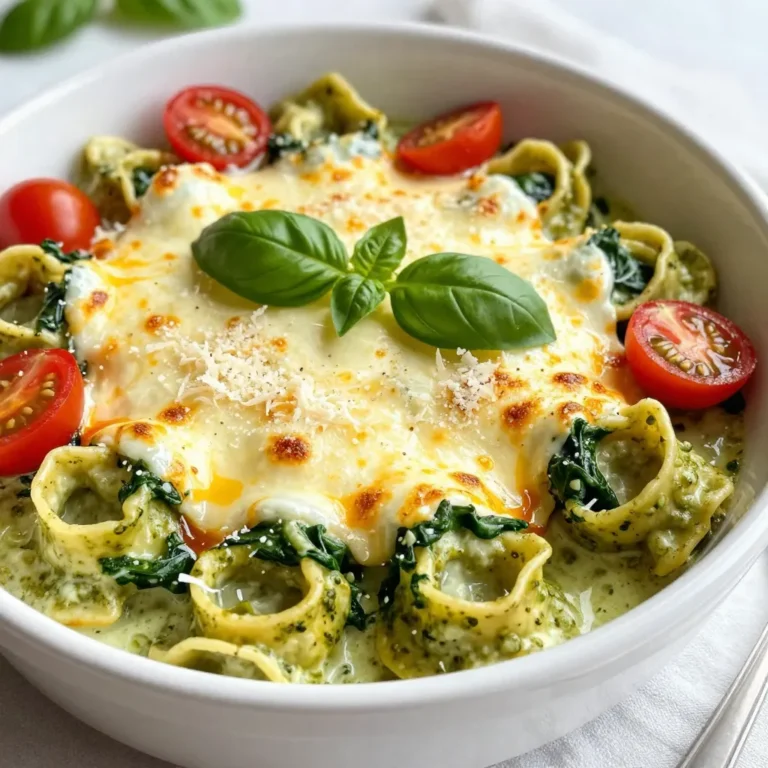
Creamy Pesto Tortellini Bake Tasty Dinner Recipe
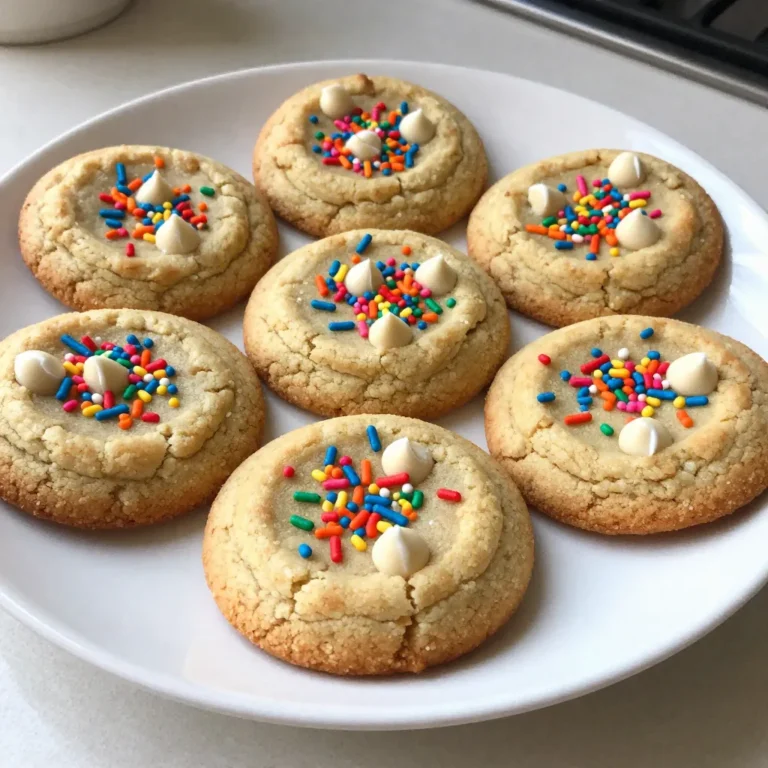
Funfetti Birthday Cake Cookies Easy and Delicious Treat
PREV
1
…
4
5
6
…
47
NEXT