FREE DINNER EBOOK!
Get your copy!
Cookie Policy
GDPR Policy
Disclaimer
Terms Of Use
Visit my other site:
Fun Cookie Recipes
Home
Dinner
Desserts
Drinks
Appetizers
Contact
About
Privacy Policy
Home
Dinner
Desserts
Drinks
Appetizers
Contact
About
Privacy Policy
Cookie Policy
GDPR Policy
Disclaimer
Terms Of Use
Visit my other site:
Fun Cookie Recipes
HOME / CATEGORIES /
Latest
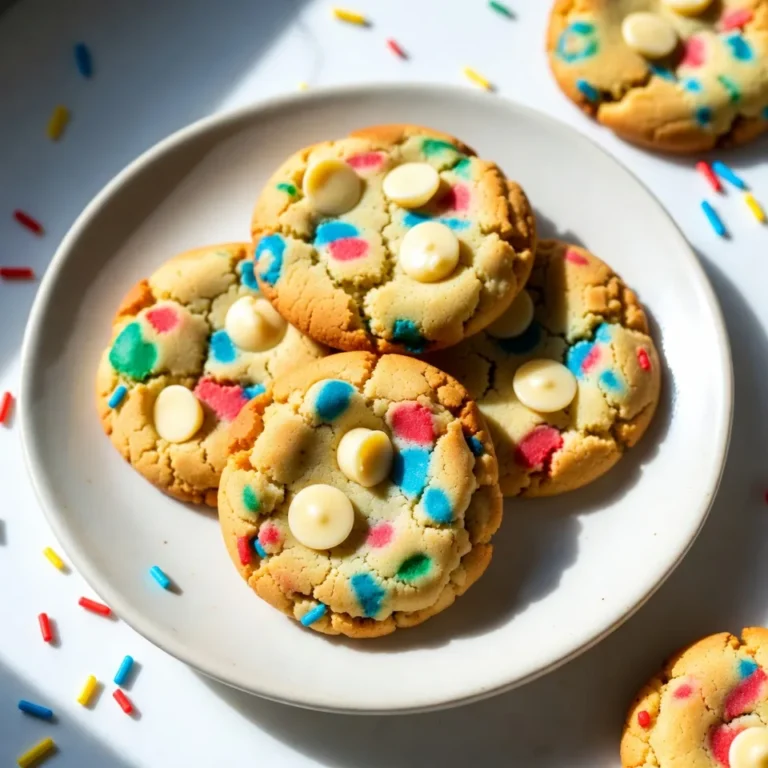
Funfetti Birthday Cake Cookies Colorful and Delicious Treat
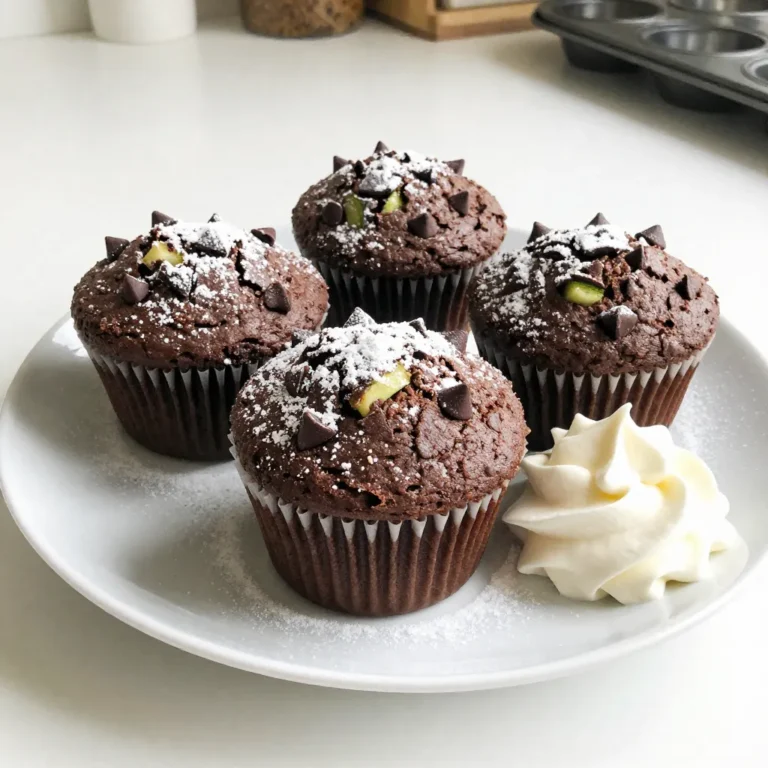
Double Chocolate Zucchini Muffins Rich and Moist Treat
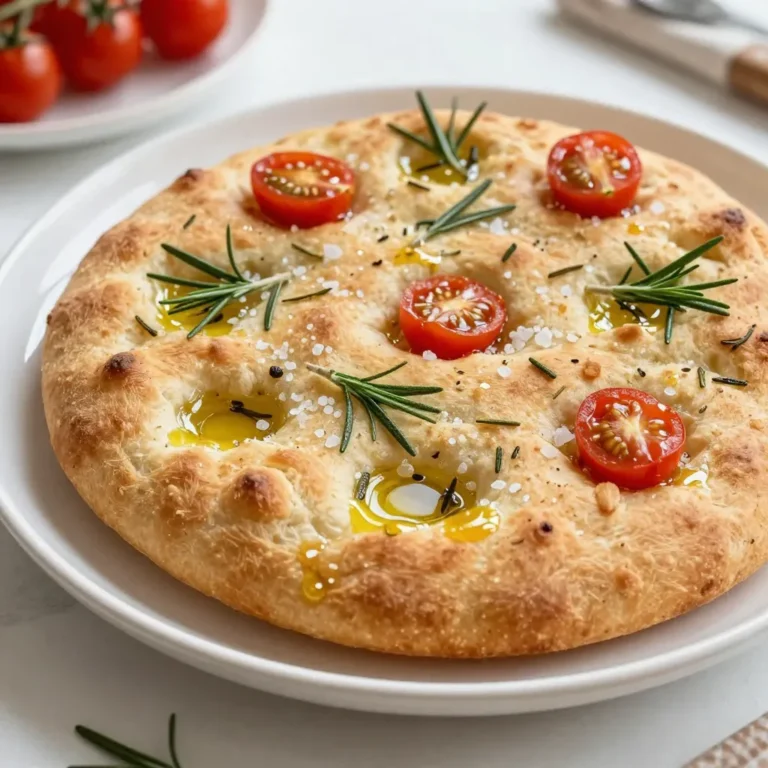
Rustic Rosemary Focaccia Fresh and Flavorful Bread
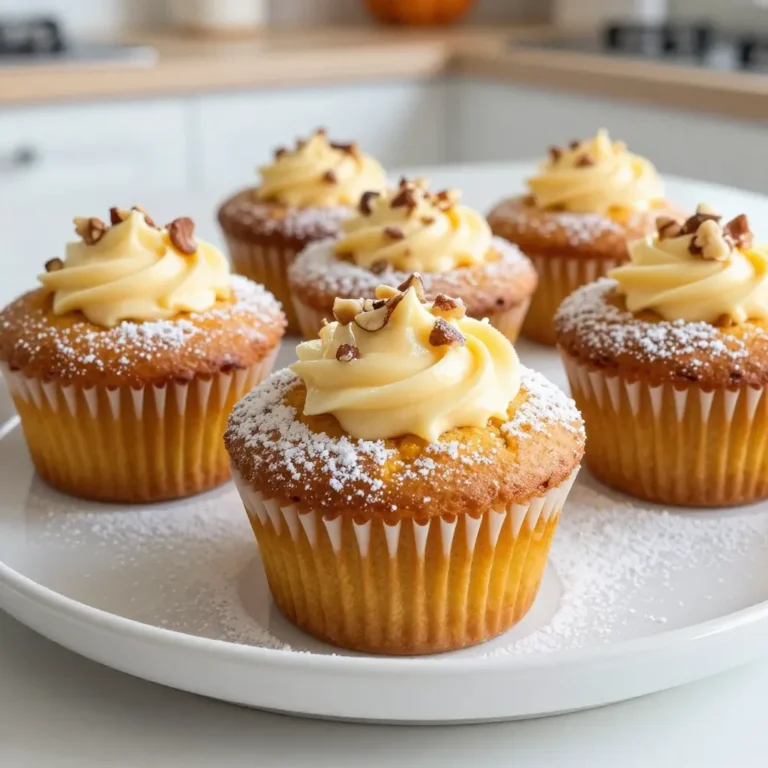
Pumpkin Cream Cheese Muffins Perfectly Delicious Treat
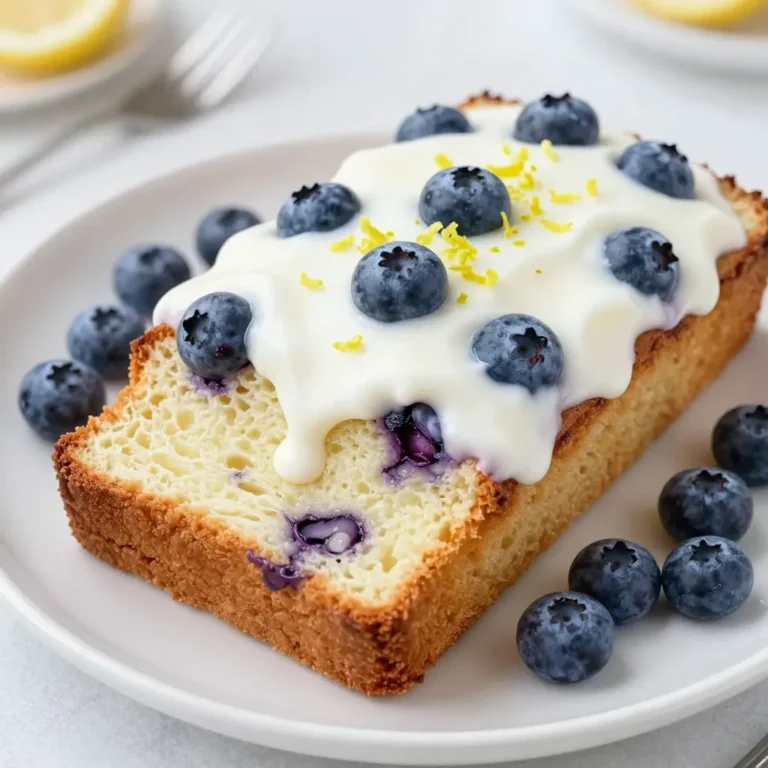
Lemon Blueberry Yogurt Loaf Fresh and Flavorful Treat
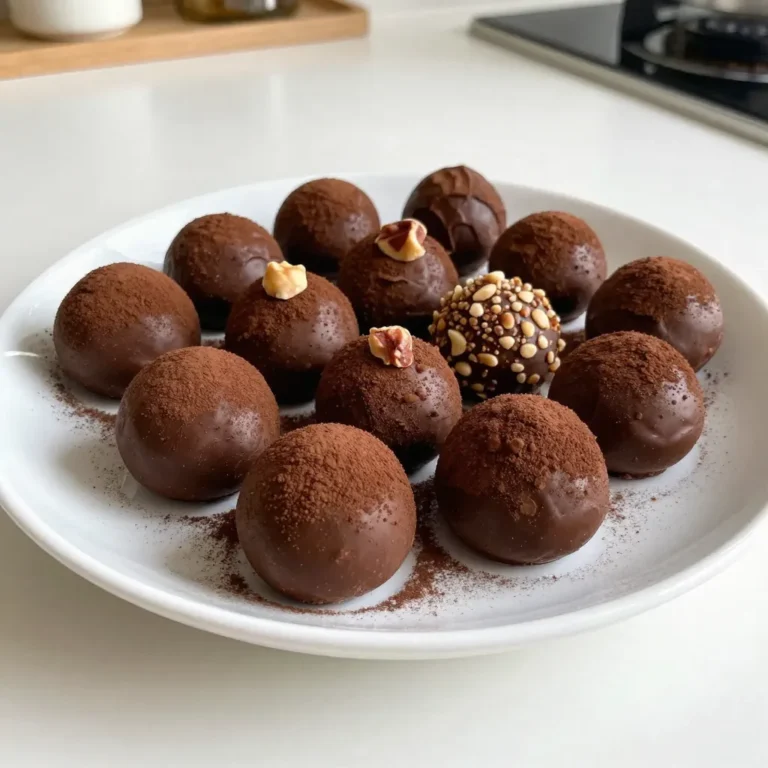
Easy Coffee Truffles Simple Indulgence Recipe
Vegan Buffalo Chickpea Wraps Easy and Flavorful Meal
Homemade One-Pot Hamburger Helper Quick and Easy Meal
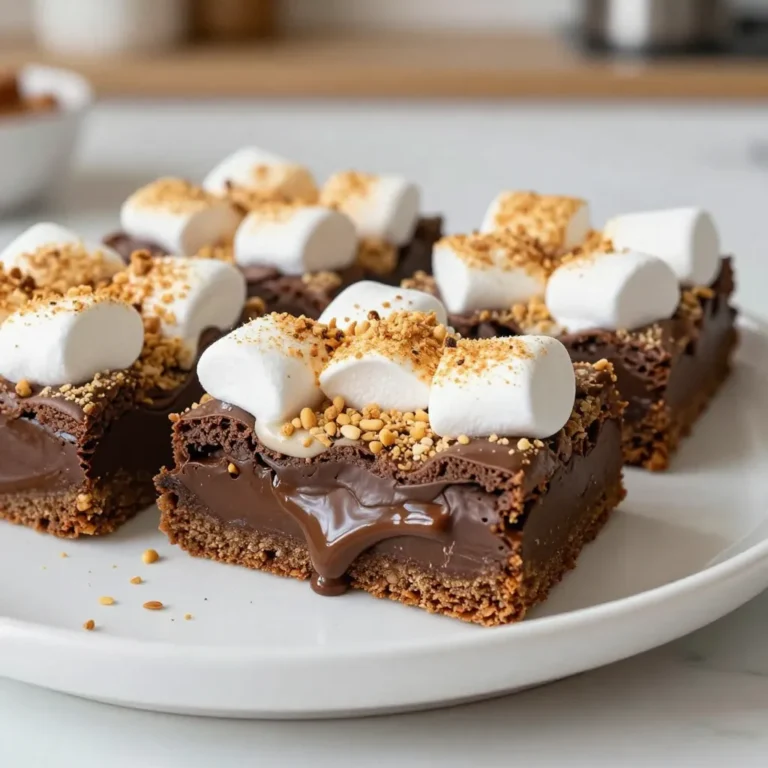
S’mores Brownie Bars Tasty Camping Dessert Delight
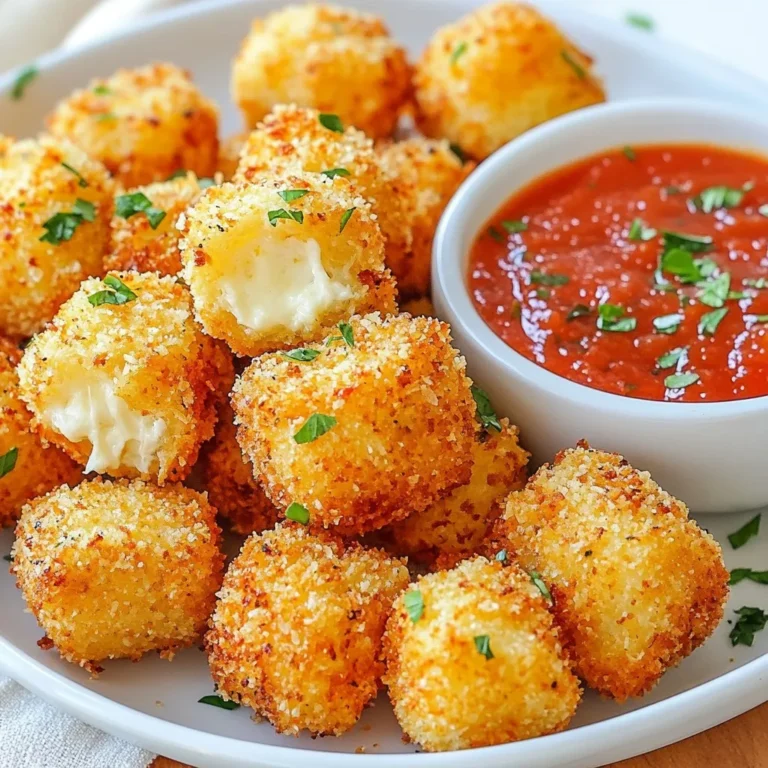
Cheesy Parmesan Mozzarella Bites Simple Snack Recipe
PREV
1
…
3
4
5
…
47
NEXT