FREE DINNER EBOOK!
Get your copy!
Cookie Policy
GDPR Policy
Disclaimer
Terms Of Use
Visit my other site:
Fun Cookie Recipes
Home
Dinner
Desserts
Drinks
Appetizers
Contact
About
Privacy Policy
Home
Dinner
Desserts
Drinks
Appetizers
Contact
About
Privacy Policy
Cookie Policy
GDPR Policy
Disclaimer
Terms Of Use
Visit my other site:
Fun Cookie Recipes
HOME / CATEGORIES /
Latest
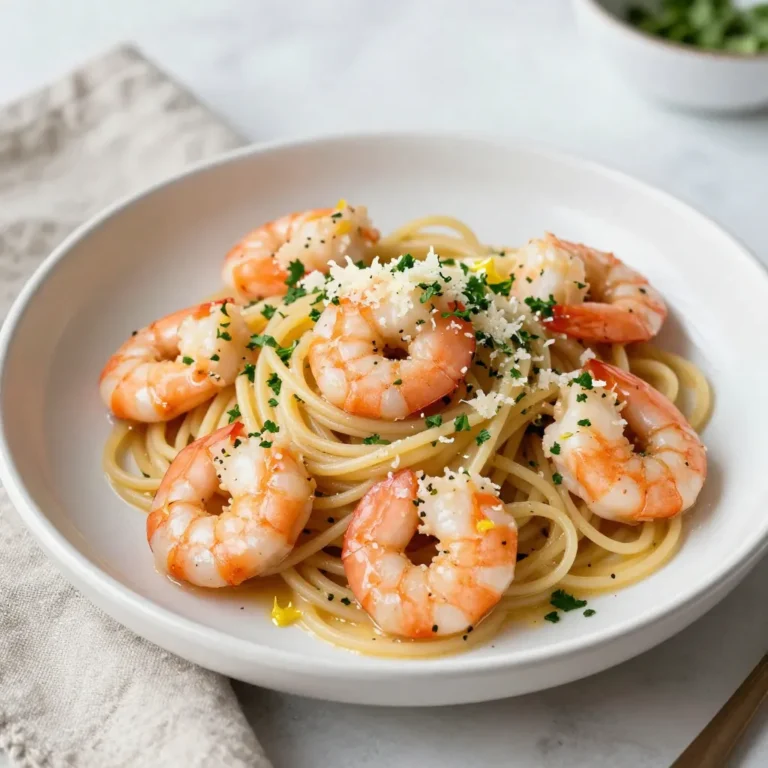
Savory Shrimp Scampi Linguine Quick and Easy Recipe
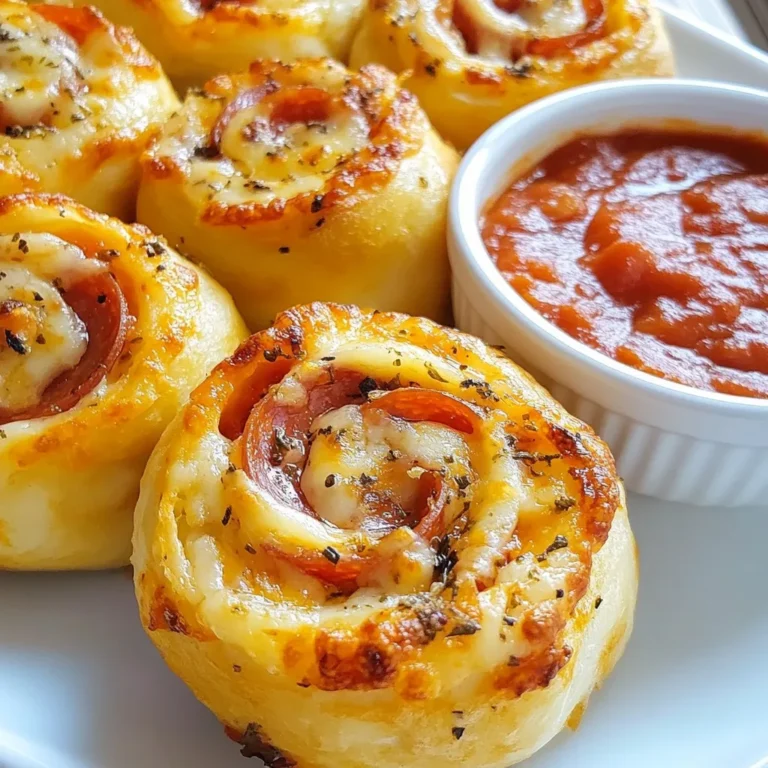
Pepperoni Pizza Protein Rolls Tasty and Easy Recipe
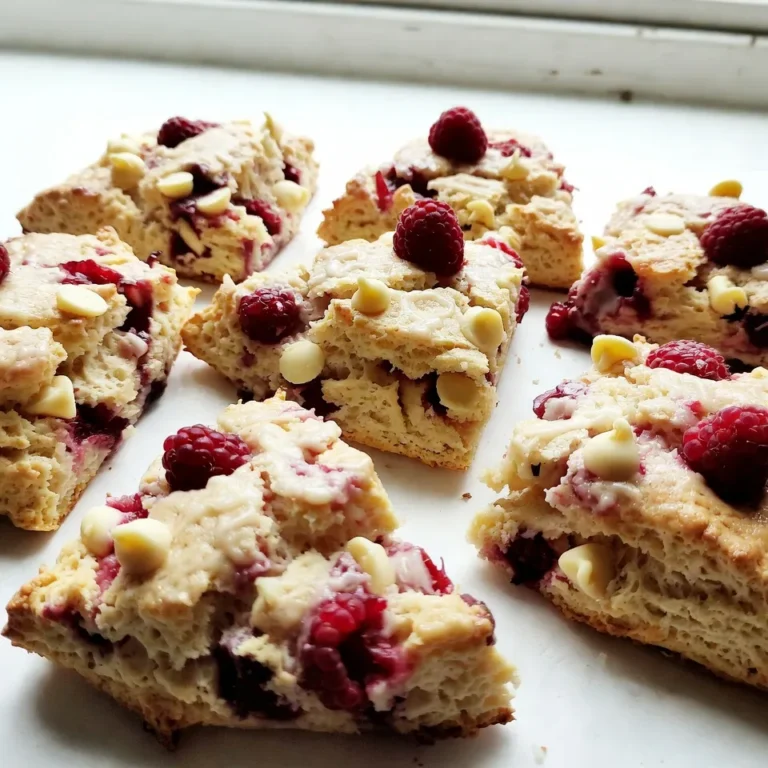
Raspberry White Chocolate Scones Flaky and Delicious
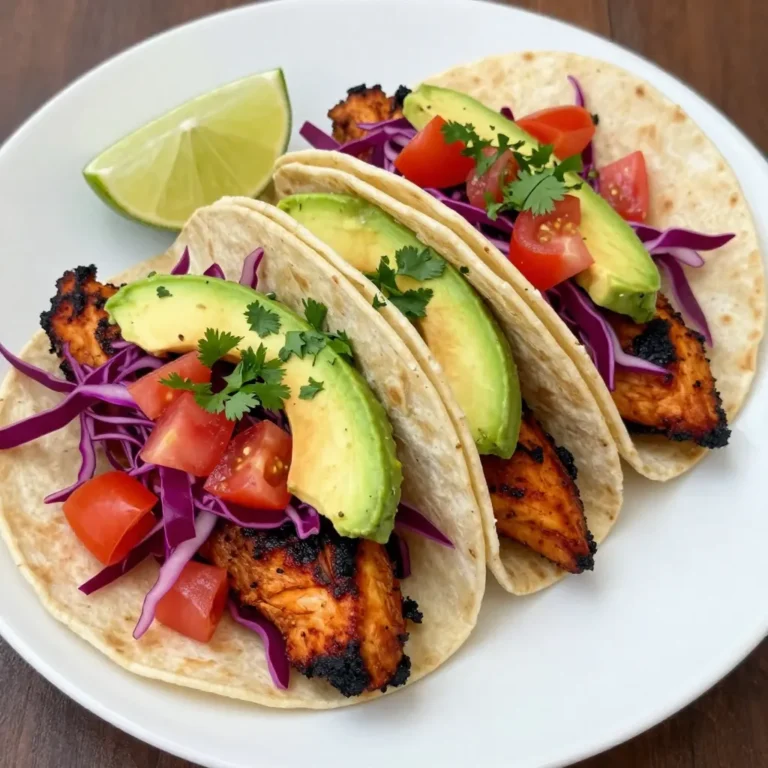
Smoky Chipotle Chicken Tacos Flavorful and Easy Recipe
Roasted Red Pepper Hummus Rich and Flavorful Dip
Everything Bagel Cheese Ball Flavorful and Simple Appetizer
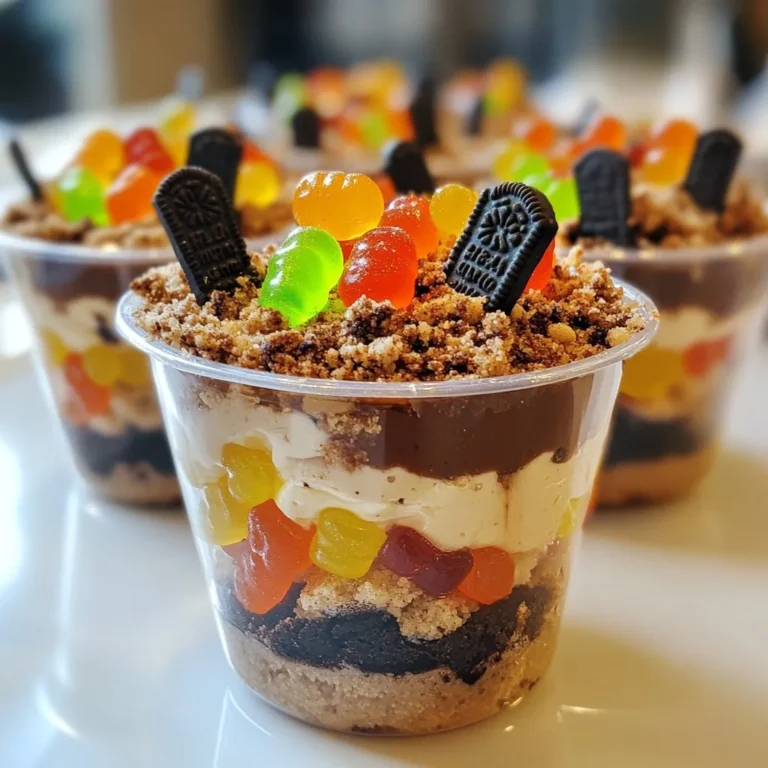
Graveyard Dirt Cake Cups Simple Halloween Delight
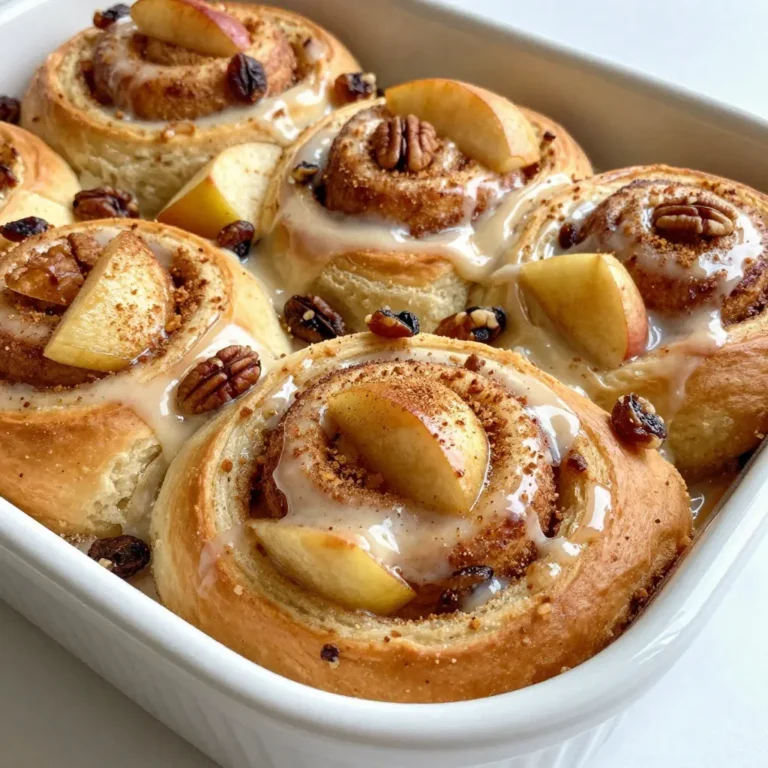
Apple Cinnamon Roll Bake Irresistible Morning Treat
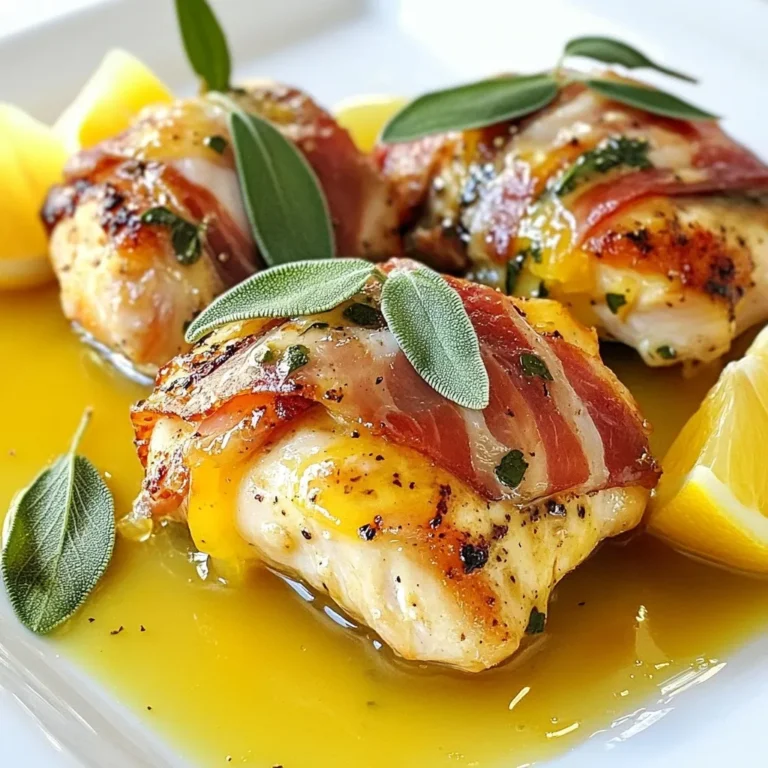
Italian Chicken Saltimbocca Flavorful and Easy Recipe
Caramel Pecan Sticky Buns Irresistible Easy Recipe
PREV
1
2
3
4
…
47
NEXT