FREE DINNER EBOOK!
Get your copy!
Cookie Policy
GDPR Policy
Disclaimer
Terms Of Use
Visit my other site:
Fun Cookie Recipes
Home
Dinner
Desserts
Drinks
Appetizers
Contact
About
Privacy Policy
Home
Dinner
Desserts
Drinks
Appetizers
Contact
About
Privacy Policy
Cookie Policy
GDPR Policy
Disclaimer
Terms Of Use
Visit my other site:
Fun Cookie Recipes
HOME / CATEGORIES /
Latest
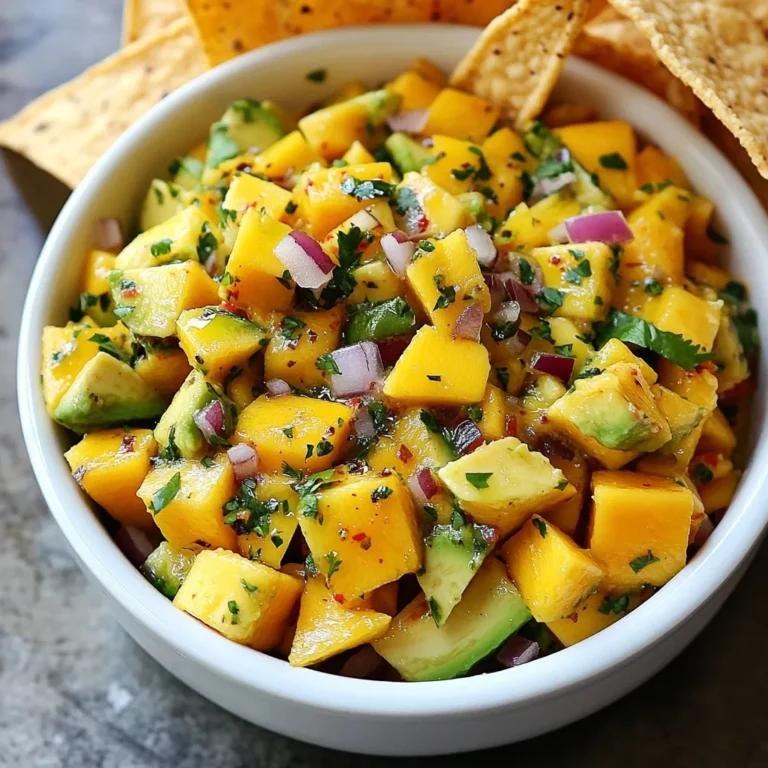
Mango Avocado Salsa Irresistible Fresh Flavor Delight
Garlic Parmesan Chicken Bites Simple and Tasty Snack
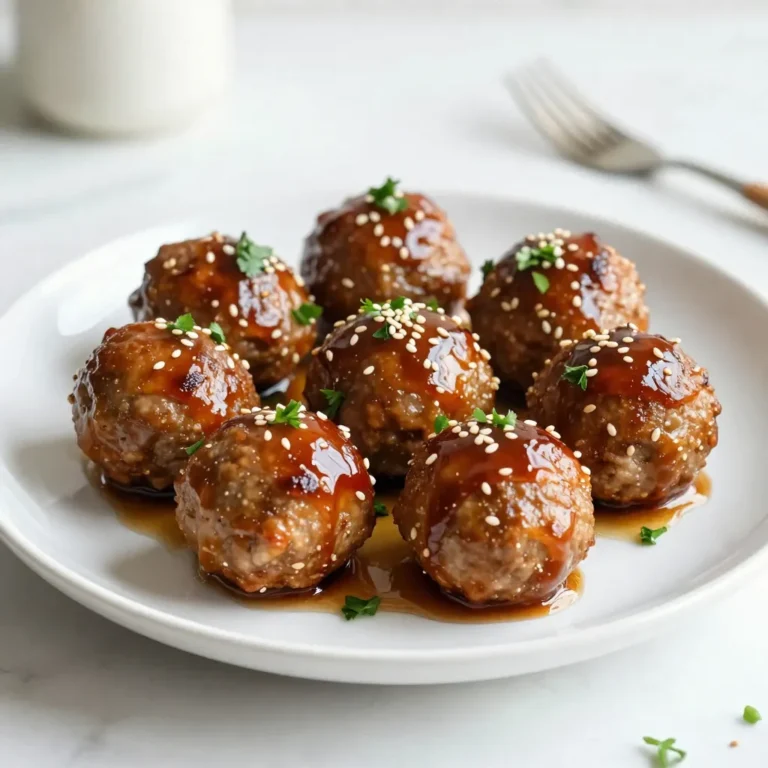
Honey Garlic Glazed Meatballs Easy and Flavorful Treat
Grilled Pineapple Teriyaki Chicken Flavorful Delight
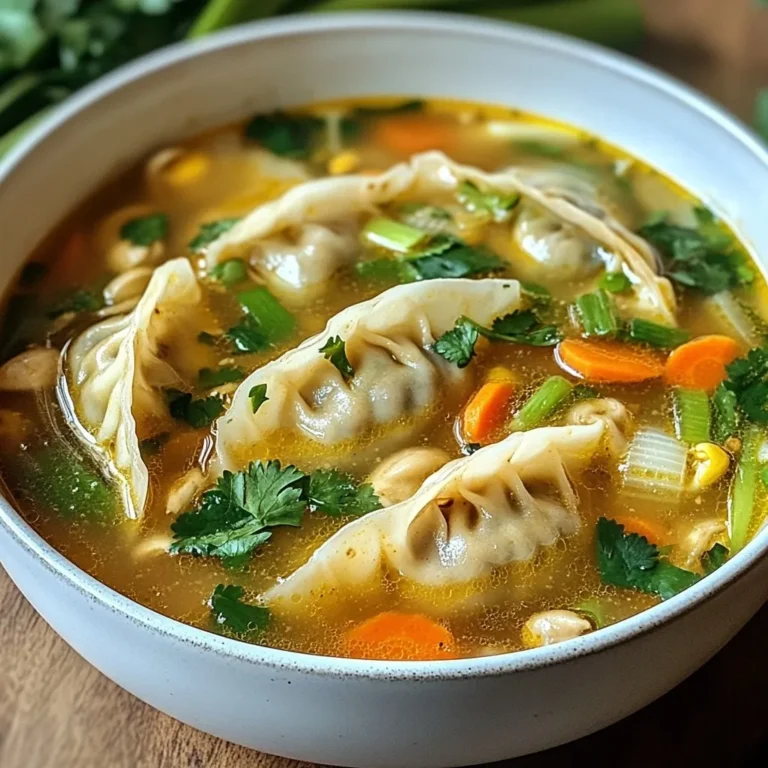
Comforting Gyoza Soup Simple and Satisfying Recipe
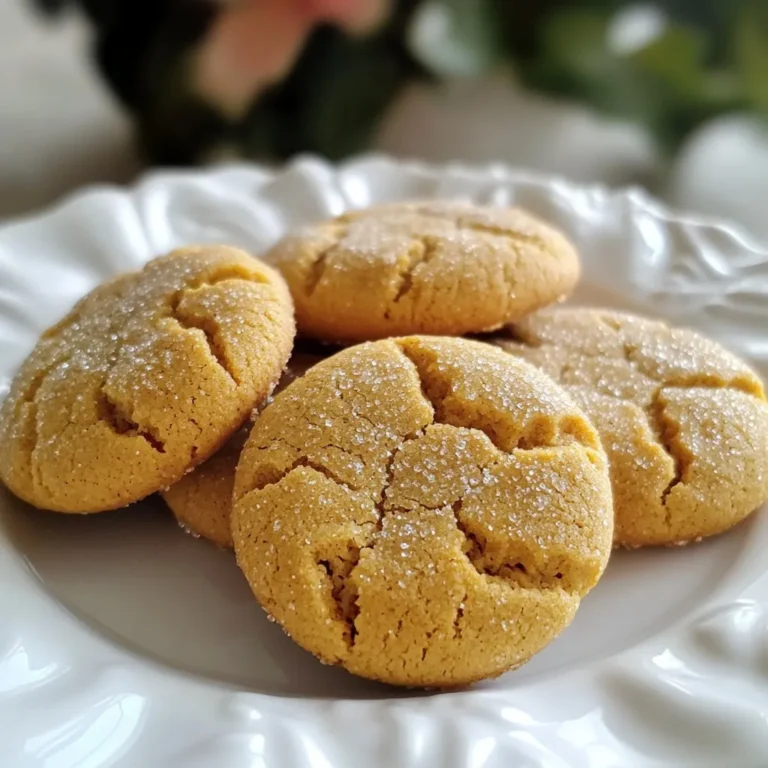
Gluten-Free Gingerbread Cookies Festive Holiday Treat
Autumn Glow Roasted Veggie Quinoa Bowls Delight
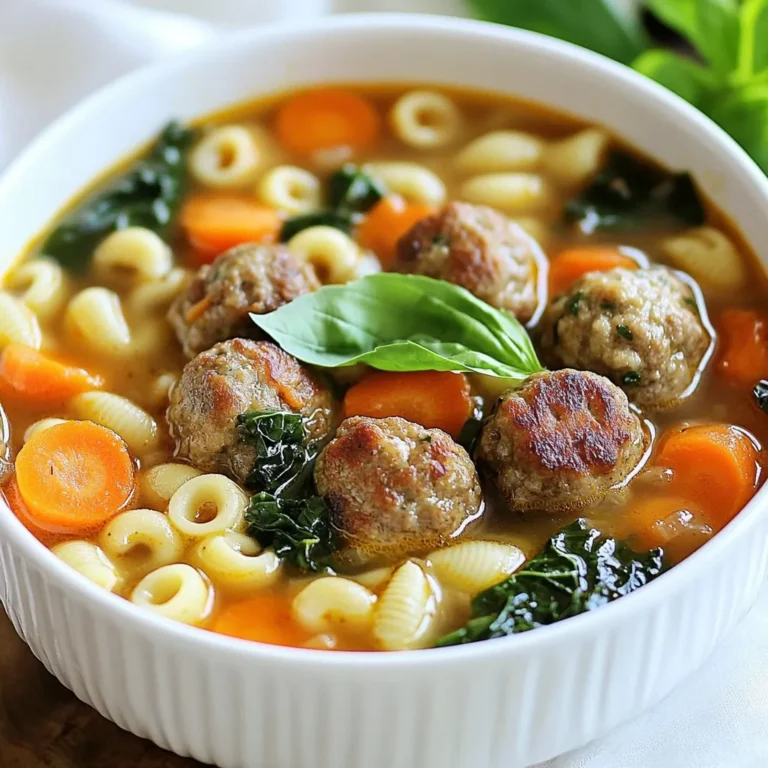
Hearty Italian Meatball Soup Savory Comfort Dish
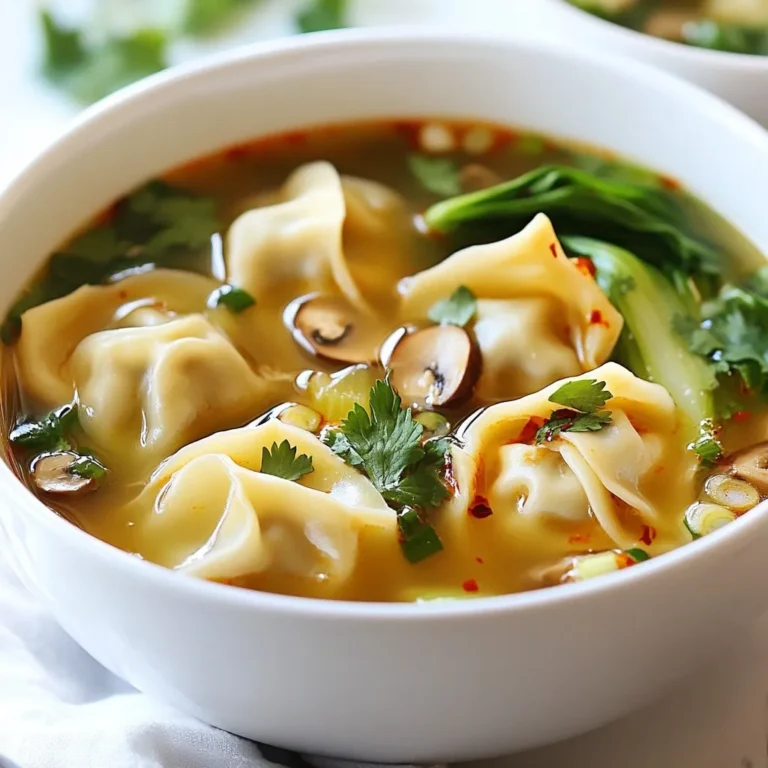
Easy Wonton Soup Comforting and Delicious Recipe
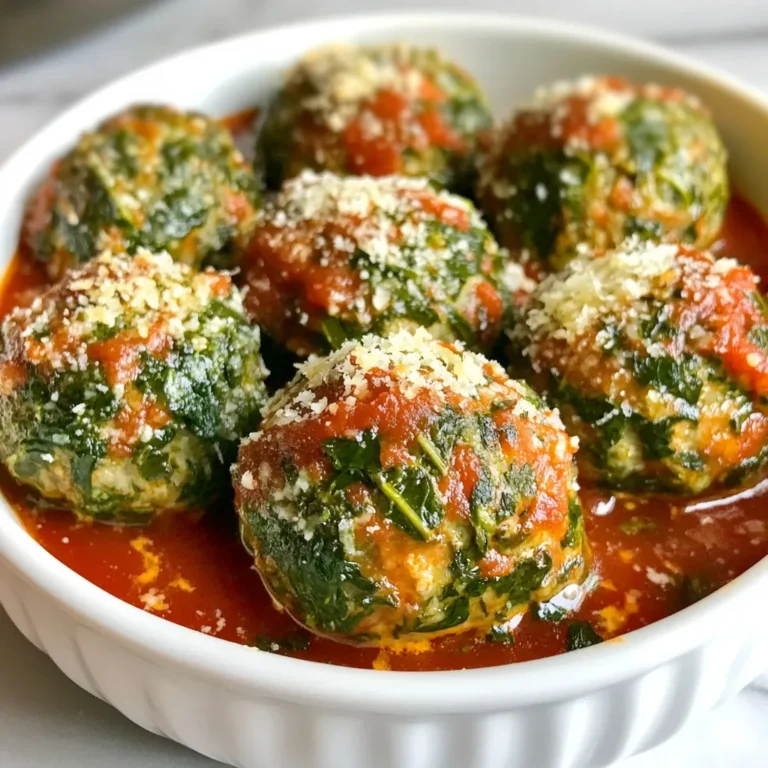
Spinach Turkey Meatballs for a Healthy Dinner Idea
PREV
1
2
3
…
47
NEXT