FREE DINNER EBOOK!
Get your copy!
Cookie Policy
GDPR Policy
Disclaimer
Terms Of Use
Visit my other site:
Fun Cookie Recipes
Home
Dinner
Desserts
Drinks
Appetizers
Contact
About
Privacy Policy
Home
Dinner
Desserts
Drinks
Appetizers
Contact
About
Privacy Policy
Cookie Policy
GDPR Policy
Disclaimer
Terms Of Use
Visit my other site:
Fun Cookie Recipes
HOME / CATEGORIES /
Latest
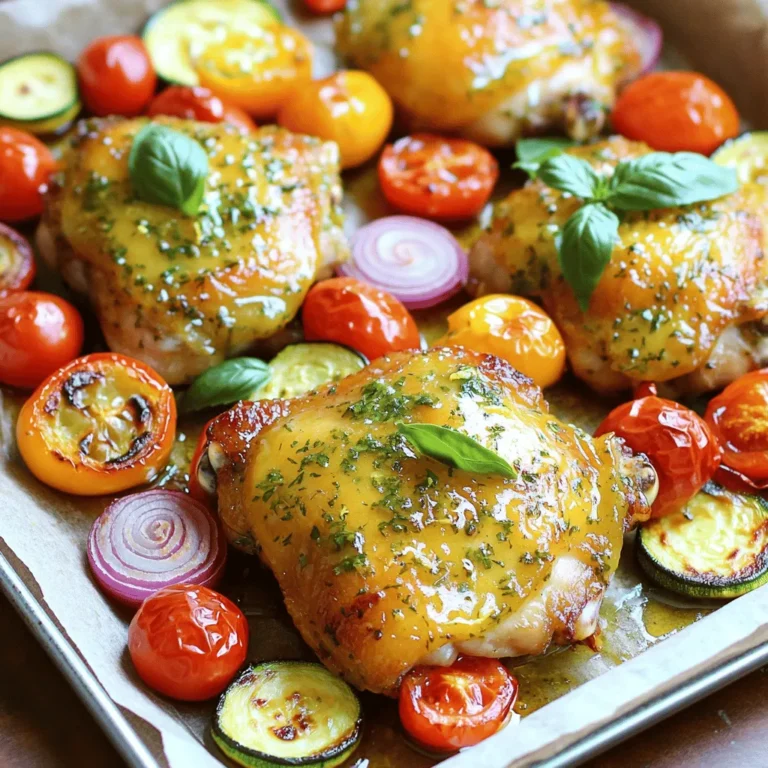
Sheet Pan Lemon Herb Chicken & Veggies Delight
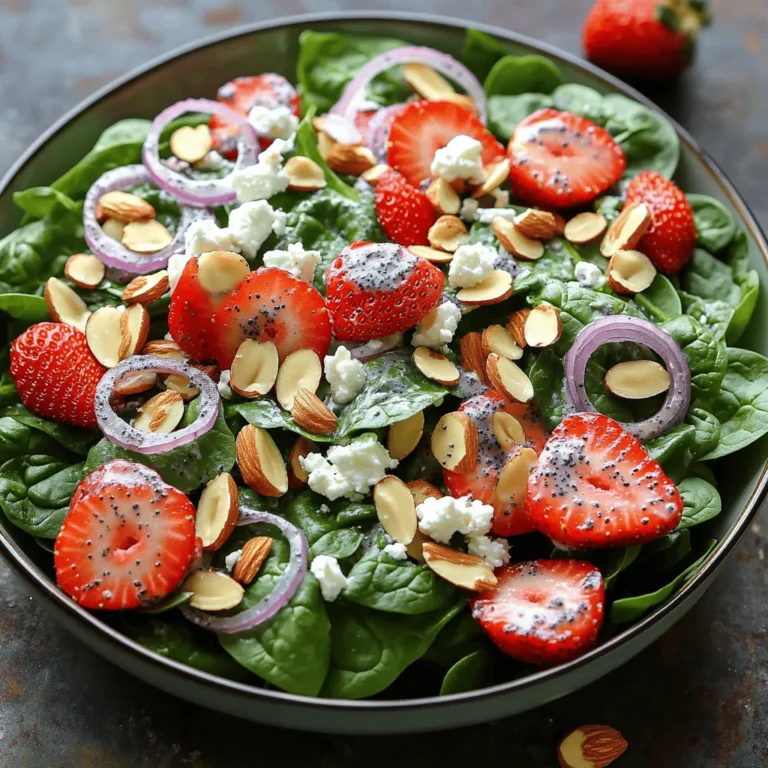
Strawberry Spinach Poppyseed Salad Fresh and Flavorful
Sheet Pan Lemon Herb Chicken & Veggies Delight
Strawberry Spinach Poppyseed Salad Fresh and Tasty Dish
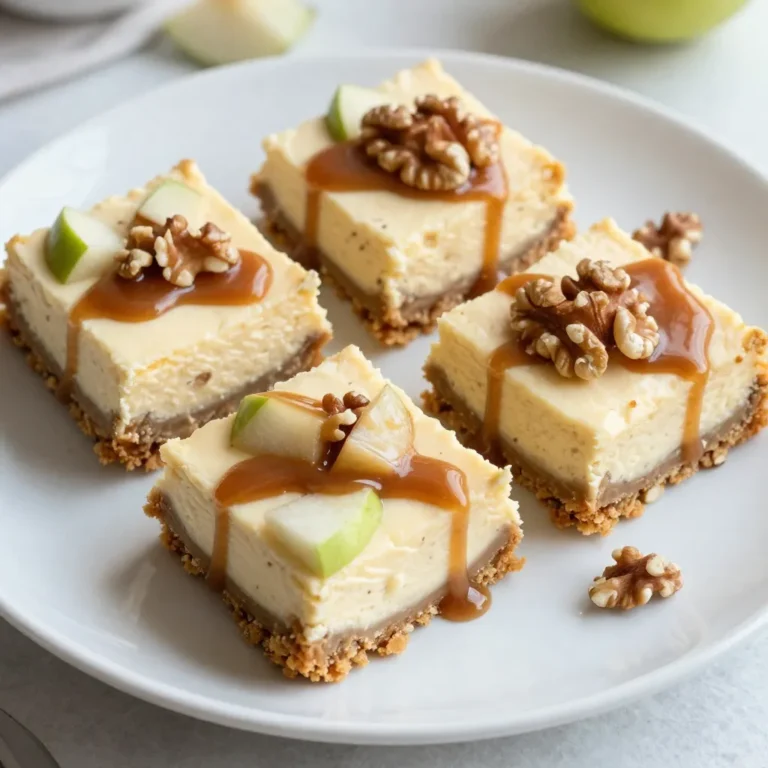
Caramel Apple Cheesecake Bars Simple and Sweet Treat
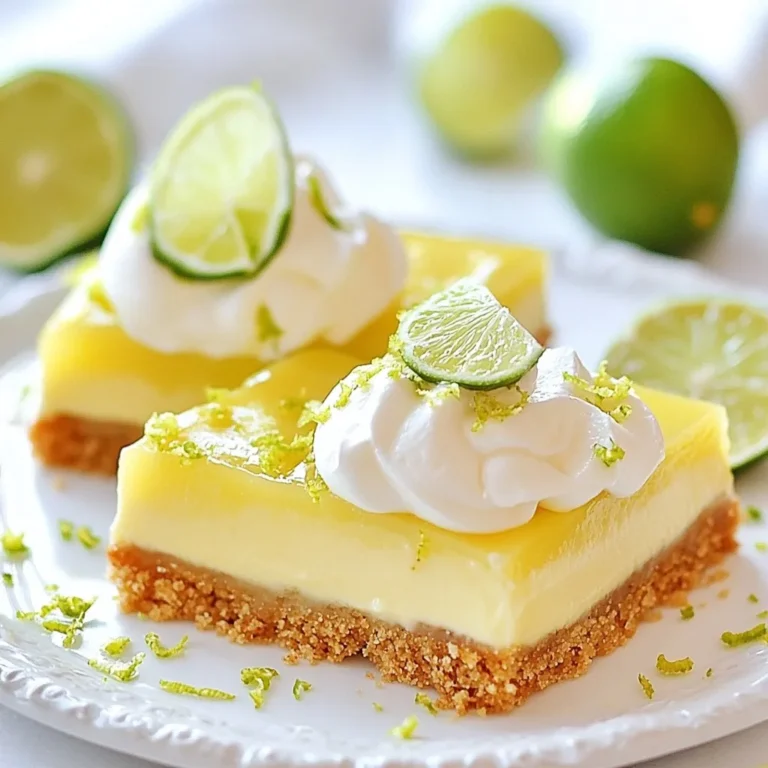
Key Lime Pie Bars Sweet and Tangy Dessert Delight
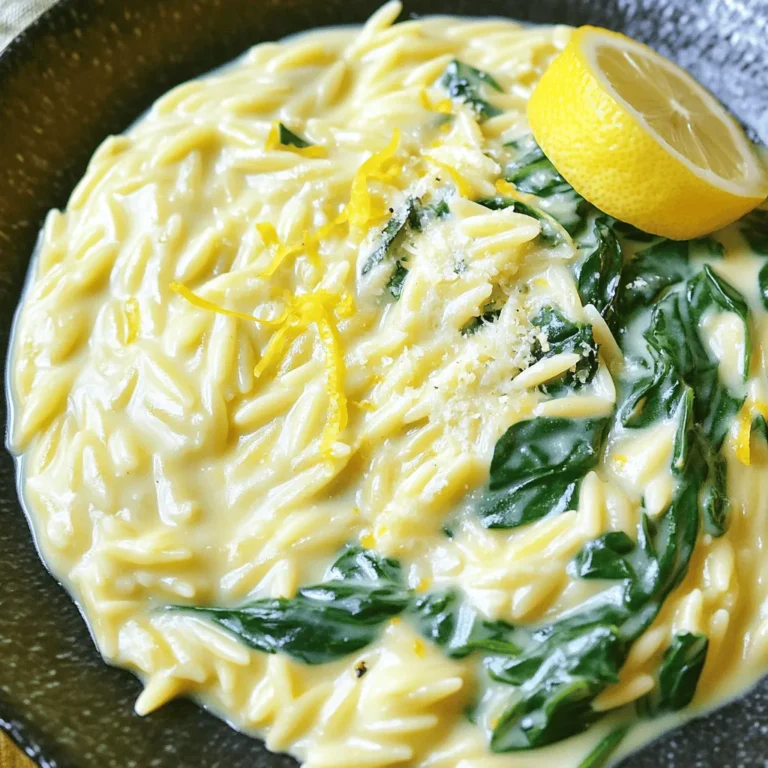
Creamy Lemon Orzo with Spinach Flavorful Dish
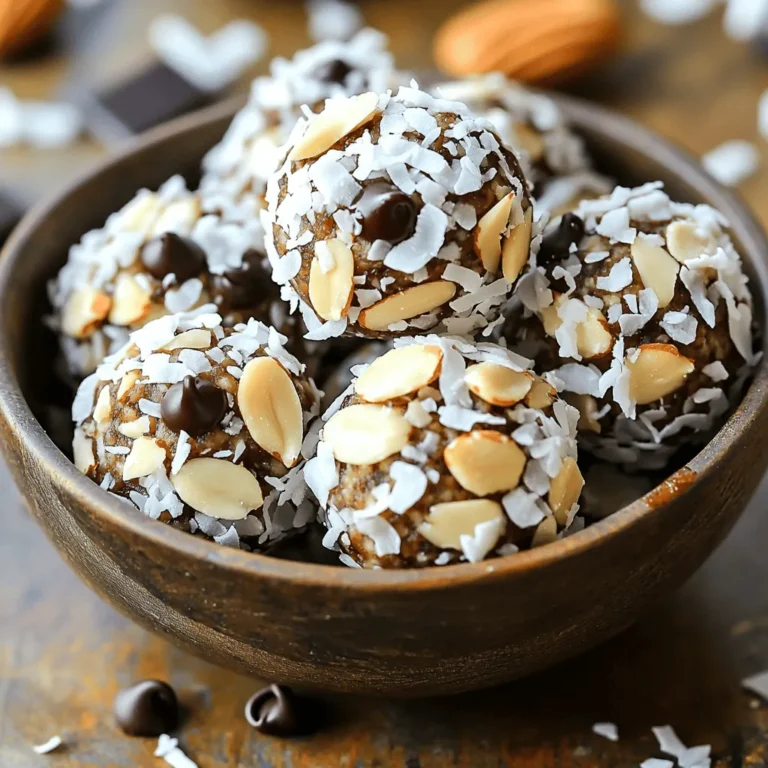
Almond Joy Energy Bites Tasty and Healthy Snack
Instant Pot Chicken Tortilla Soup Packed with Flavor
Cranberry Orange Muffins Festive and Flavorful Treat
PREV
1
…
18
19
20
…
47
NEXT