FREE DINNER EBOOK!
Get your copy!
Cookie Policy
GDPR Policy
Disclaimer
Terms Of Use
Visit my other site:
Fun Cookie Recipes
Home
Dinner
Desserts
Drinks
Appetizers
Contact
About
Privacy Policy
Home
Dinner
Desserts
Drinks
Appetizers
Contact
About
Privacy Policy
Cookie Policy
GDPR Policy
Disclaimer
Terms Of Use
Visit my other site:
Fun Cookie Recipes
HOME / CATEGORIES /
Latest
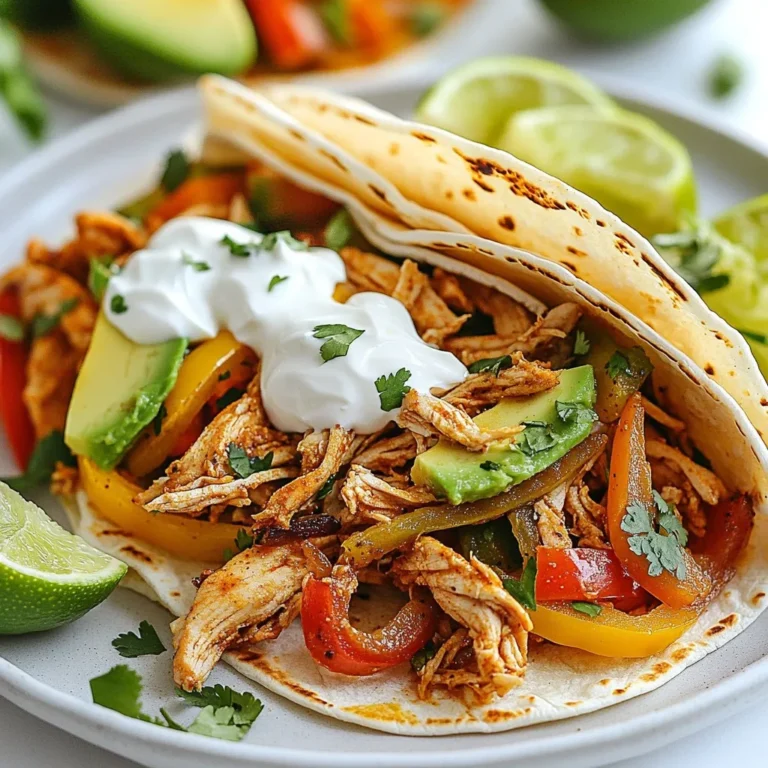
Easy Crockpot Fajitas Flavorful and Simple Meal
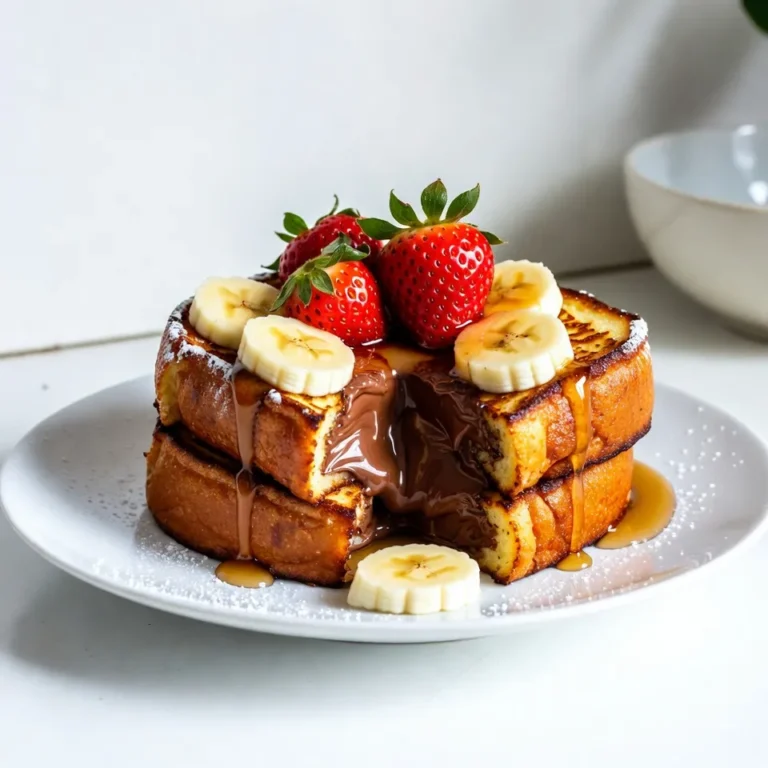
Nutella Stuffed French Toast Irresistible Recipe Guide
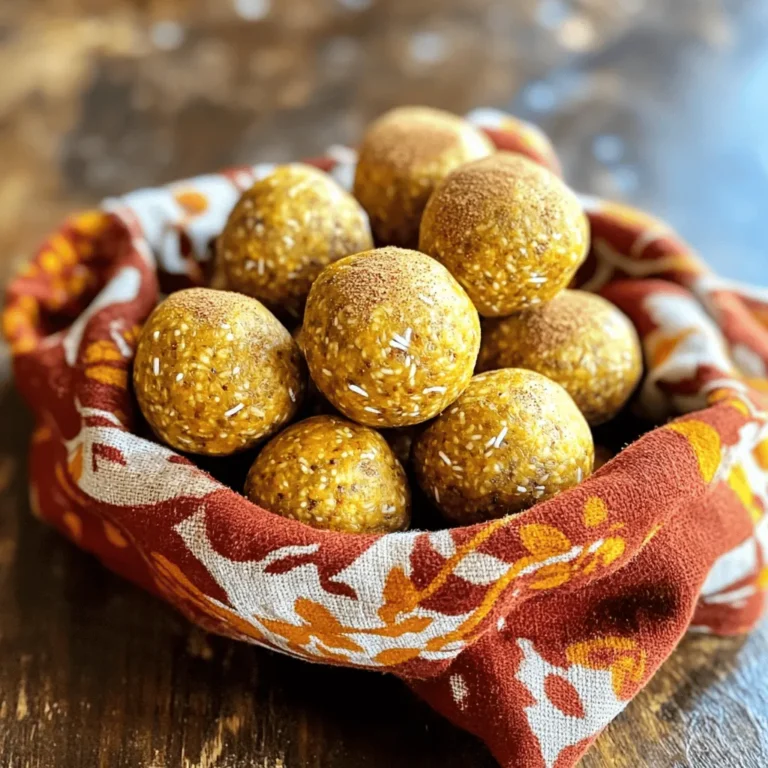
Pumpkin Spice Energy Balls Healthy Snack Idea
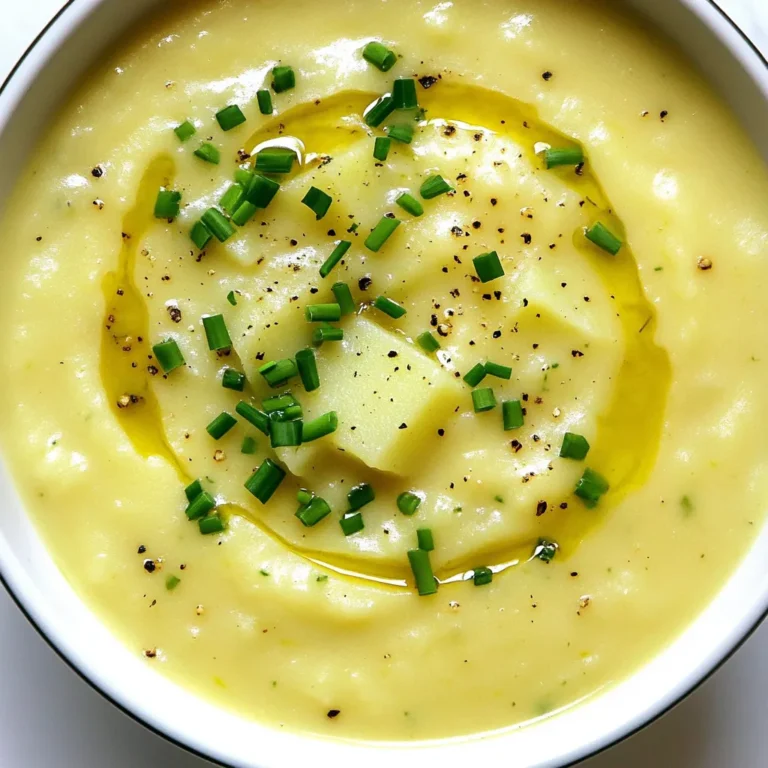
Dairy Free Potato Leek Soup Flavorful and Creamy Dish
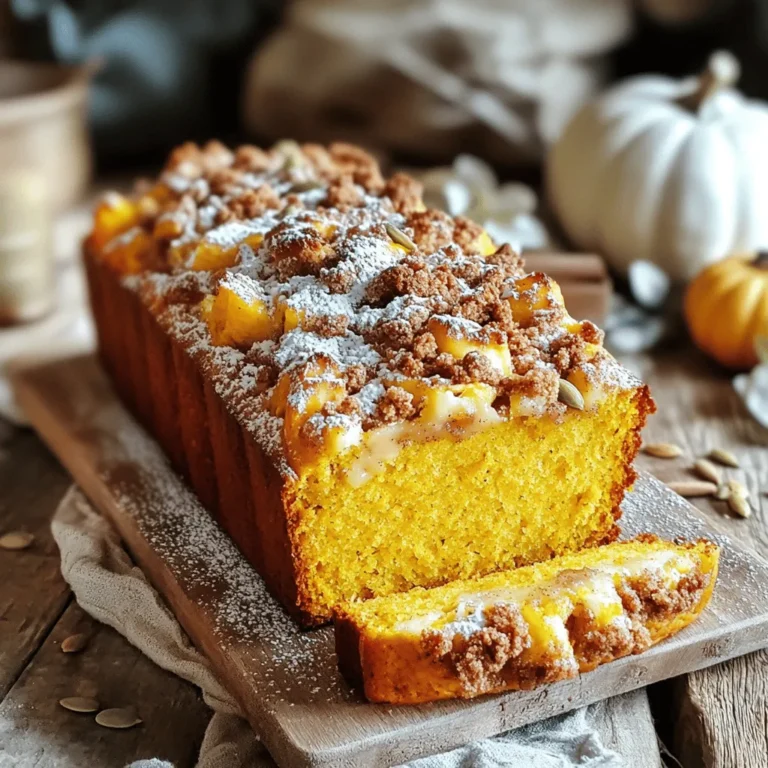
Pumpkin Streusel Bread Savory Fall Delight
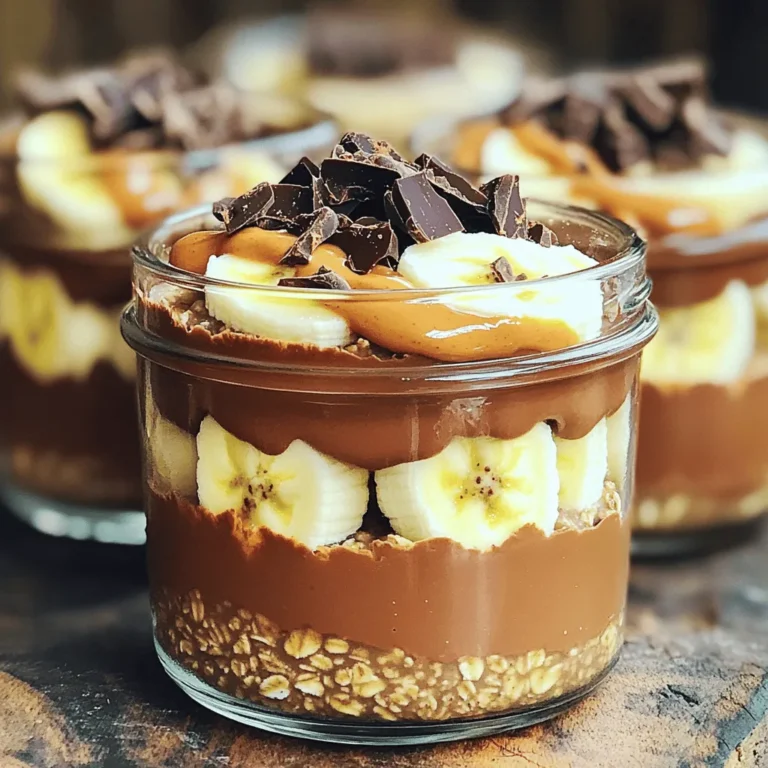
Peanut Butter Chocolate Overnight Oats Delight
Mango Coconut Sticky Rice Cups Delightful Dessert Treat
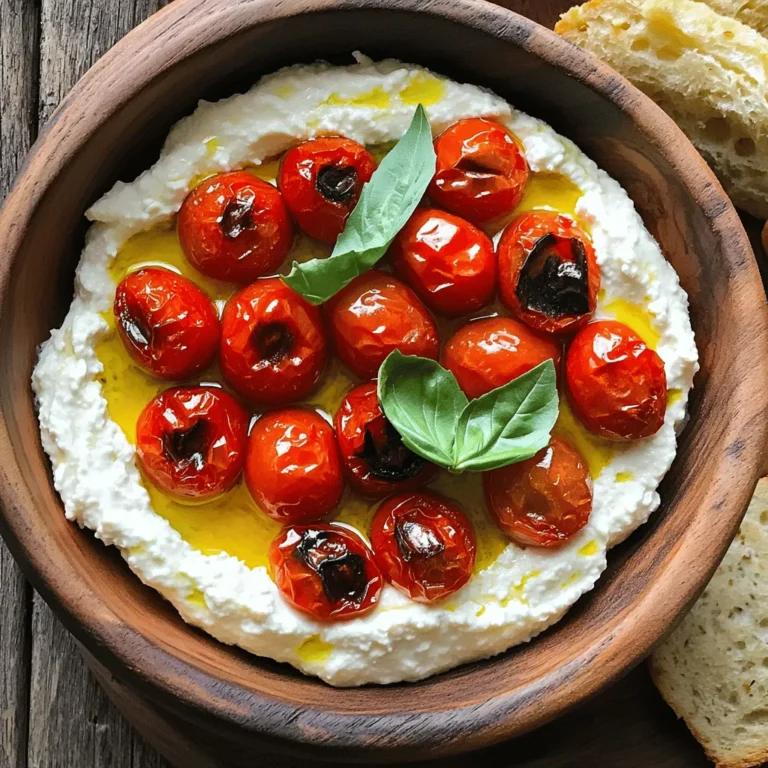
Whipped Feta Dip with Roasted Tomatoes Delightful Recipe
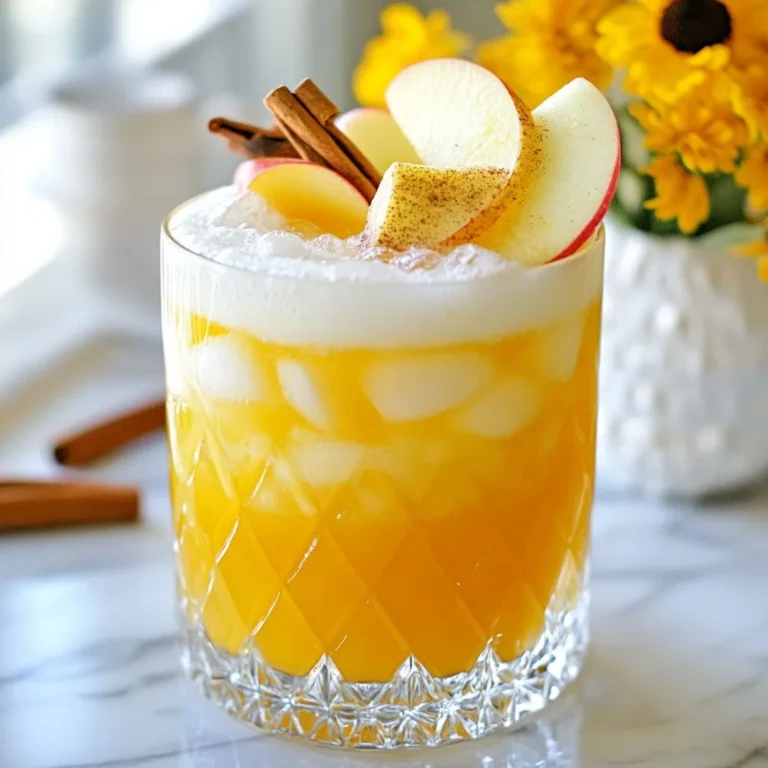
Autumn Gin Sour Cocktail Refreshing Fall Drink
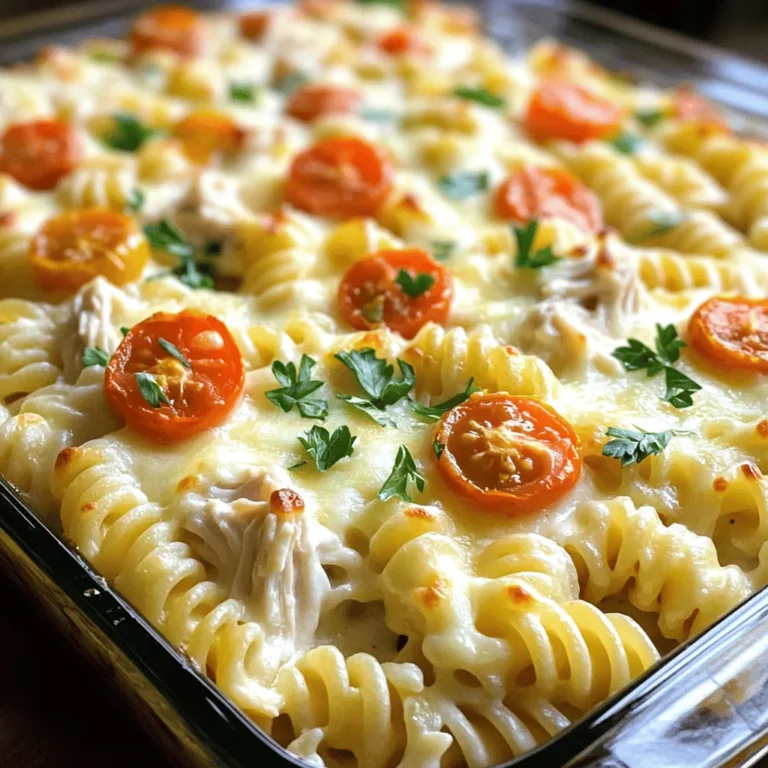
Easy Chicken Alfredo Bake Comfort Dish to Enjoy
PREV
1
…
16
17
18
…
47
NEXT