FREE DINNER EBOOK!
Get your copy!
Cookie Policy
GDPR Policy
Disclaimer
Terms Of Use
Visit my other site:
Fun Cookie Recipes
Home
Dinner
Desserts
Drinks
Appetizers
Contact
About
Privacy Policy
Home
Dinner
Desserts
Drinks
Appetizers
Contact
About
Privacy Policy
Cookie Policy
GDPR Policy
Disclaimer
Terms Of Use
Visit my other site:
Fun Cookie Recipes
HOME / CATEGORIES /
Latest
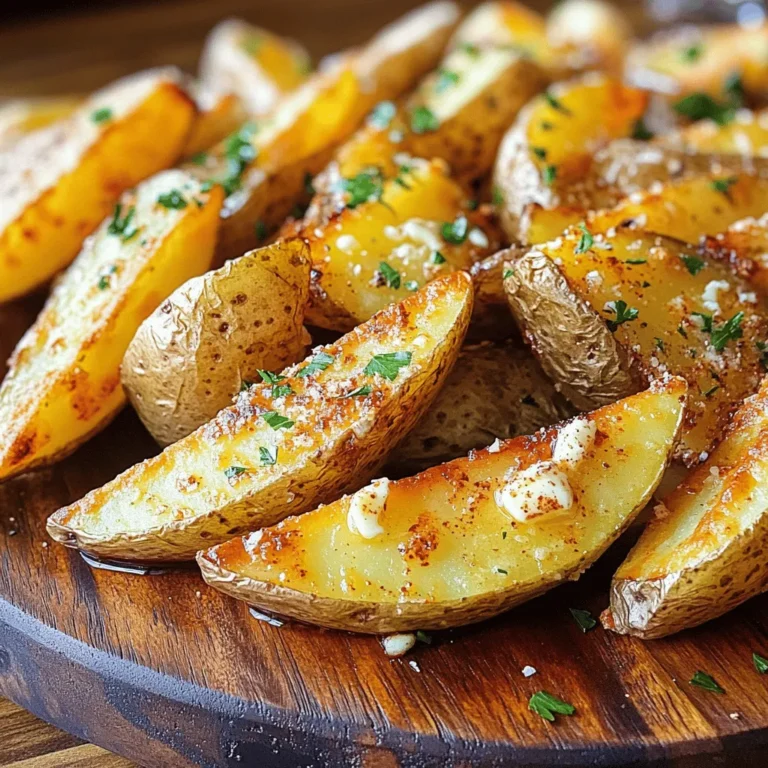
Garlic Butter Steak Fries Air Fryer Crispy Treat
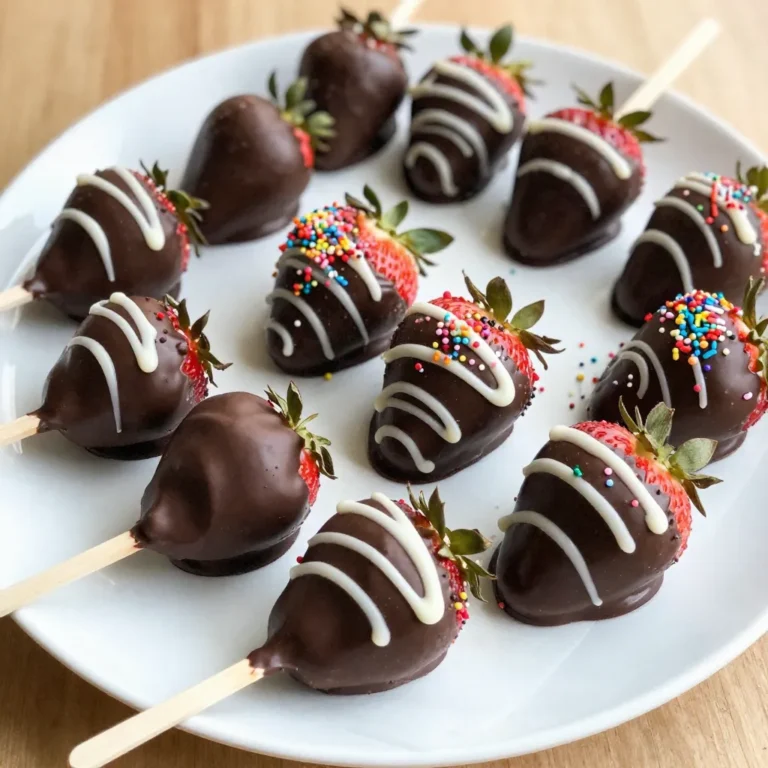
Chocolate Covered Strawberry Pops Easy and Fun Treat
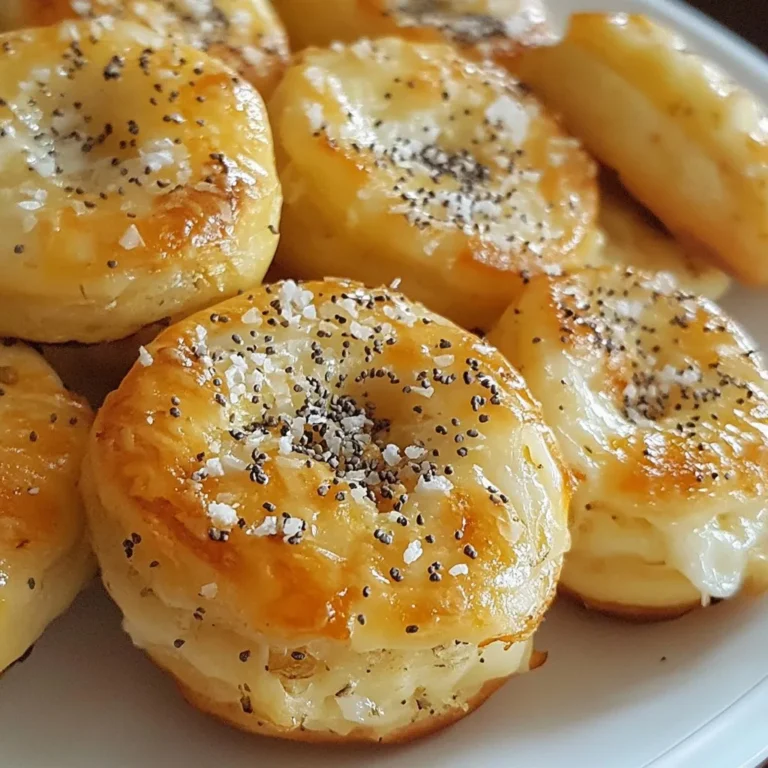
Keto Everything Bagel Bites Tasty and Easy Snack
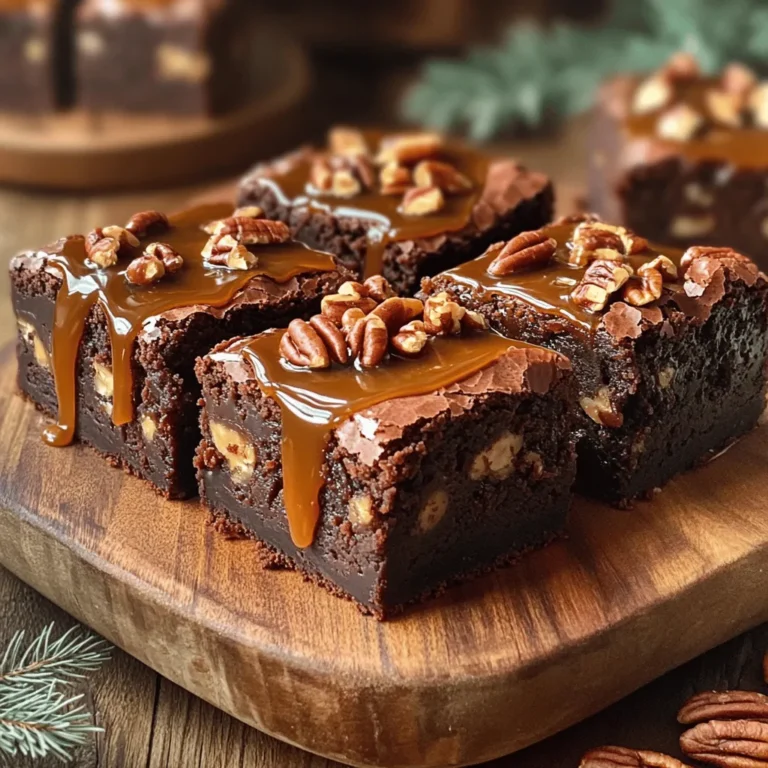
Caramel Turtle Brownies Irresistible and Easy Treat
Bakery-Style Apple Cider Muffins Simple and Tasty Treat
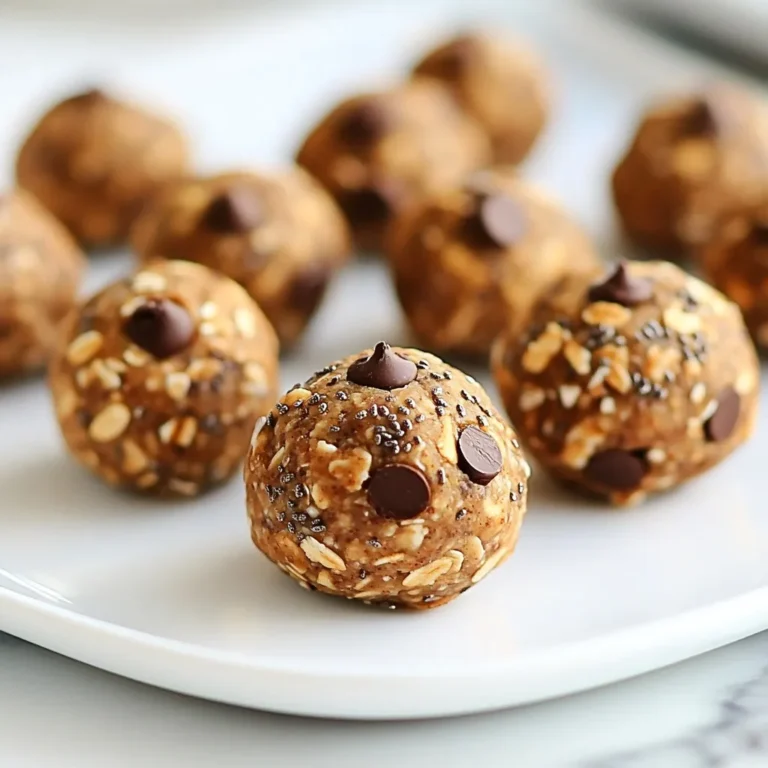
Chocolate Peanut Butter Energy Balls Packed with Flavor
Pumpkin Spice Latte Tiramisu Delightful Dessert Treat
Easy Milk Bread Simple and Fluffy Recipe Guide
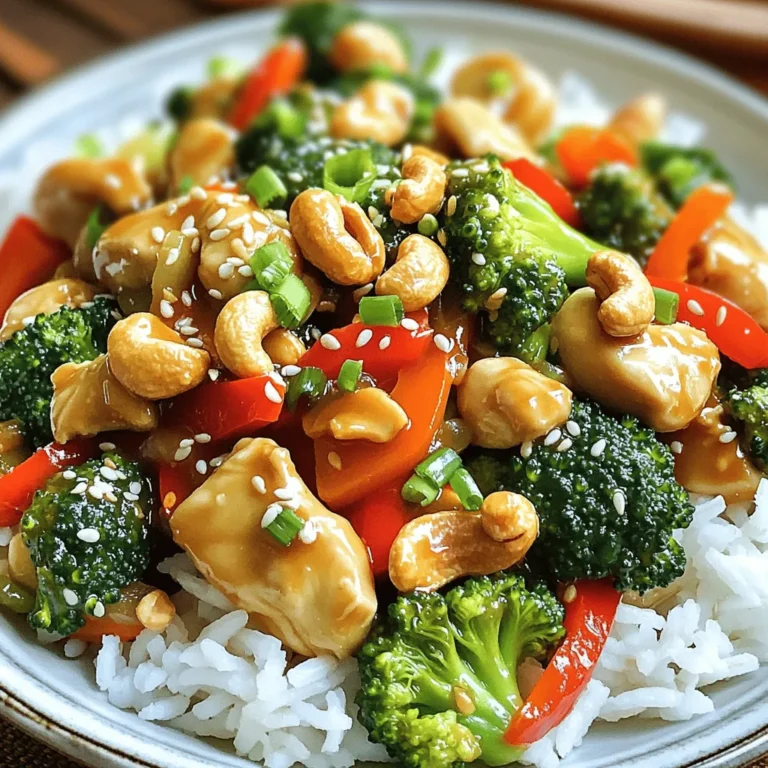
Cashew Chicken Stir Fry Better Than Takeout Delight
Sweet Chili Garlic Shrimp Tacos Quick and Easy Meal
PREV
1
…
15
16
17
…
47
NEXT