FREE DINNER EBOOK!
Get your copy!
Cookie Policy
GDPR Policy
Disclaimer
Terms Of Use
Visit my other site:
Fun Cookie Recipes
Home
Dinner
Desserts
Drinks
Appetizers
Contact
About
Privacy Policy
Home
Dinner
Desserts
Drinks
Appetizers
Contact
About
Privacy Policy
Cookie Policy
GDPR Policy
Disclaimer
Terms Of Use
Visit my other site:
Fun Cookie Recipes
HOME / CATEGORIES /
Latest
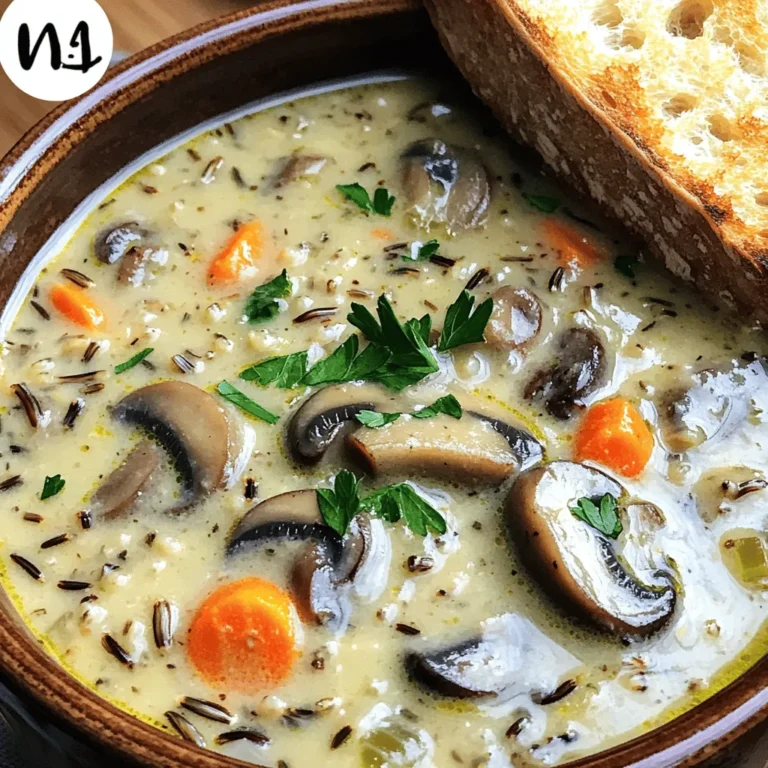
Slow Cooker Mushroom Wild Rice Soup Nourishing Comfort
Sheet Pan Chipotle Veggie Tacos Flavorful and Easy
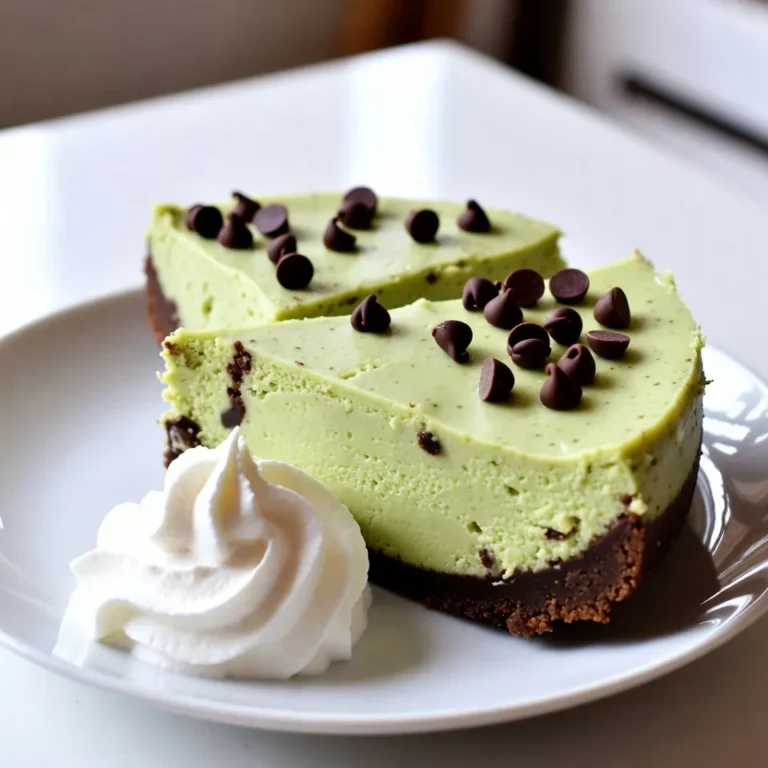
Mint Chocolate Chip Cheesecake Creamy Delight Recipe
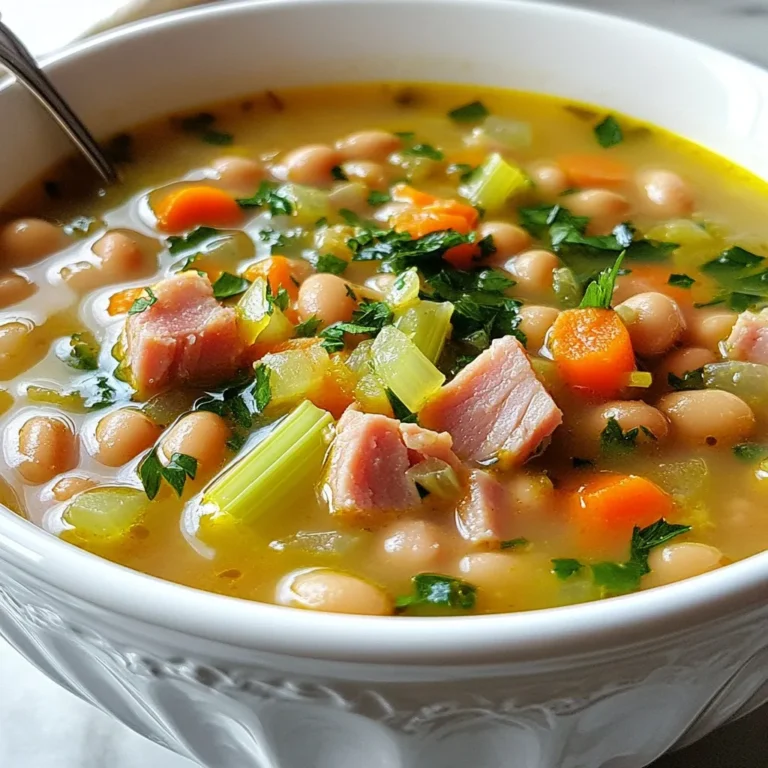
Ham & Bean Soup Savory and Flavorful Comfort Dish
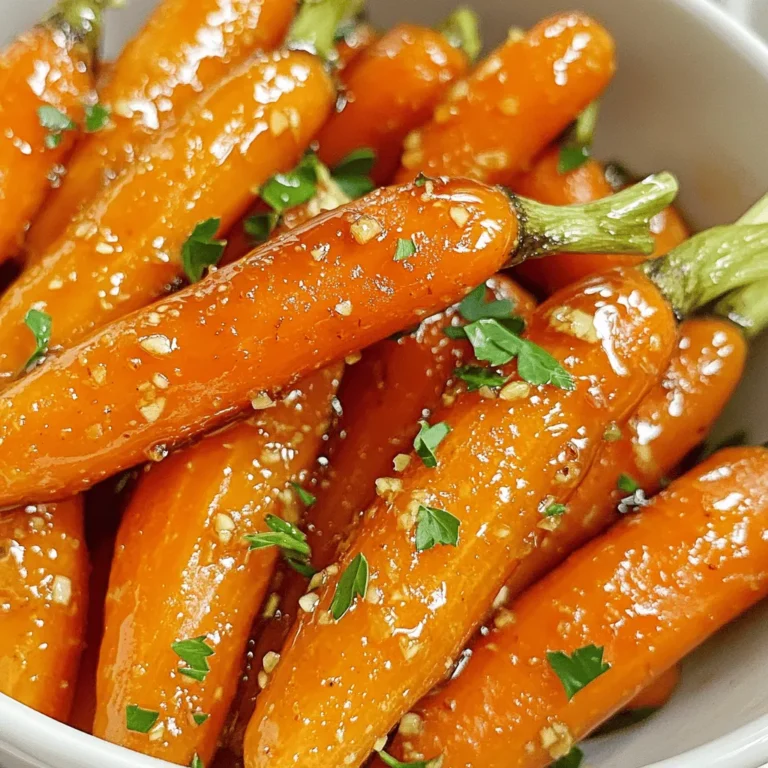
Air Fryer Honey Garlic Carrots Tasty Flavor Boost
Satisfying Chicken Gyro Bowls with Tzatziki Recipe
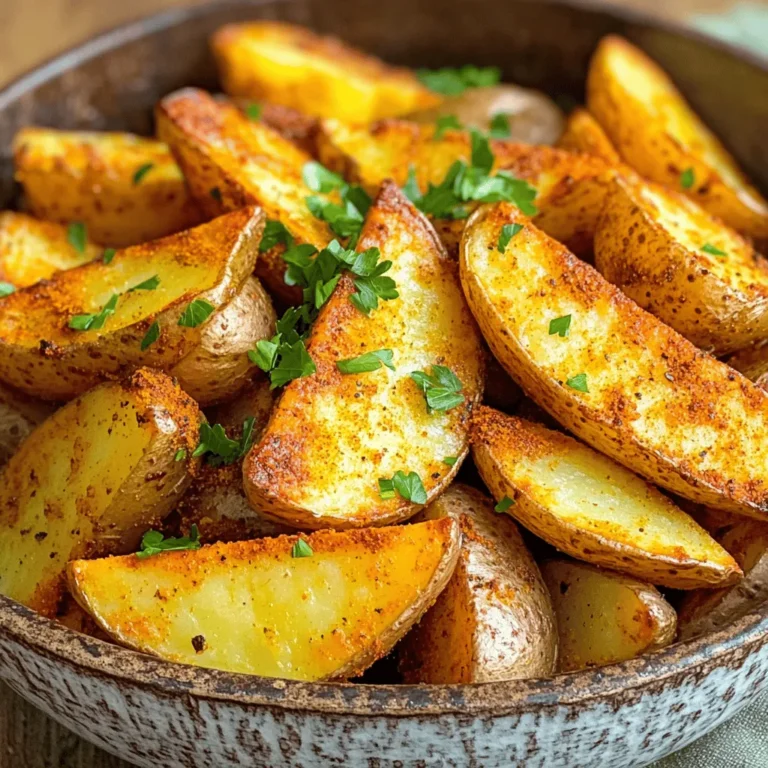
Air Fryer Cajun Potato Wedges Crispy and Flavorful
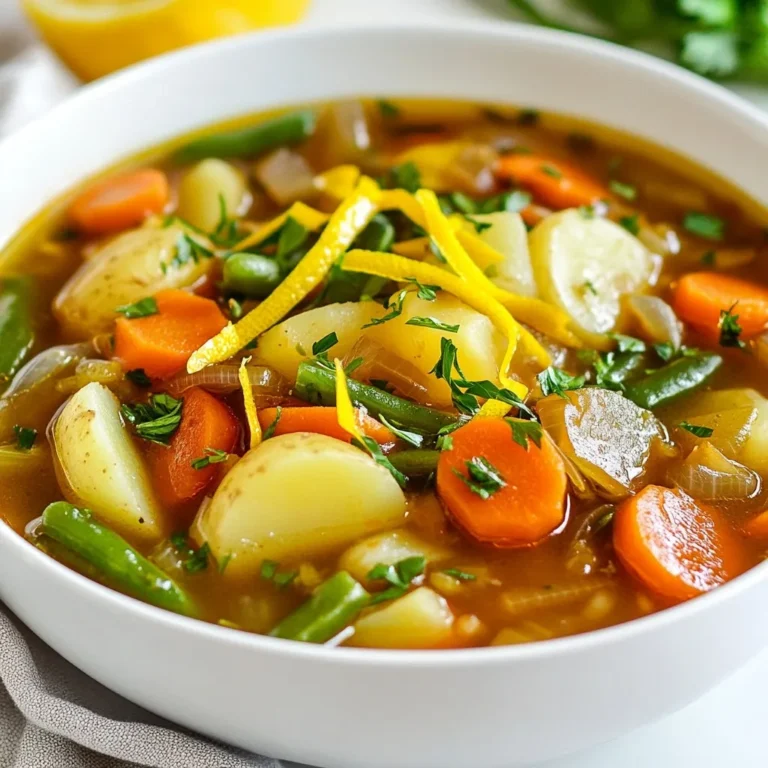
Irish Vegetable Stew Comforting and Hearty Recipe
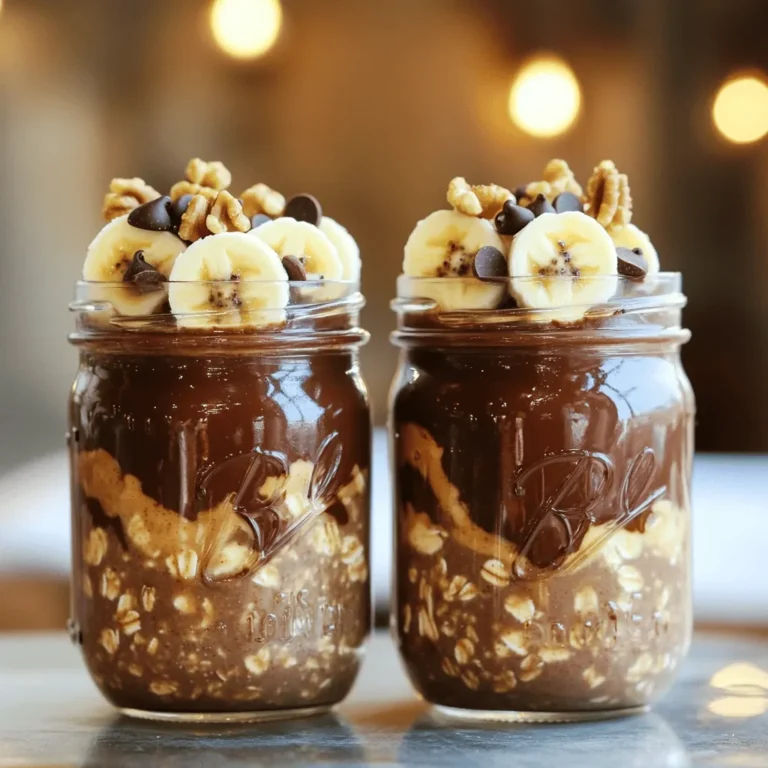
Peanut Butter Brownie Overnight Oats Delight Recipe
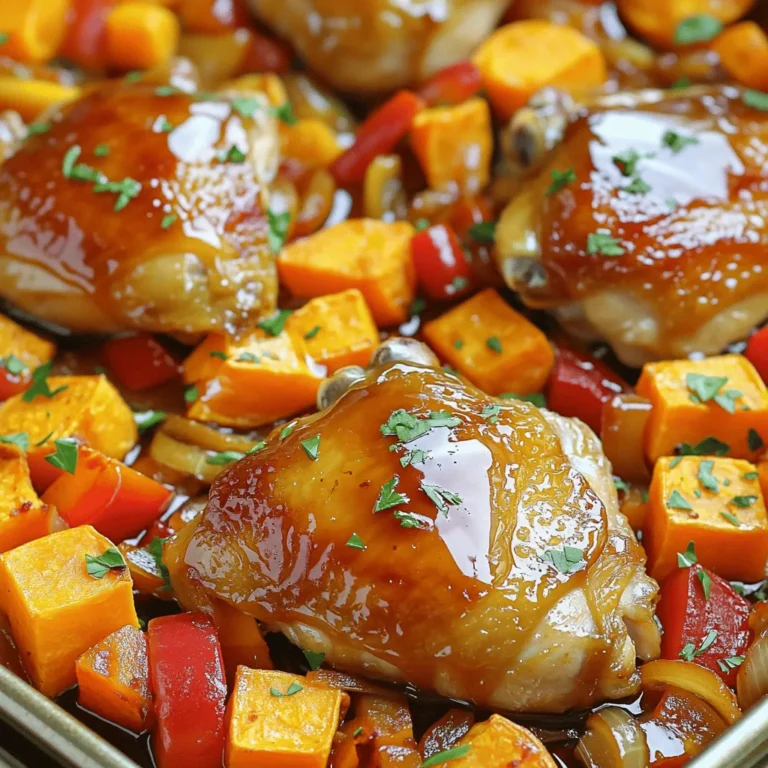
Sheet-Pan Maple Chicken & Sweet Potatoes Delight
PREV
1
…
13
14
15
…
47
NEXT