FREE DINNER EBOOK!
Get your copy!
Cookie Policy
GDPR Policy
Disclaimer
Terms Of Use
Visit my other site:
Fun Cookie Recipes
Home
Dinner
Desserts
Drinks
Appetizers
Contact
About
Privacy Policy
Home
Dinner
Desserts
Drinks
Appetizers
Contact
About
Privacy Policy
Cookie Policy
GDPR Policy
Disclaimer
Terms Of Use
Visit my other site:
Fun Cookie Recipes
HOME / CATEGORIES /
Latest
Slow Cooker Cajun Red Beans & Rice Comfort Meal
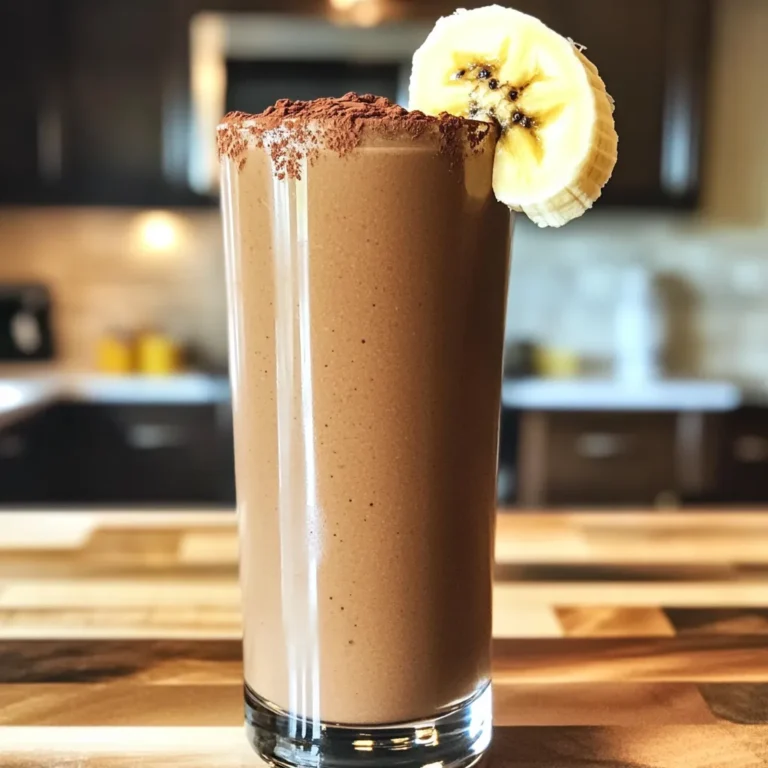
Mocha Banana Smoothie Rich and Creamy Treat
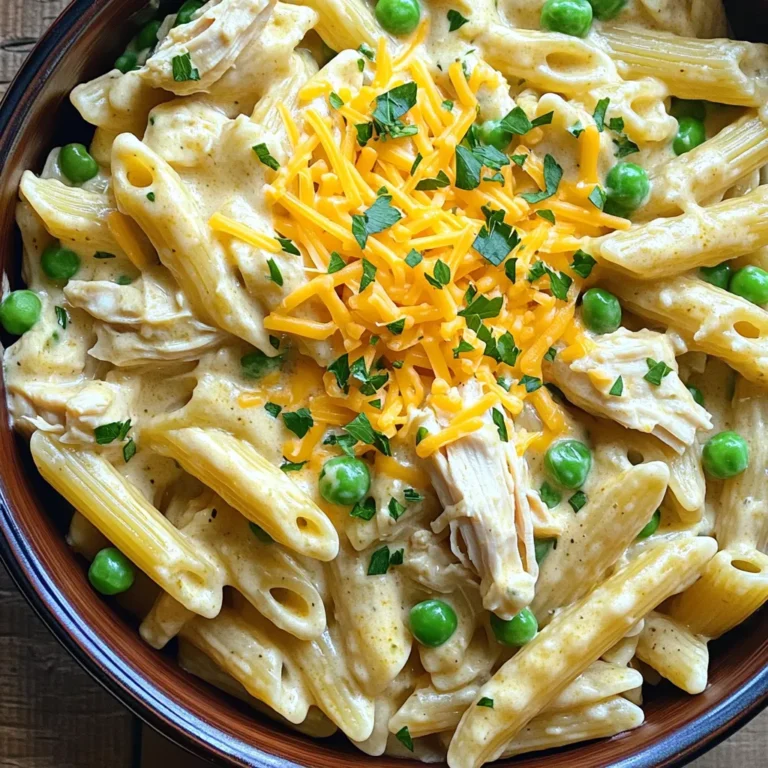
Slow Cooker Creamy Ranch Chicken Pasta Delight
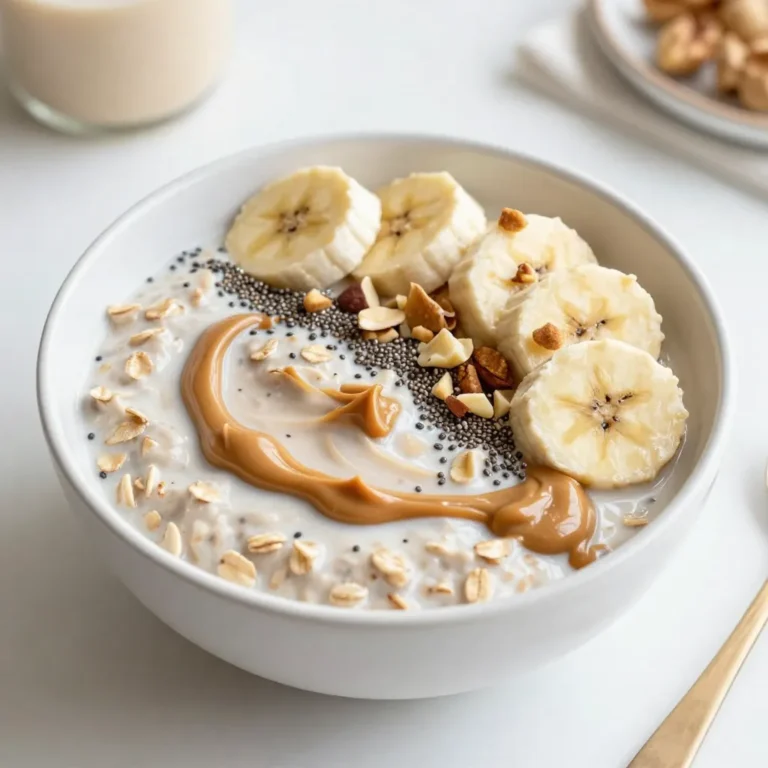
Peanut Butter Protein Overnight Oats Simple Recipe
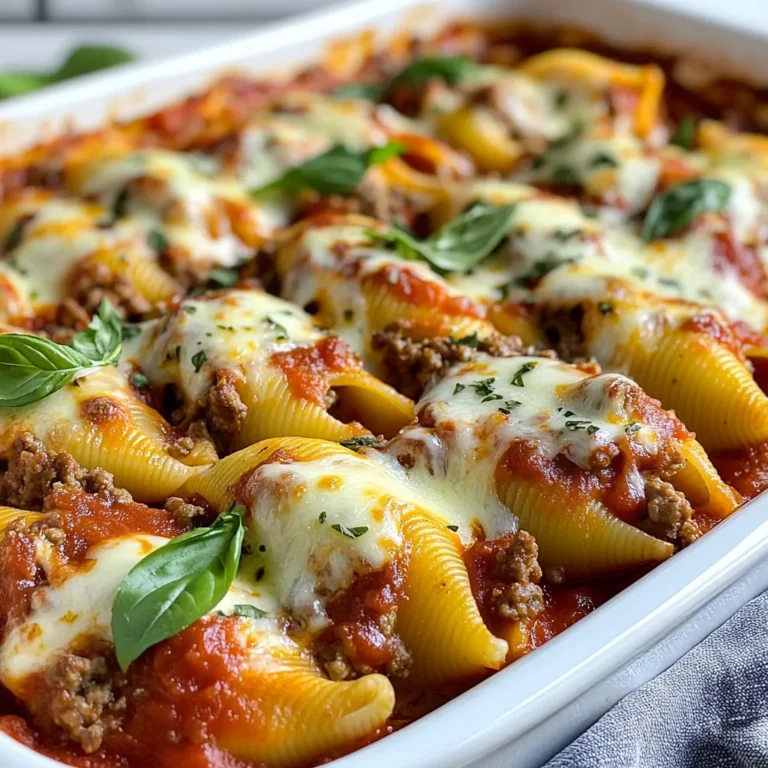
Stuffed Shells with Meat Rich and Comforting Dish
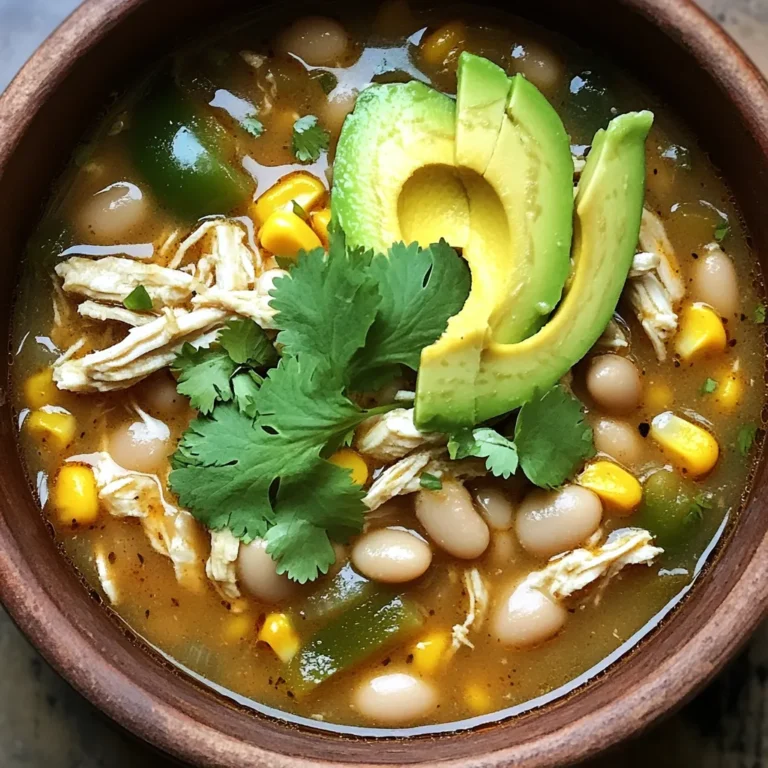
Slow Cooker White Bean Chicken Chili Comfort Food Delight
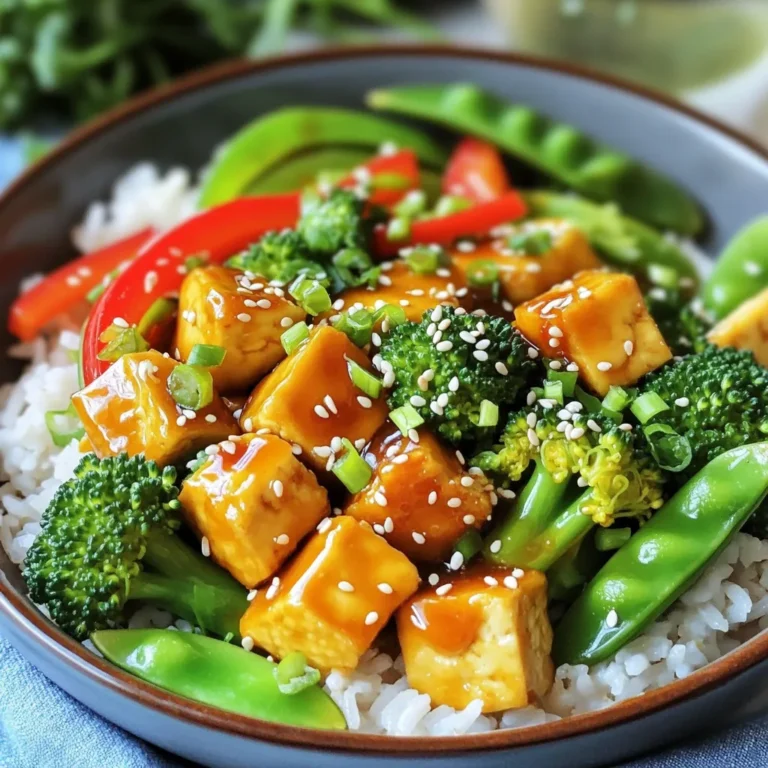
Minute Teriyaki Tofu Rice Bowls Easy and Flavorful Meal
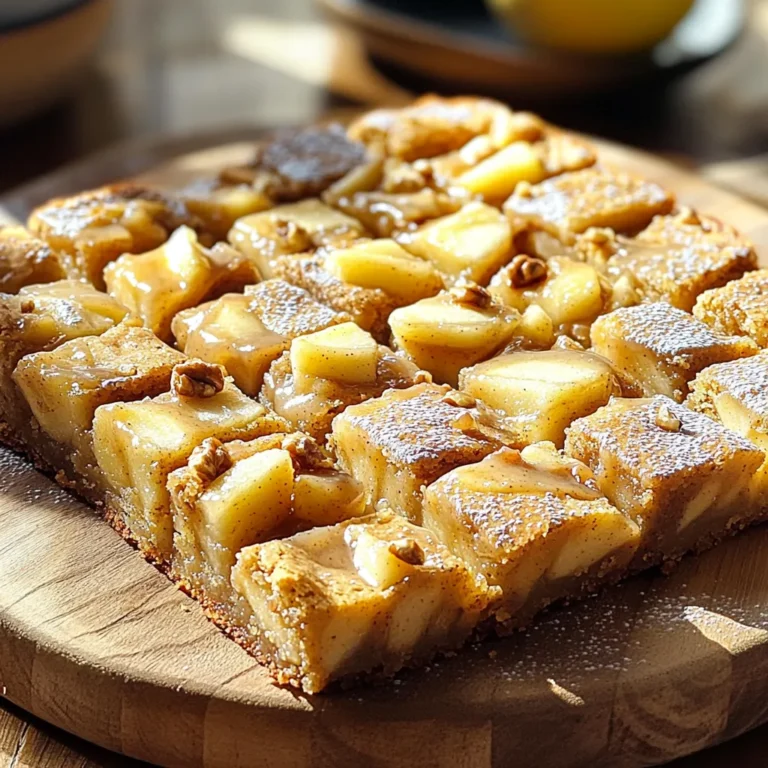
Apple Blondies with Cinnamon Glaze Simple Treat
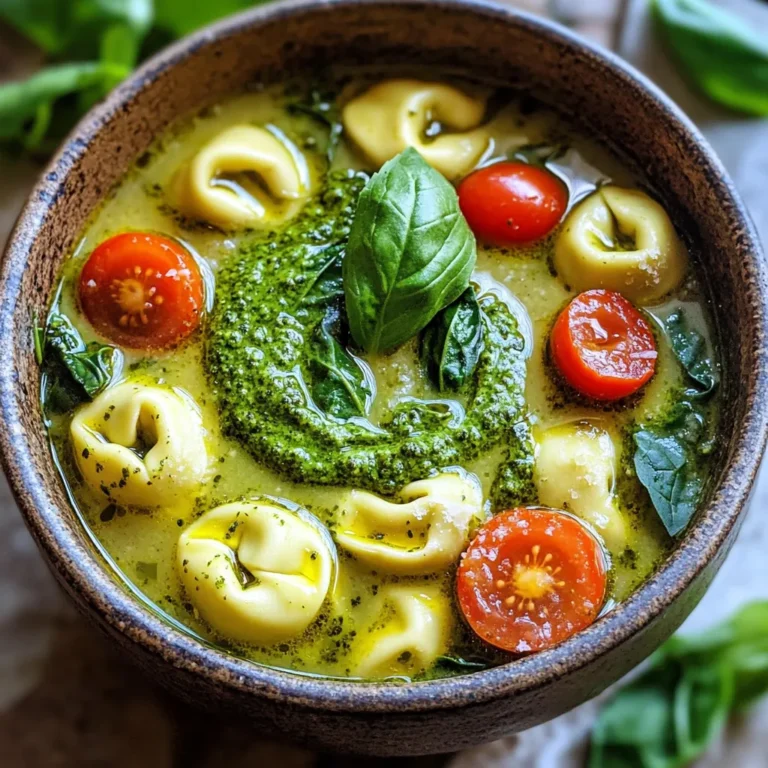
Creamy Pesto Tortellini Soup One Pot Delight
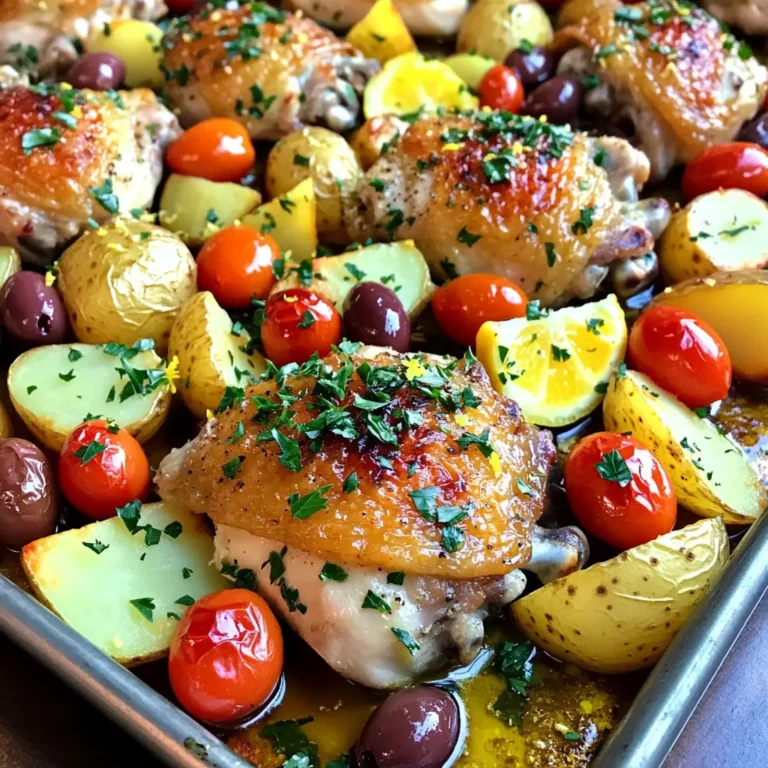
Greek Chicken & Potato Sheet Pan Flavorful Dinner Idea
PREV
1
…
9
10
11
…
47
NEXT