FREE DINNER EBOOK!
Get your copy!
Cookie Policy
GDPR Policy
Disclaimer
Terms Of Use
Visit my other site:
Fun Cookie Recipes
Home
Dinner
Desserts
Drinks
Appetizers
Contact
About
Privacy Policy
Home
Dinner
Desserts
Drinks
Appetizers
Contact
About
Privacy Policy
Cookie Policy
GDPR Policy
Disclaimer
Terms Of Use
Visit my other site:
Fun Cookie Recipes
HOME / CATEGORIES /
Latest
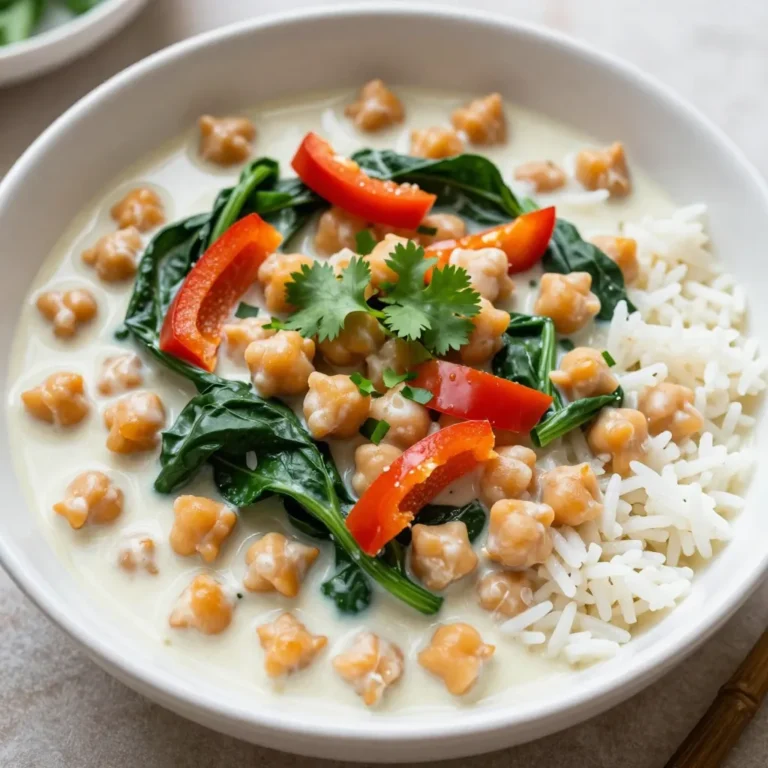
Creamy Coconut Curry Chickpeas Flavorful and Easy Dish
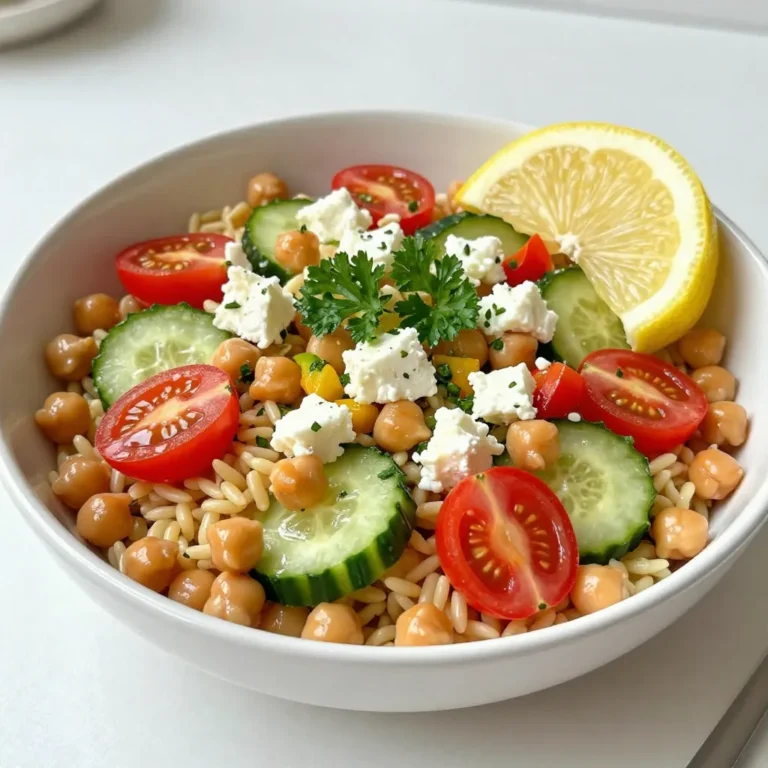
Lemony Chickpea Orzo Salad Fresh and Flavorful Dish
Maple Pecan Overnight Oats Tasty and Healthy Recipe
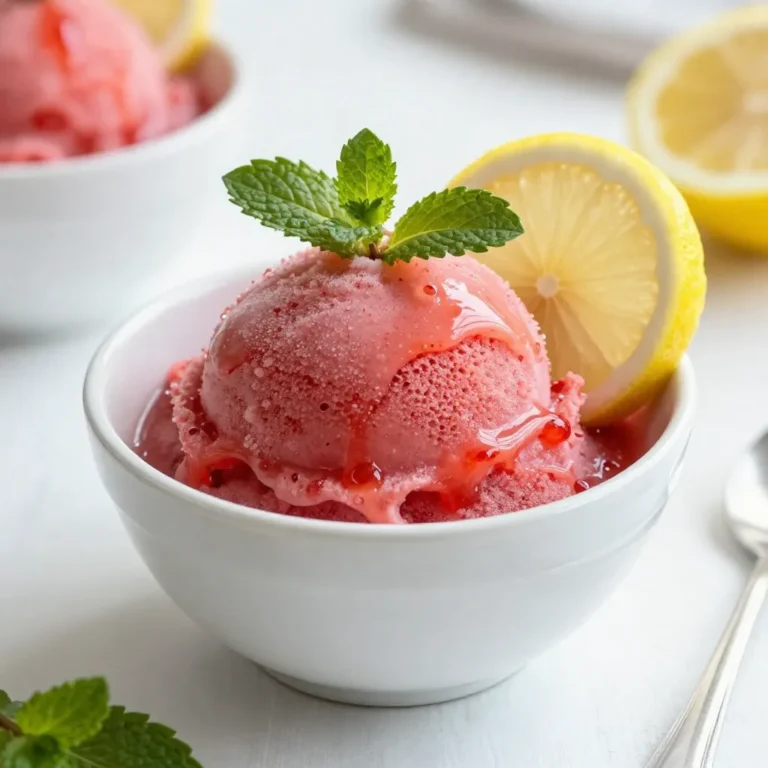
Frozen Strawberry Lemonade Sorbet Refreshing Treat
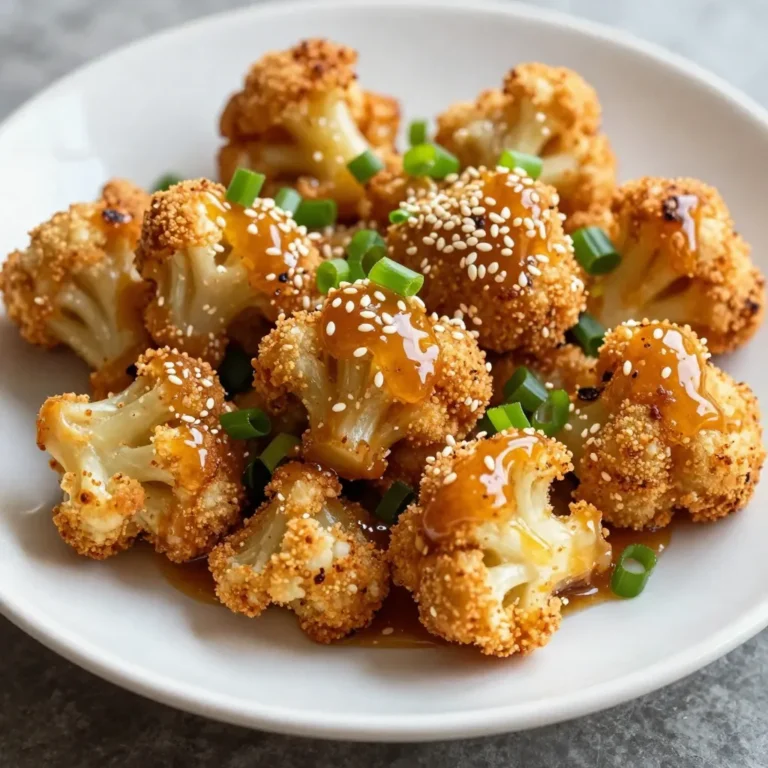
Honey Garlic Cauliflower Bites Flavorful and Easy Treat
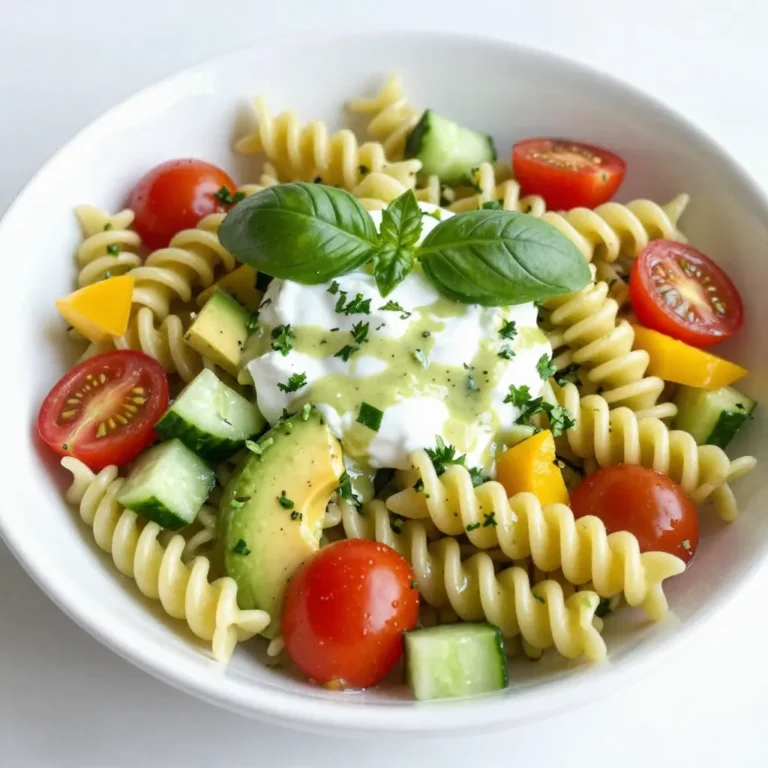
Green Goddess Pasta Salad Fresh and Flavorful Delight
Candy Cane Brownie Truffles Festive and Delightful Treat
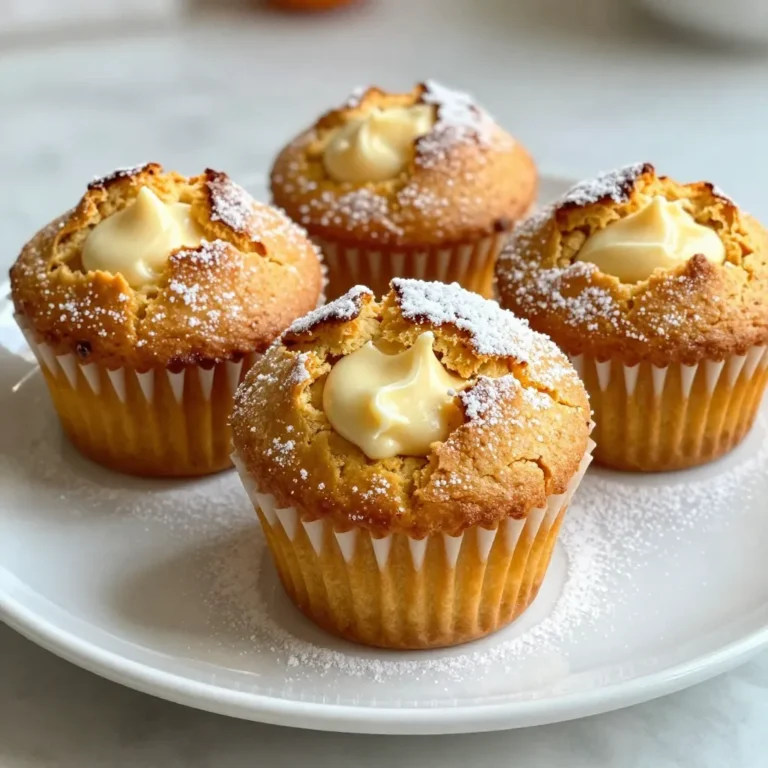
Pumpkin Cream Cheese Muffins Flavorful and Simple Recipe
Buffalo Cauliflower Bites Tasty Plant-Based Snack
Garlic Herb Butter Roasted Chicken Flavorful Delight
1
2
…
47
NEXT