
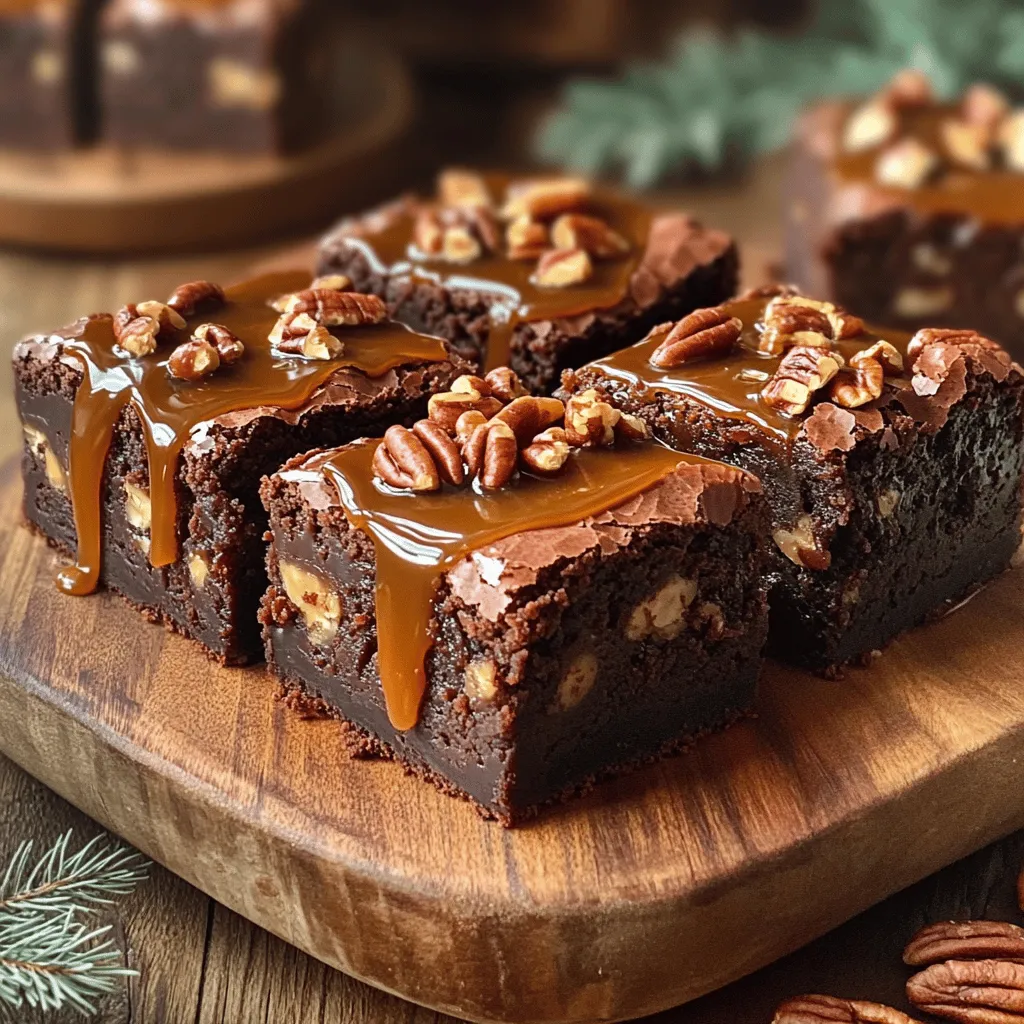
Craving a sweet treat that hits all the right notes? Look no further! These Caramel Turtle Brownies are your answer to quick, irresistible dessert glory. With rich chocolate, gooey caramel, and crunchy pecans, each bite is pure bliss. In this guide, I’ll share simple steps and tips to perfect these brownies, ensuring your next baking adventure is a delicious success. Ready to dive in? Let’s get started!
Ingredients
Full List of Ingredients
– 1 cup unsalted butter, melted
– 2 cups granulated sugar
– 4 large eggs
– 1 teaspoon vanilla extract
– 1 cup all-purpose flour
– 1 cup cocoa powder
– 1/2 teaspoon baking powder
– 1/4 teaspoon salt
– 1 cup semi-sweet chocolate chips
– 1 cup pecans, roughly chopped
– 1 cup caramel sauce (store-bought or homemade)
Each ingredient in these brownies plays a special role. The butter adds richness and helps create a smooth batter. Sugar sweetens the brownies and gives them a nice texture. Eggs act as a binding agent, giving the brownies structure. Vanilla extract adds a warm flavor.
Flour provides the base for the brownies. Cocoa powder gives them that rich chocolate taste. Baking powder helps the brownies rise. Salt enhances all the flavors and balances the sweetness. Chocolate chips add pockets of melty goodness, while pecans offer a crunchy texture. Finally, caramel sauce provides that sweet, gooey layer.
You can also play with these ingredients. For a different flavor, try using dark chocolate or white chocolate chips. If you want a nut-free option, simply leave out the pecans. You could also use walnuts or almonds for a change. The beauty of this recipe is its flexibility, allowing you to tailor it to your taste.
Step-by-Step Instructions
Preparation and Preheating
Preheat your oven to 350°F (175°C). This temperature is key for perfect brownies. Grease a 9×13 inch baking pan or use parchment paper. This makes removing the brownies easy later. A correct oven temperature ensures even baking.
Mixing Wet Ingredients
In a large bowl, mix melted butter and sugar. Whisk until smooth and shiny. This creates a great base for your brownies. Add eggs one at a time, whisking well after each. This helps blend the eggs properly. Finally, stir in vanilla extract for flavor.
Incorporating Dry Ingredients
In another bowl, sift together flour, cocoa powder, baking powder, and salt. Sifting aerates the dry mix and avoids clumps. Gradually mix the dry ingredients into the wet ones. Stir gently until just combined; overmixing can make brownies tough.
Adding Caramel and Layering
Pour half of the brownie batter into the pan. Spread it evenly for a good base. Drizzle half of the caramel sauce over this layer. Use a knife to swirl the caramel into the batter. This creates a pretty marbled look. Layering adds great texture and flavor. Pour the rest of the batter on top and smooth it out. Drizzle more caramel and swirl again.
Baking and Cooling
Place the pan in the oven and bake for 25-30 minutes. To check doneness, insert a toothpick in the center. It should come out with a few moist crumbs. This means your brownies are set. Once baked, let them cool completely in the pan. After cooling, cut them into squares for serving.
Tips & Tricks
Perfecting Brownies
To make fudgy brownies, use less flour and more sugar. This gives them a rich taste. For cakey brownies, add more flour and eggs. Be careful not to overbake your brownies. This can make them dry. Bake just until a toothpick comes out with a few moist crumbs.
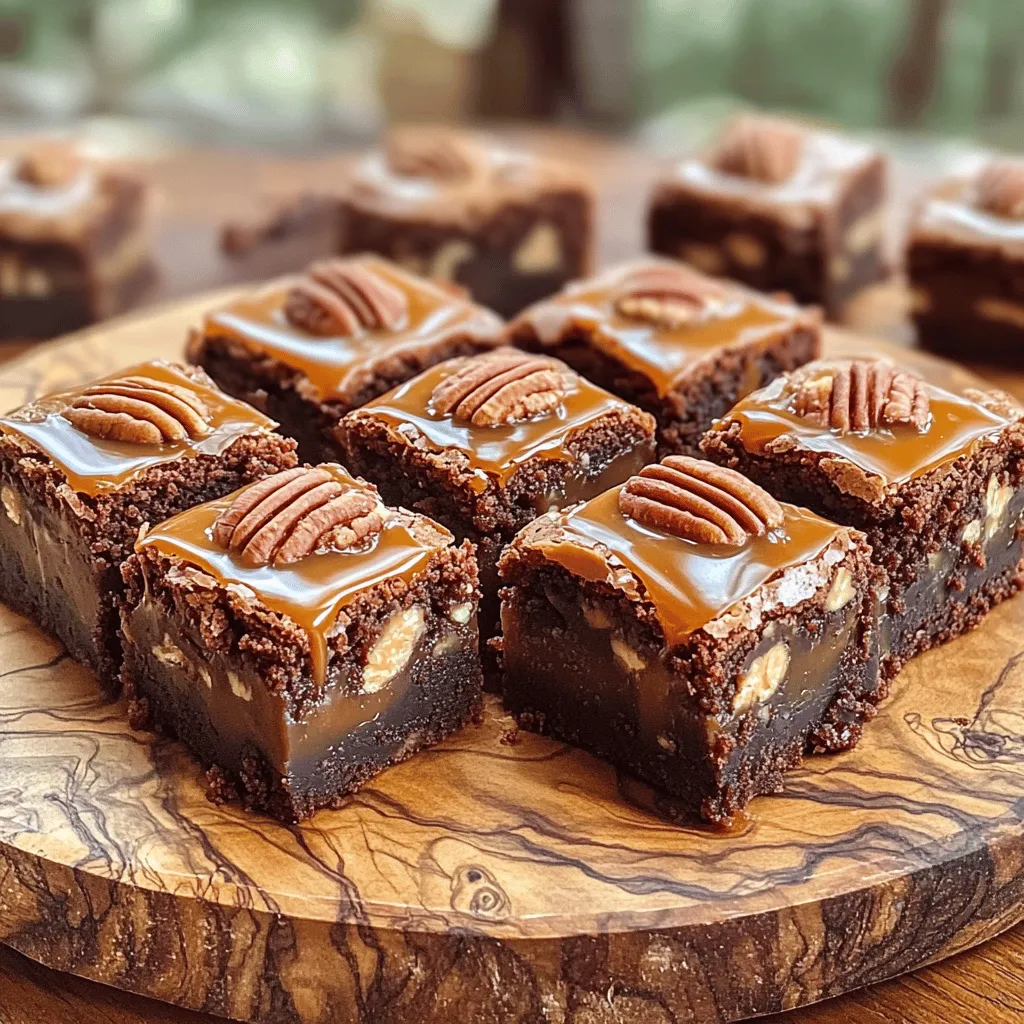
Serving Suggestions
Serve your brownies on a nice platter. Drizzle extra caramel on top for a sweet touch. You can sprinkle some chopped pecans for crunch. Pair these brownies with vanilla ice cream or a cup of coffee. The flavors blend well together and make a great dessert duo.
Baking Equipment Recommendations
You need some essential tools for baking brownies. A good mixing bowl is a must. I recommend using a sturdy whisk for mixing. A 9×13 inch baking pan works best for this recipe. Look for non-stick versions or use parchment paper for easy removal. Brands like OXO and USA Pan are reliable choices.
Variations
Flavor Variations
You can play with flavors in your Caramel Turtle Brownies. Want a mint twist? Add a teaspoon of mint extract to the batter. Love coffee? Mix in some espresso powder to enhance the chocolate taste. If you want them sweeter, add more sugar. Prefer less sweetness? Cut back on the sugar or use dark chocolate.
Dietary Alternatives
You can make these brownies gluten-free. Just swap all-purpose flour for almond or oat flour. For a vegan option, replace eggs with flax eggs. To make flax eggs, mix one tablespoon of ground flaxseed with three tablespoons of water. Let it sit for about 5 minutes until it thickens. If you have nut allergies, you can omit the pecans entirely. Use seeds like sunflower seeds instead for crunch.
Unique Twists
Add a sprinkle of sea salt on top before baking. This makes the brownies taste even richer. For extra fun, top them with whipped cream after baking. If you don’t have pecans, try walnuts or hazelnuts. Each nut brings a different flavor and texture to your brownies.
Storage Info
Best Storage Practices
To keep your caramel turtle brownies fresh, store them in an airtight container. Place parchment paper between layers to avoid sticking. You can keep them at room temperature for a few days. If you want them to last longer, freeze them. Wrap each brownie in plastic wrap and then place them in a freezer bag. This method protects them from freezer burn.
Shelf Life
At room temperature, caramel turtle brownies stay fresh for about 3 to 4 days. If you freeze them, they can last up to 3 months. Signs of spoilage include a hard texture or mold. If you notice either, it is best to throw them away. Always trust your senses; if they smell off, don’t eat them.
FAQs
How do I know when my brownies are done?
To check if your brownies are done, use a toothpick. Insert it in the center. If it comes out with a few moist crumbs, they are ready. If it’s clean, they may be overbaked. Look for a shiny top and slight cracks. These are good signs too.
Can I make these brownies ahead of time?
Yes, you can make these brownies ahead of time! Bake them and let them cool completely. Then, store them in an airtight container. They will stay fresh for about three days at room temperature. You can also freeze them. Just wrap them well and they will last for up to three months.
What can I do if my brownies are too dry?
If your brownies are dry, you can add moisture. Try adding a bit of melted butter or a splash of milk. You can also serve them with ice cream or a drizzle of caramel sauce. This will help bring back some of the moisture and flavor.
Can I use a different type of nut instead of pecans?
Absolutely! You can use walnuts or almonds instead of pecans. Each nut brings a unique flavor. Walnuts offer a rich taste, while almonds add a nice crunch. Just remember to chop them roughly, so they mix well with the batter.
To make the best brownies, start with the right ingredients and steps. Be clear on why each ingredient matters and follow the mixing and baking process closely. Remember to check for doneness to avoid dry brownies. Experiment with flavors and serve them in fun ways. Store your brownies well to keep them fresh longer. With these tips and tricks, you can enjoy rich, fudgy brownies every time. Happy baking!
